In part three of this series about my Honda Civic I went over preparing to install the head on the engine with ARP head studs. In this post I’ll go over getting the head installed and the other parts reattached.
I forgot to mention in my last post that after cleaning the head and block deck I carefully went over them both looking for signs of damage and warping. Luckily, though the head had certainly seen better days, I wasn’t able to find any warpage outside of the service manual tolerances, even in the weak spots between the outer pairs of cylinders.
After all the prep work and cleaning was done, we mounted the manifolds to the head and installed it with our new gasket. We torqued the head studs to 60 lb-ft, which is about 150% of the factory torque, but has been successful for other engines with these studs. With the thread lubricant provided with the ARP studs it was quick and easy to torque the nuts in three even stages, and the results looked great.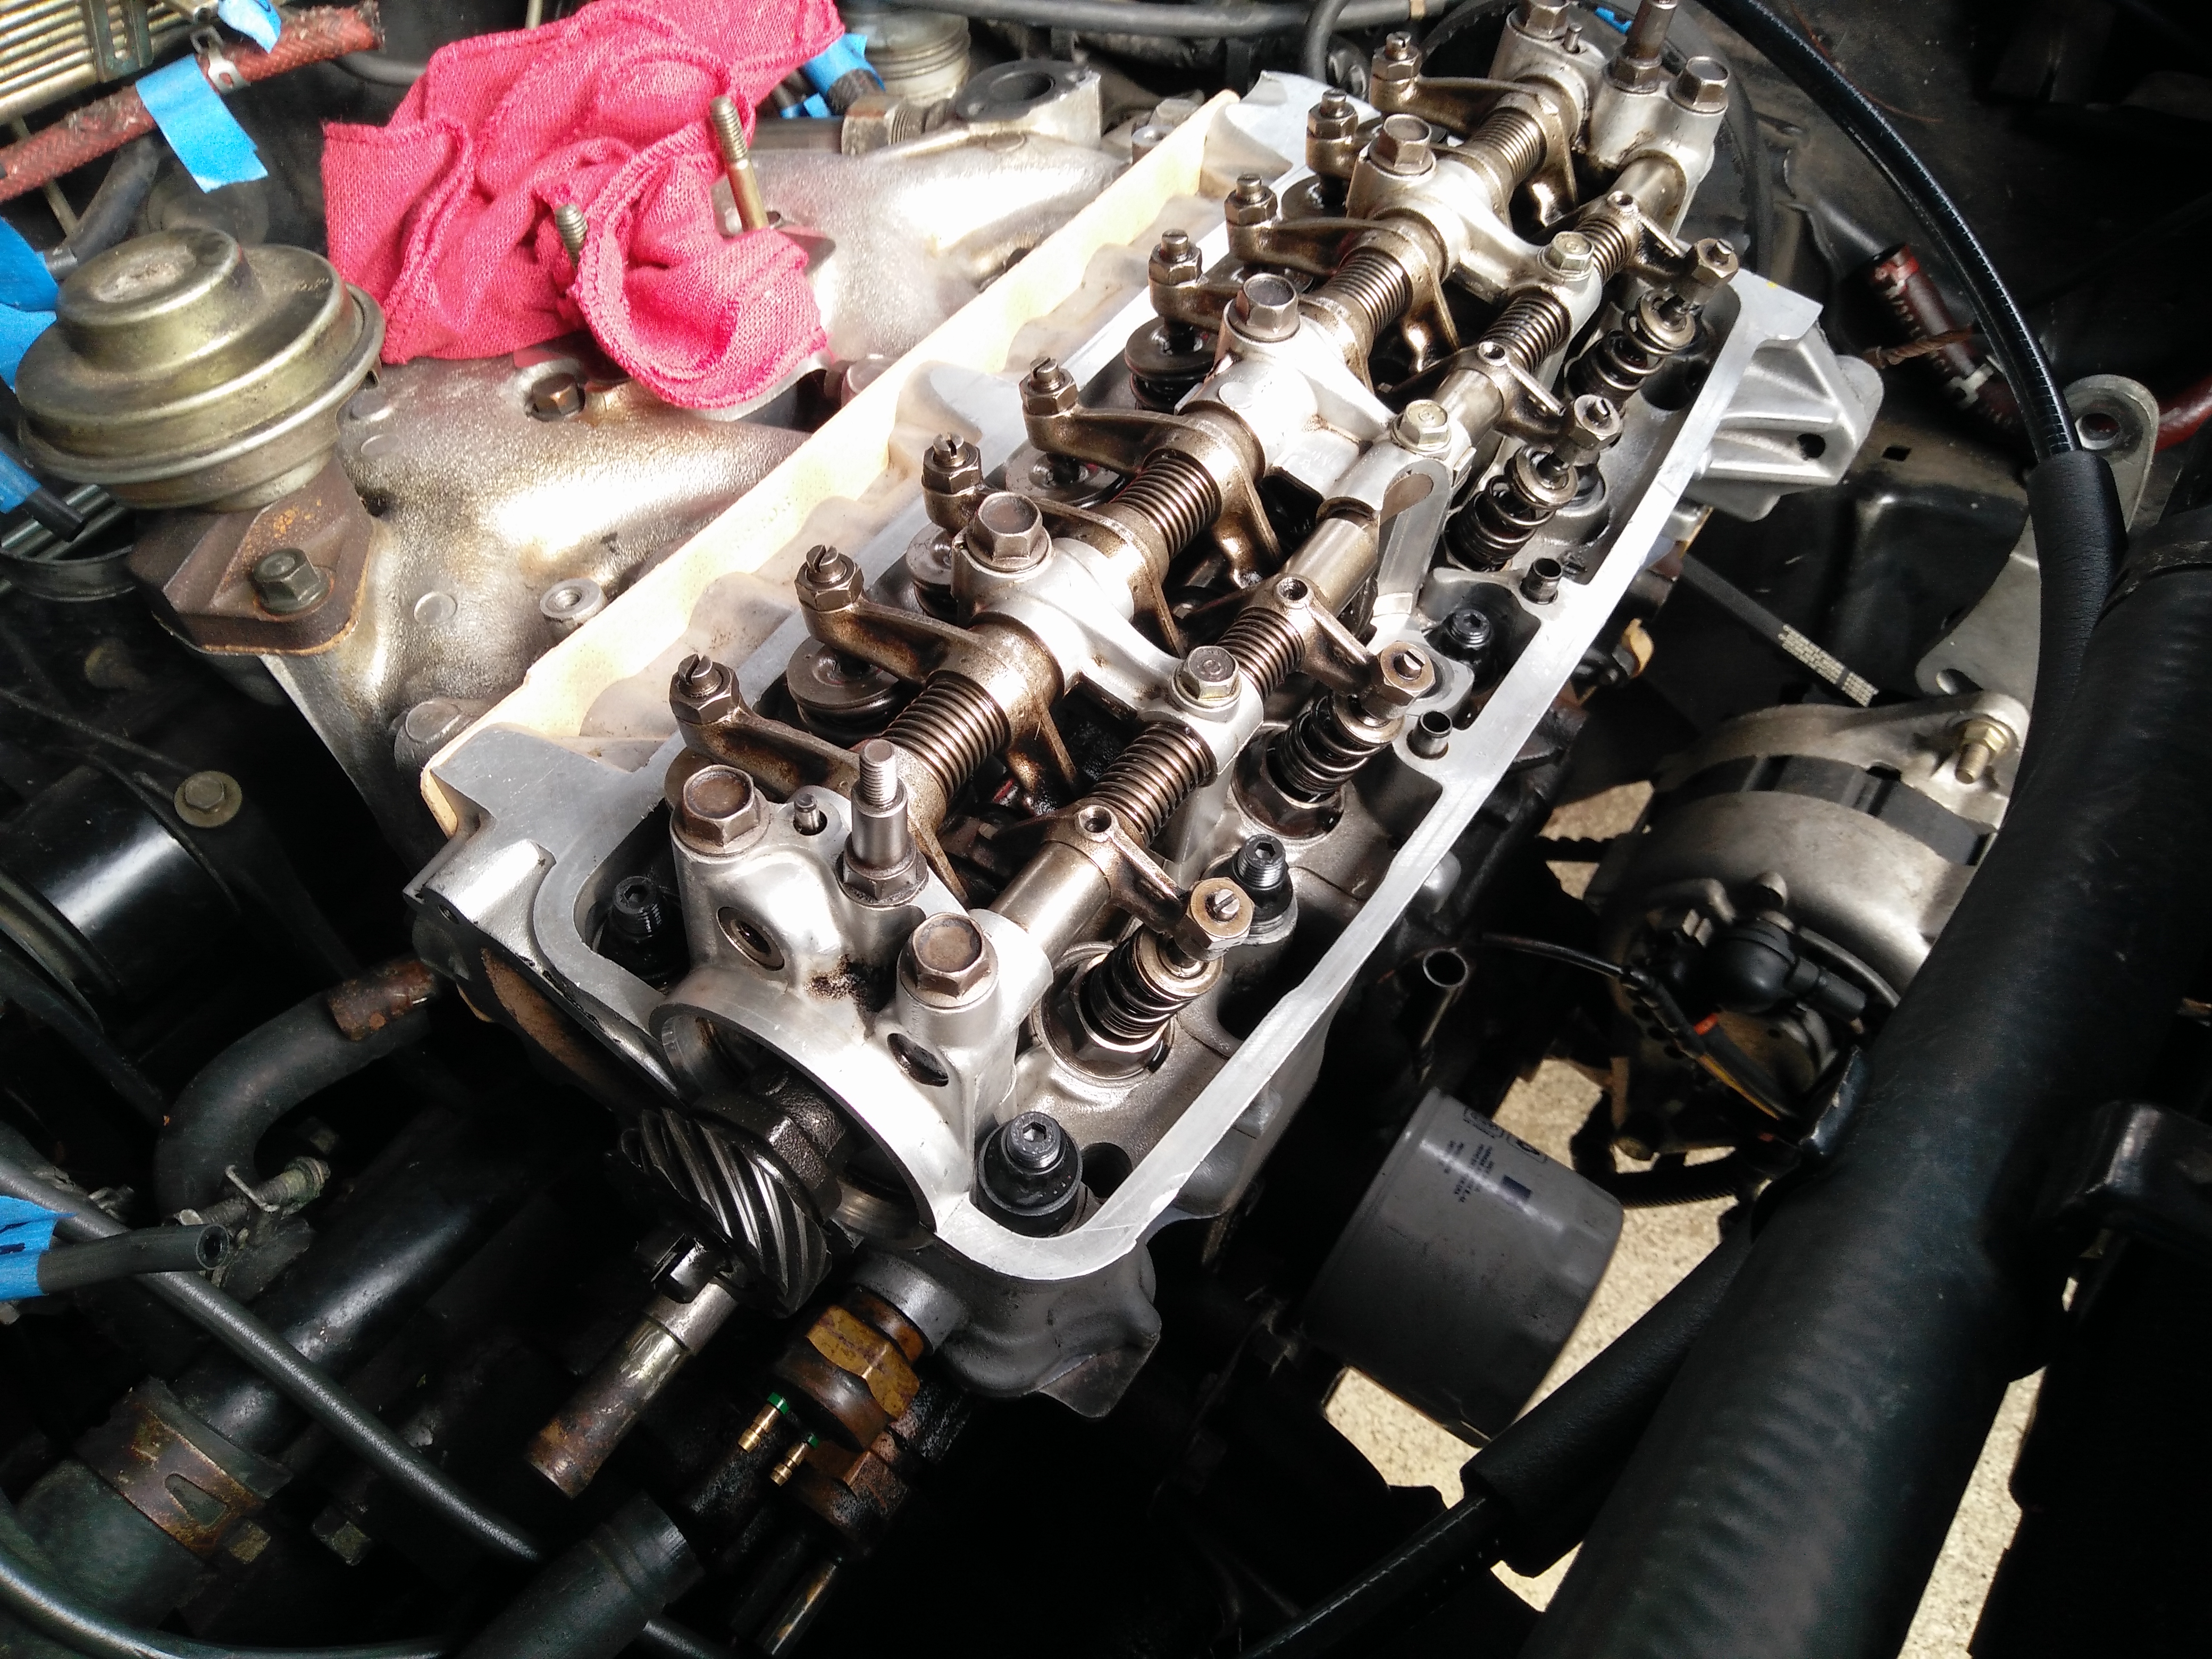
The closest stud to the camera in this picture was the one that sat higher than the rest. The factory bolt had both a washer and a spacer under it, and we had to use the spacer under the stud’s nut as well. There was plenty of space under the valve cover in this corner though, so there was no issue with it sticking up a bit. The stud I’d been worried about under the oil pump drive also looked good, even with the head torqued down. The compression of the head gasket was less than I was worried about, so the stud still seemed to clear the drive gear.
With the head installed we had had passed a major milestone in the project and so immediately got to work putting more pieces back. First up was the exhaust, and after 20 minutes fighting with the old gasket to replace it with the one that came with our gasket set, bolting it up was quick.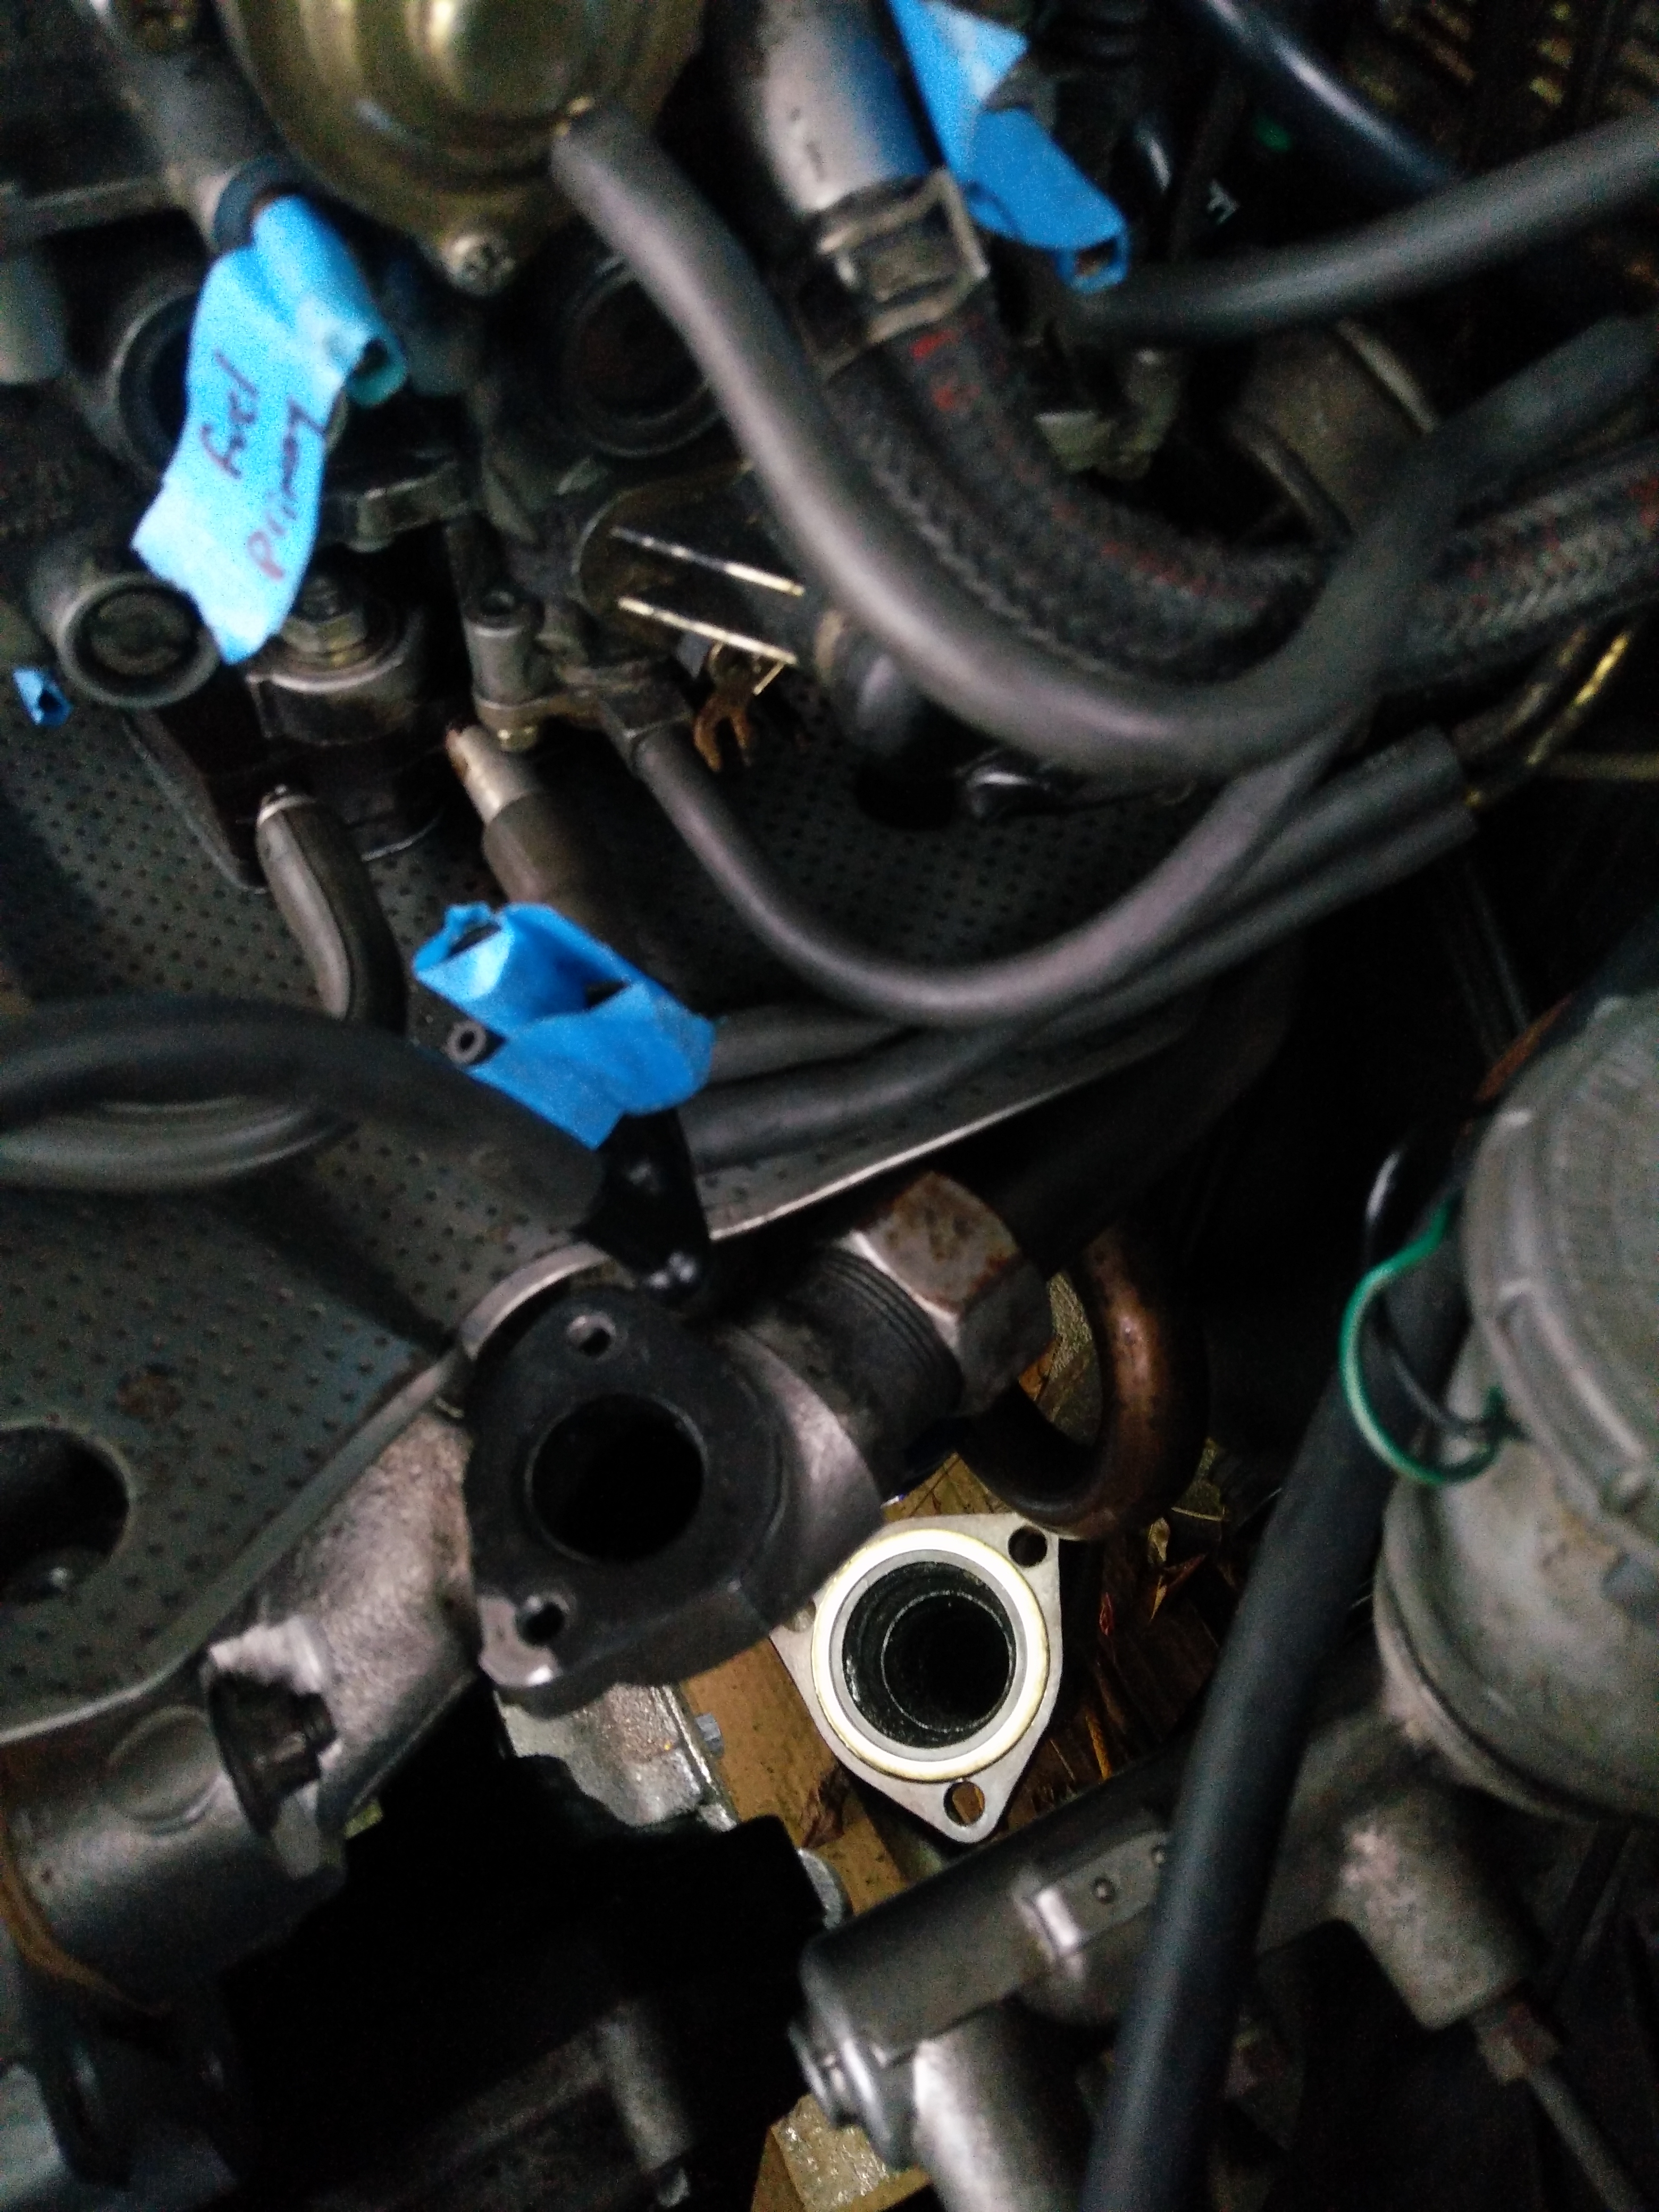
![]()
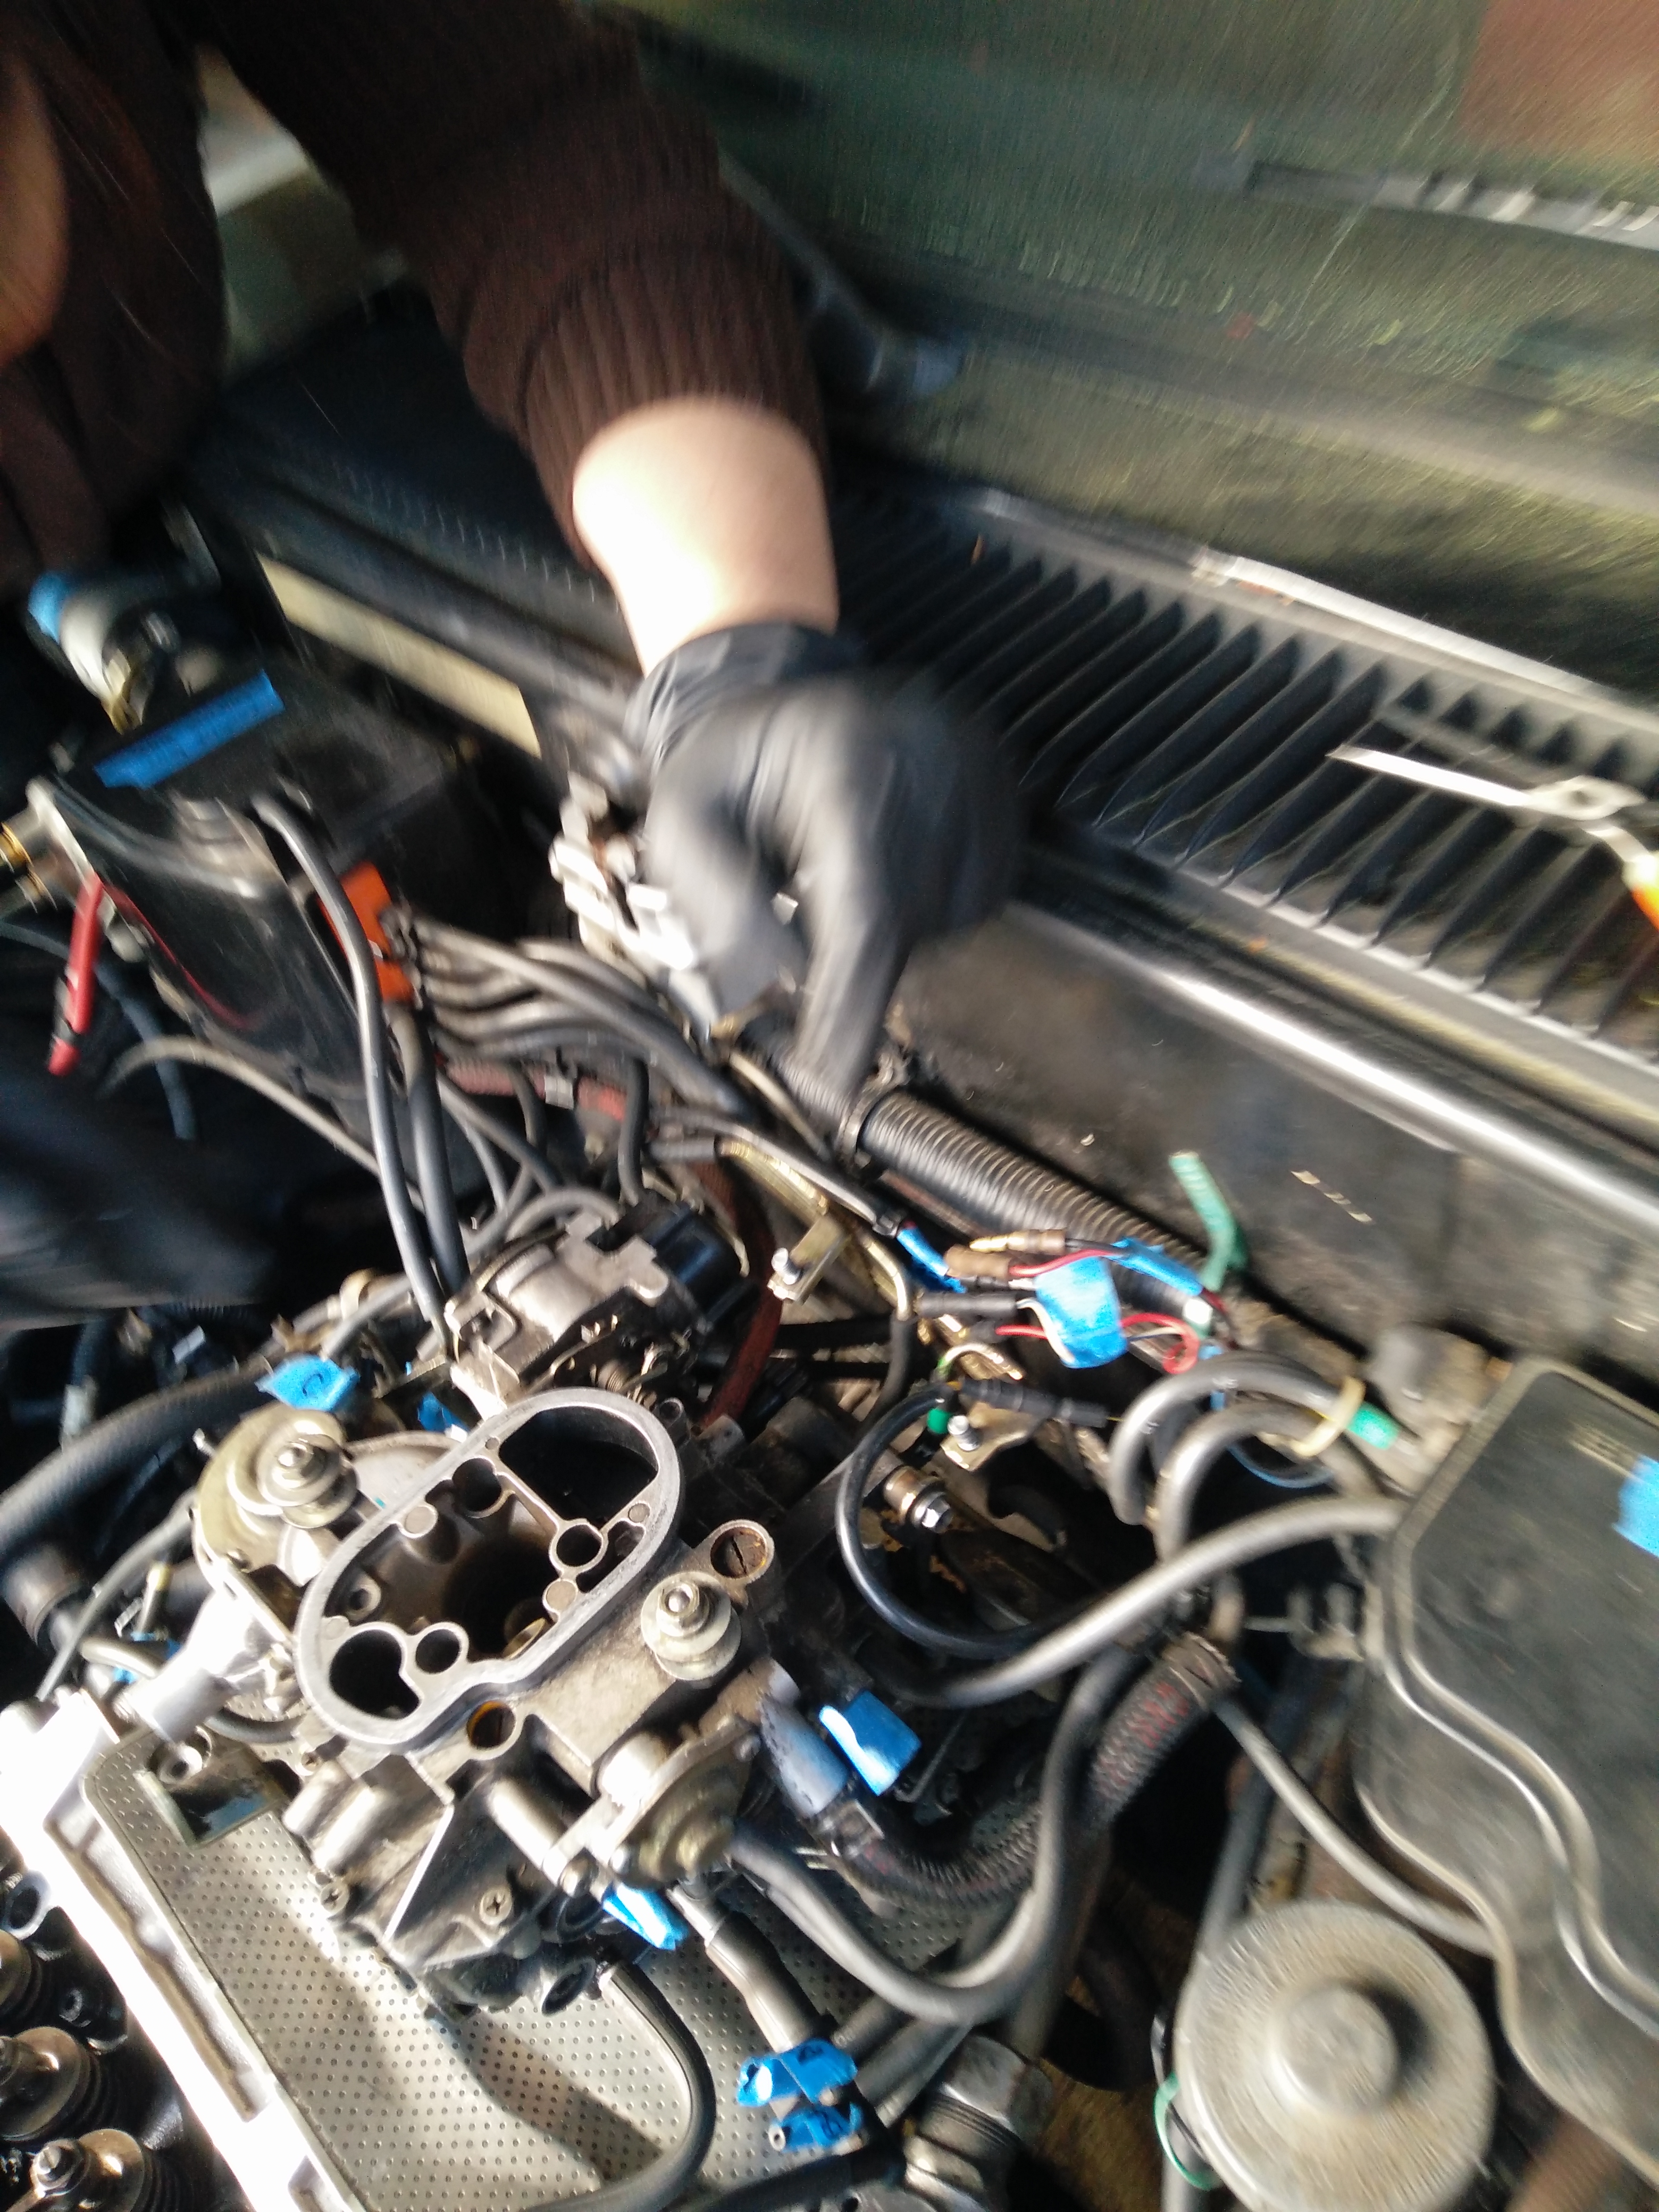
The carburetor was next and we started reattaching the dozens of vacuum hoses to it. This is where we were really glad we’d taken the time to label everything we disassembled; I don’t know what it would have taken to get it back together without being able to just trust the labels. We weren’t so lucky with the parts that had been removed by the previous owner, but luckily there were few enough of those that they were fairly obvious.
Overall, it ended up taking a few days to slowly reconnect each hose where it belonged. While the car was sitting we reinstalled the valve cover, but just left it sitting on the engine to keep out dust.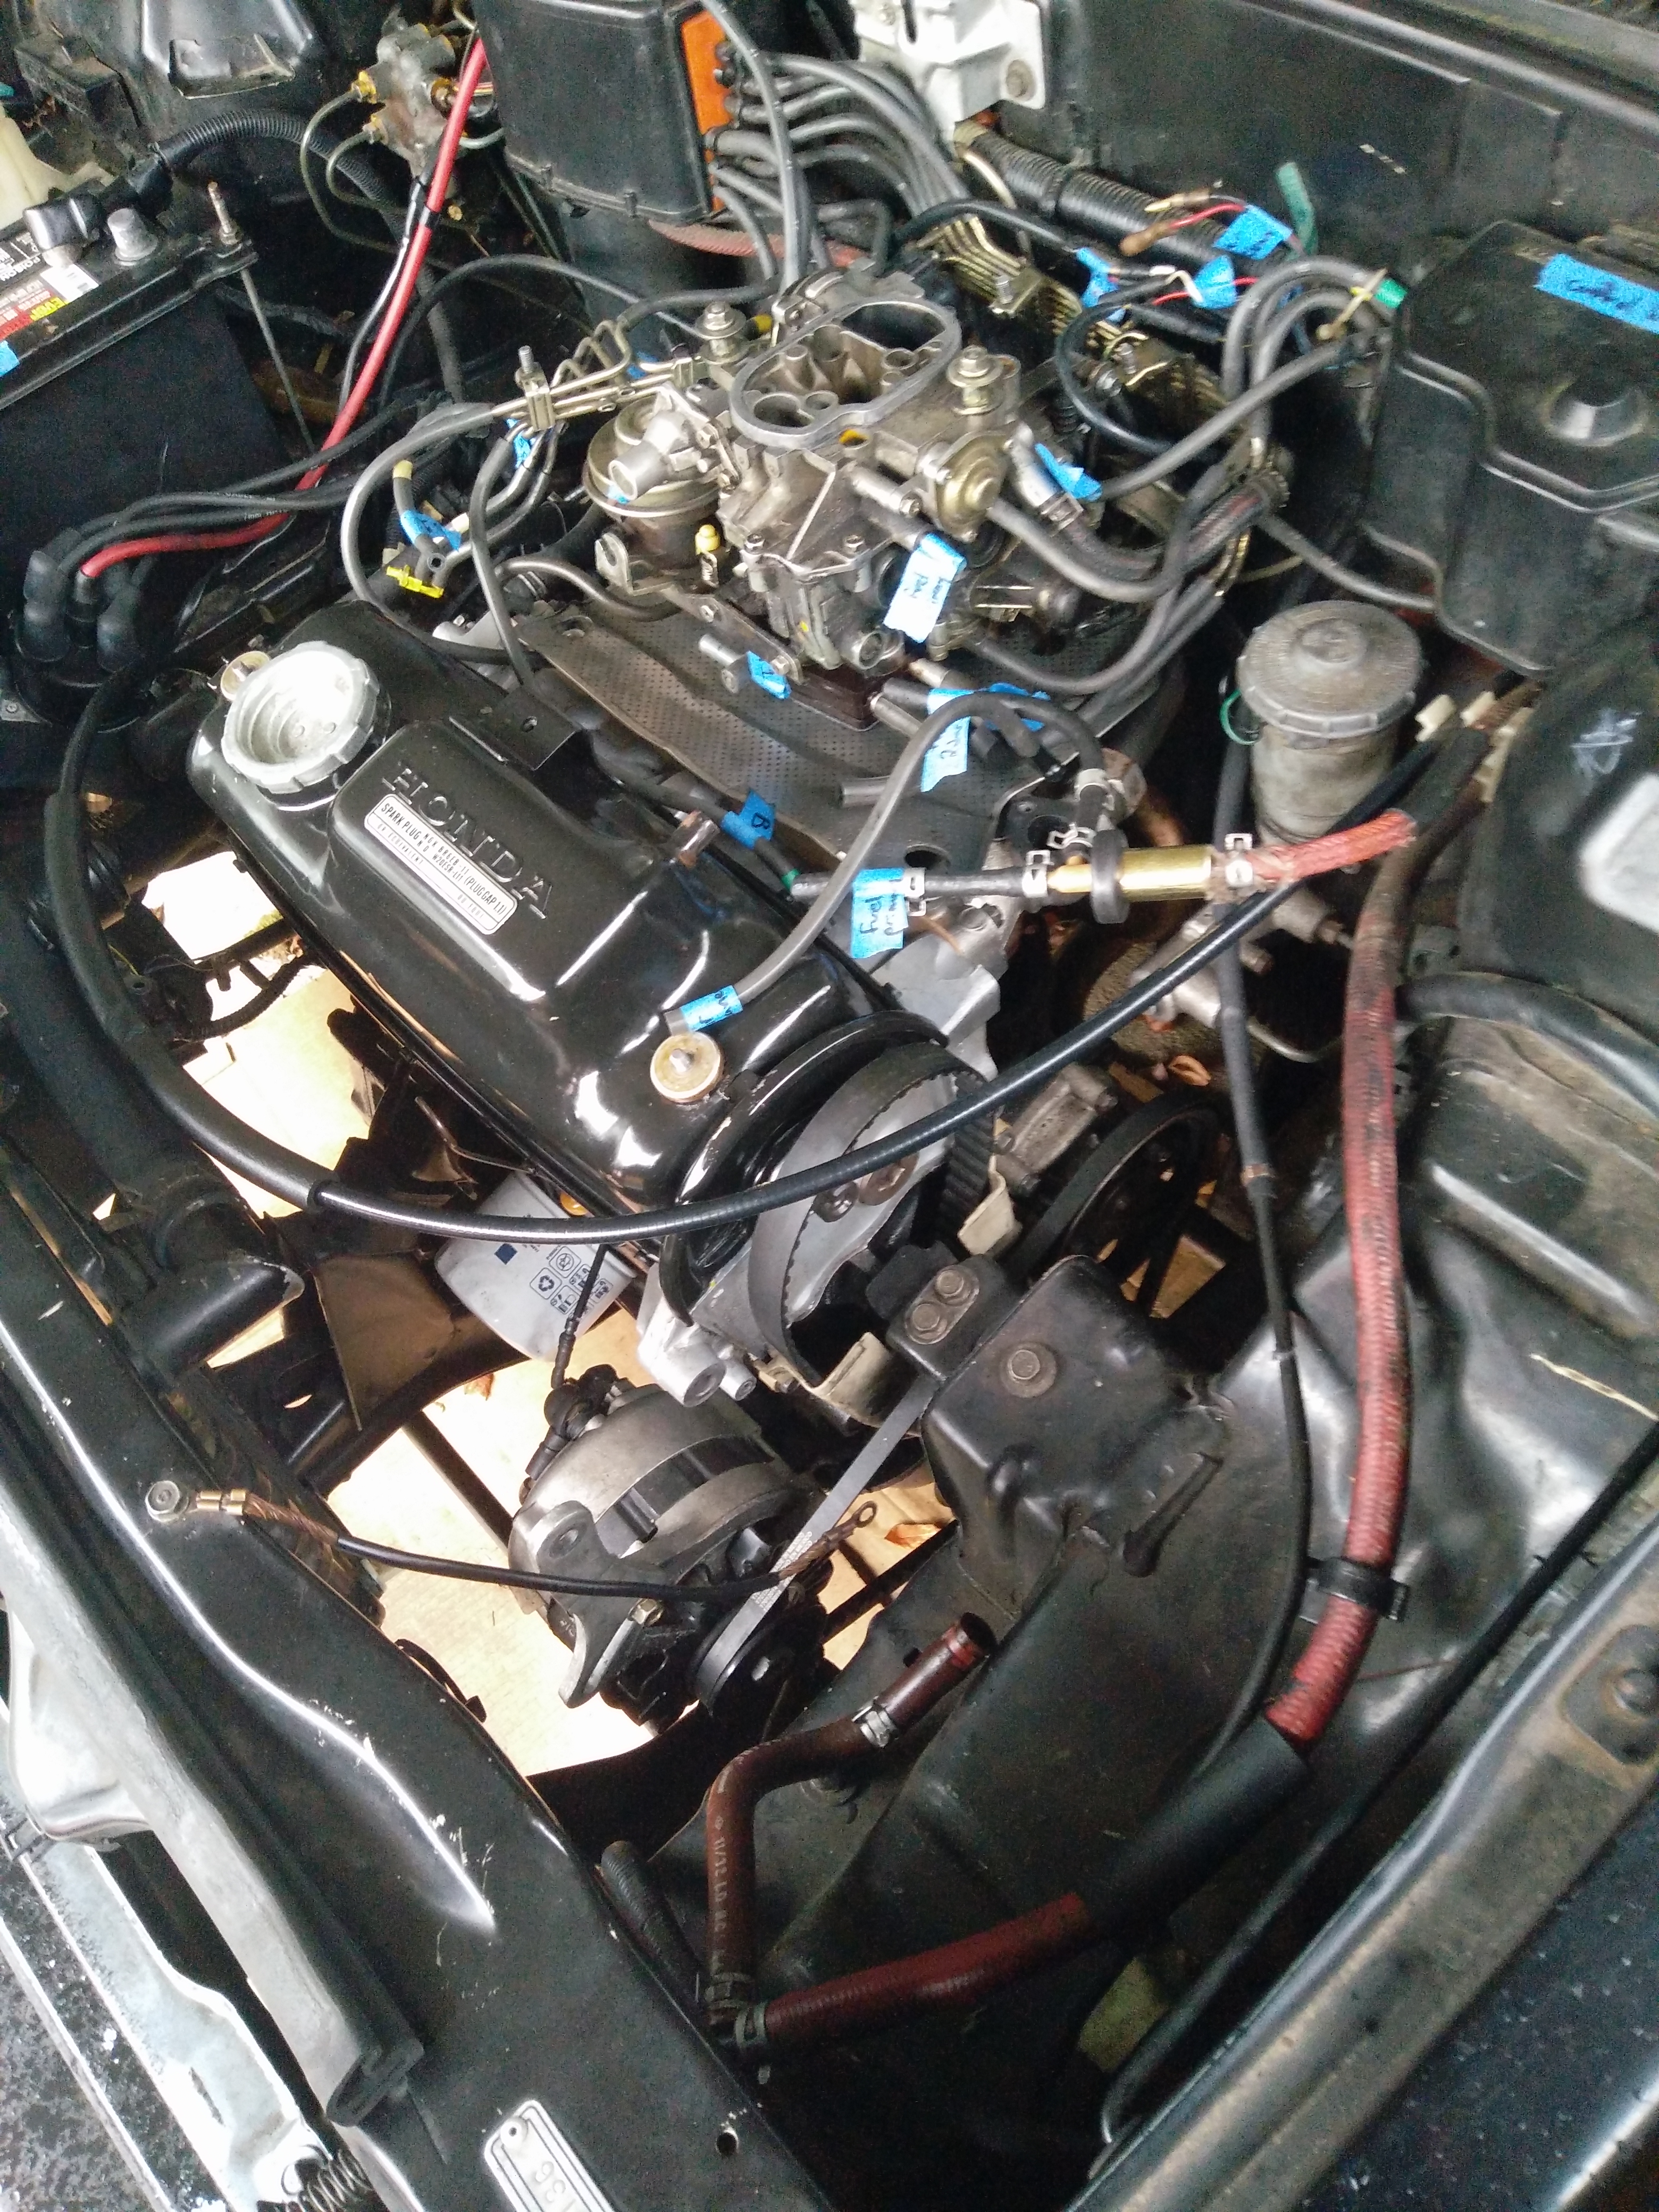
At this point things were coming together quite nicely, and it was quite easy to reinstall the camshaft drive pully and timing belt. I’d never timed an engine before, but on this motor the hardest part is getting a wrench on the crankshaft! I actually did this before installing the head permanently, just to make sure that I didn’t run into any problems with valve-to-piston clearance. After installing the head without the cam pully, I reinstalled it and checked the timing again. There’s an inspection window in the block on the transmission side, with a built-in pointer and marks on the flywheel. After lining up those marks, you install the cam pully and (at least for 1983 1500s) point the notch on the pully up and align the line on the pully with the cast pointer on the head.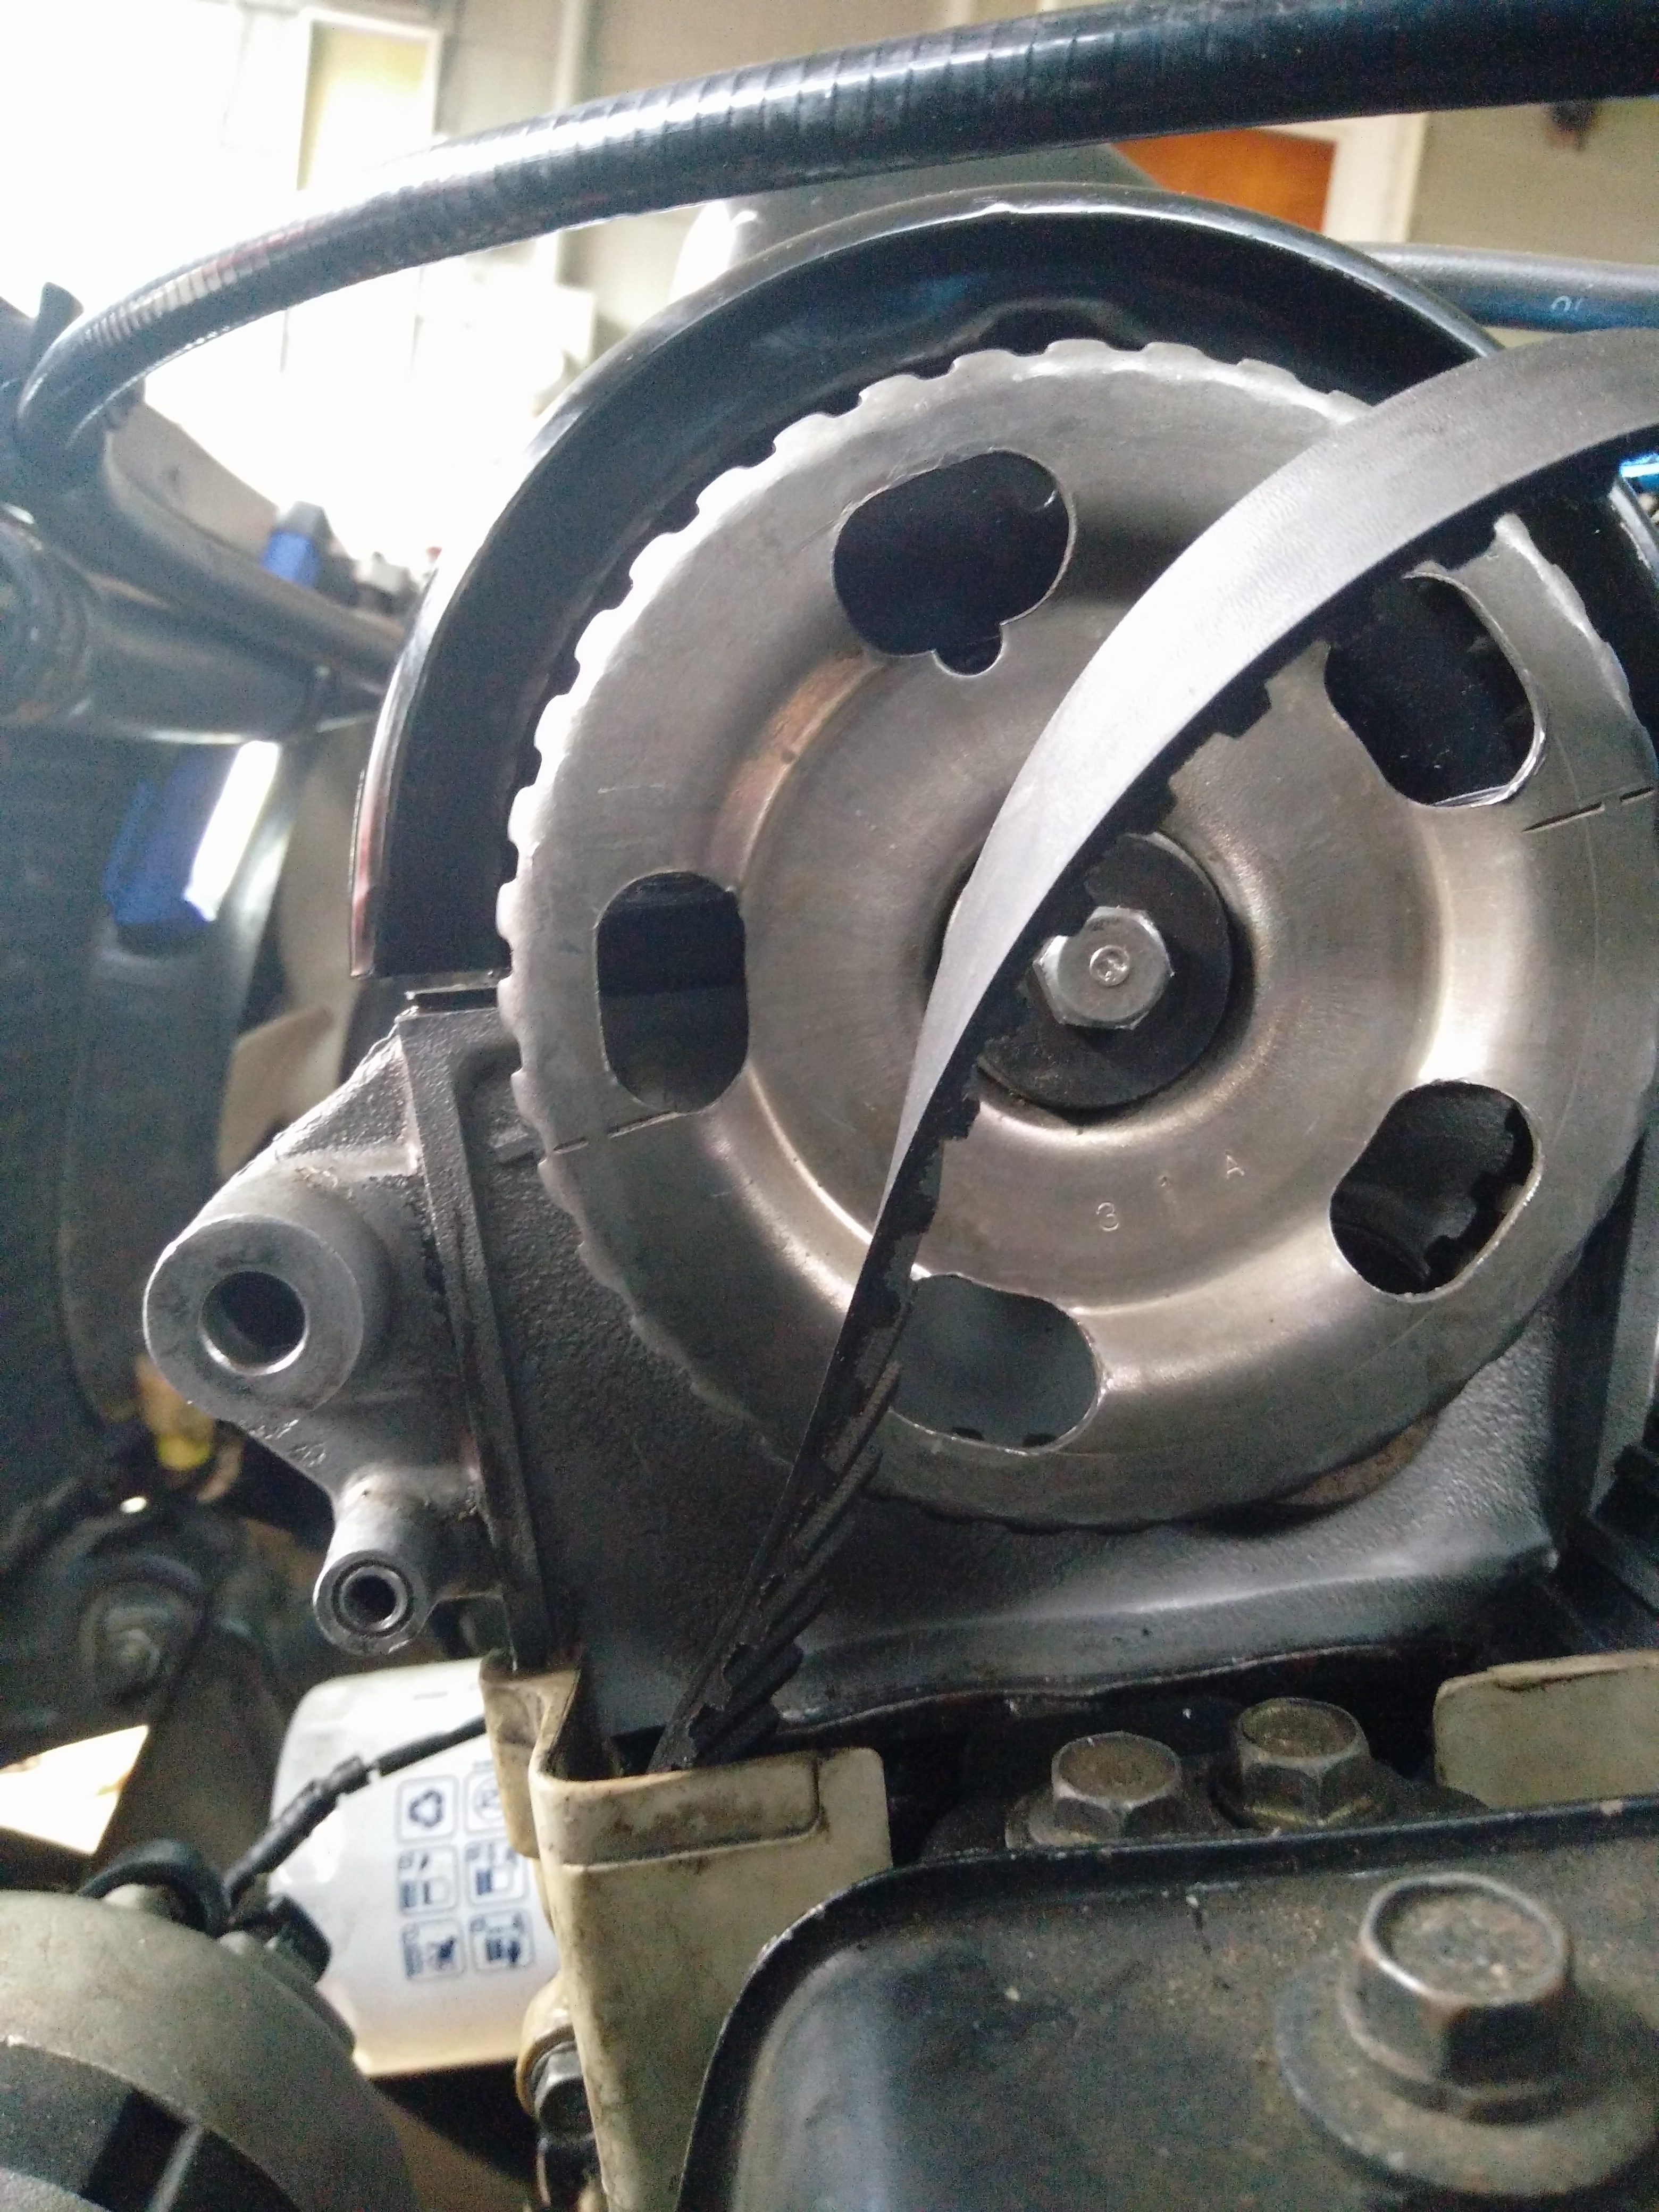
Turning the cam is a little hard as the valves open and close, but amazingly, the tension of the valve springs on the cam holds the camshaft in perfect alignment with the timing mark, so you don’t have to worry about it turning while you’re trying to install the belt. It was pretty easy slip the belt back over the pully without loosening the tensioner.
The car ended up sitting like this for a couple of months for the winter, but having the valve cover on was much nicer than having the cylinders totally open to the air. It was also really nice to have so many parts back on the engine, it felt so close to being able to start it!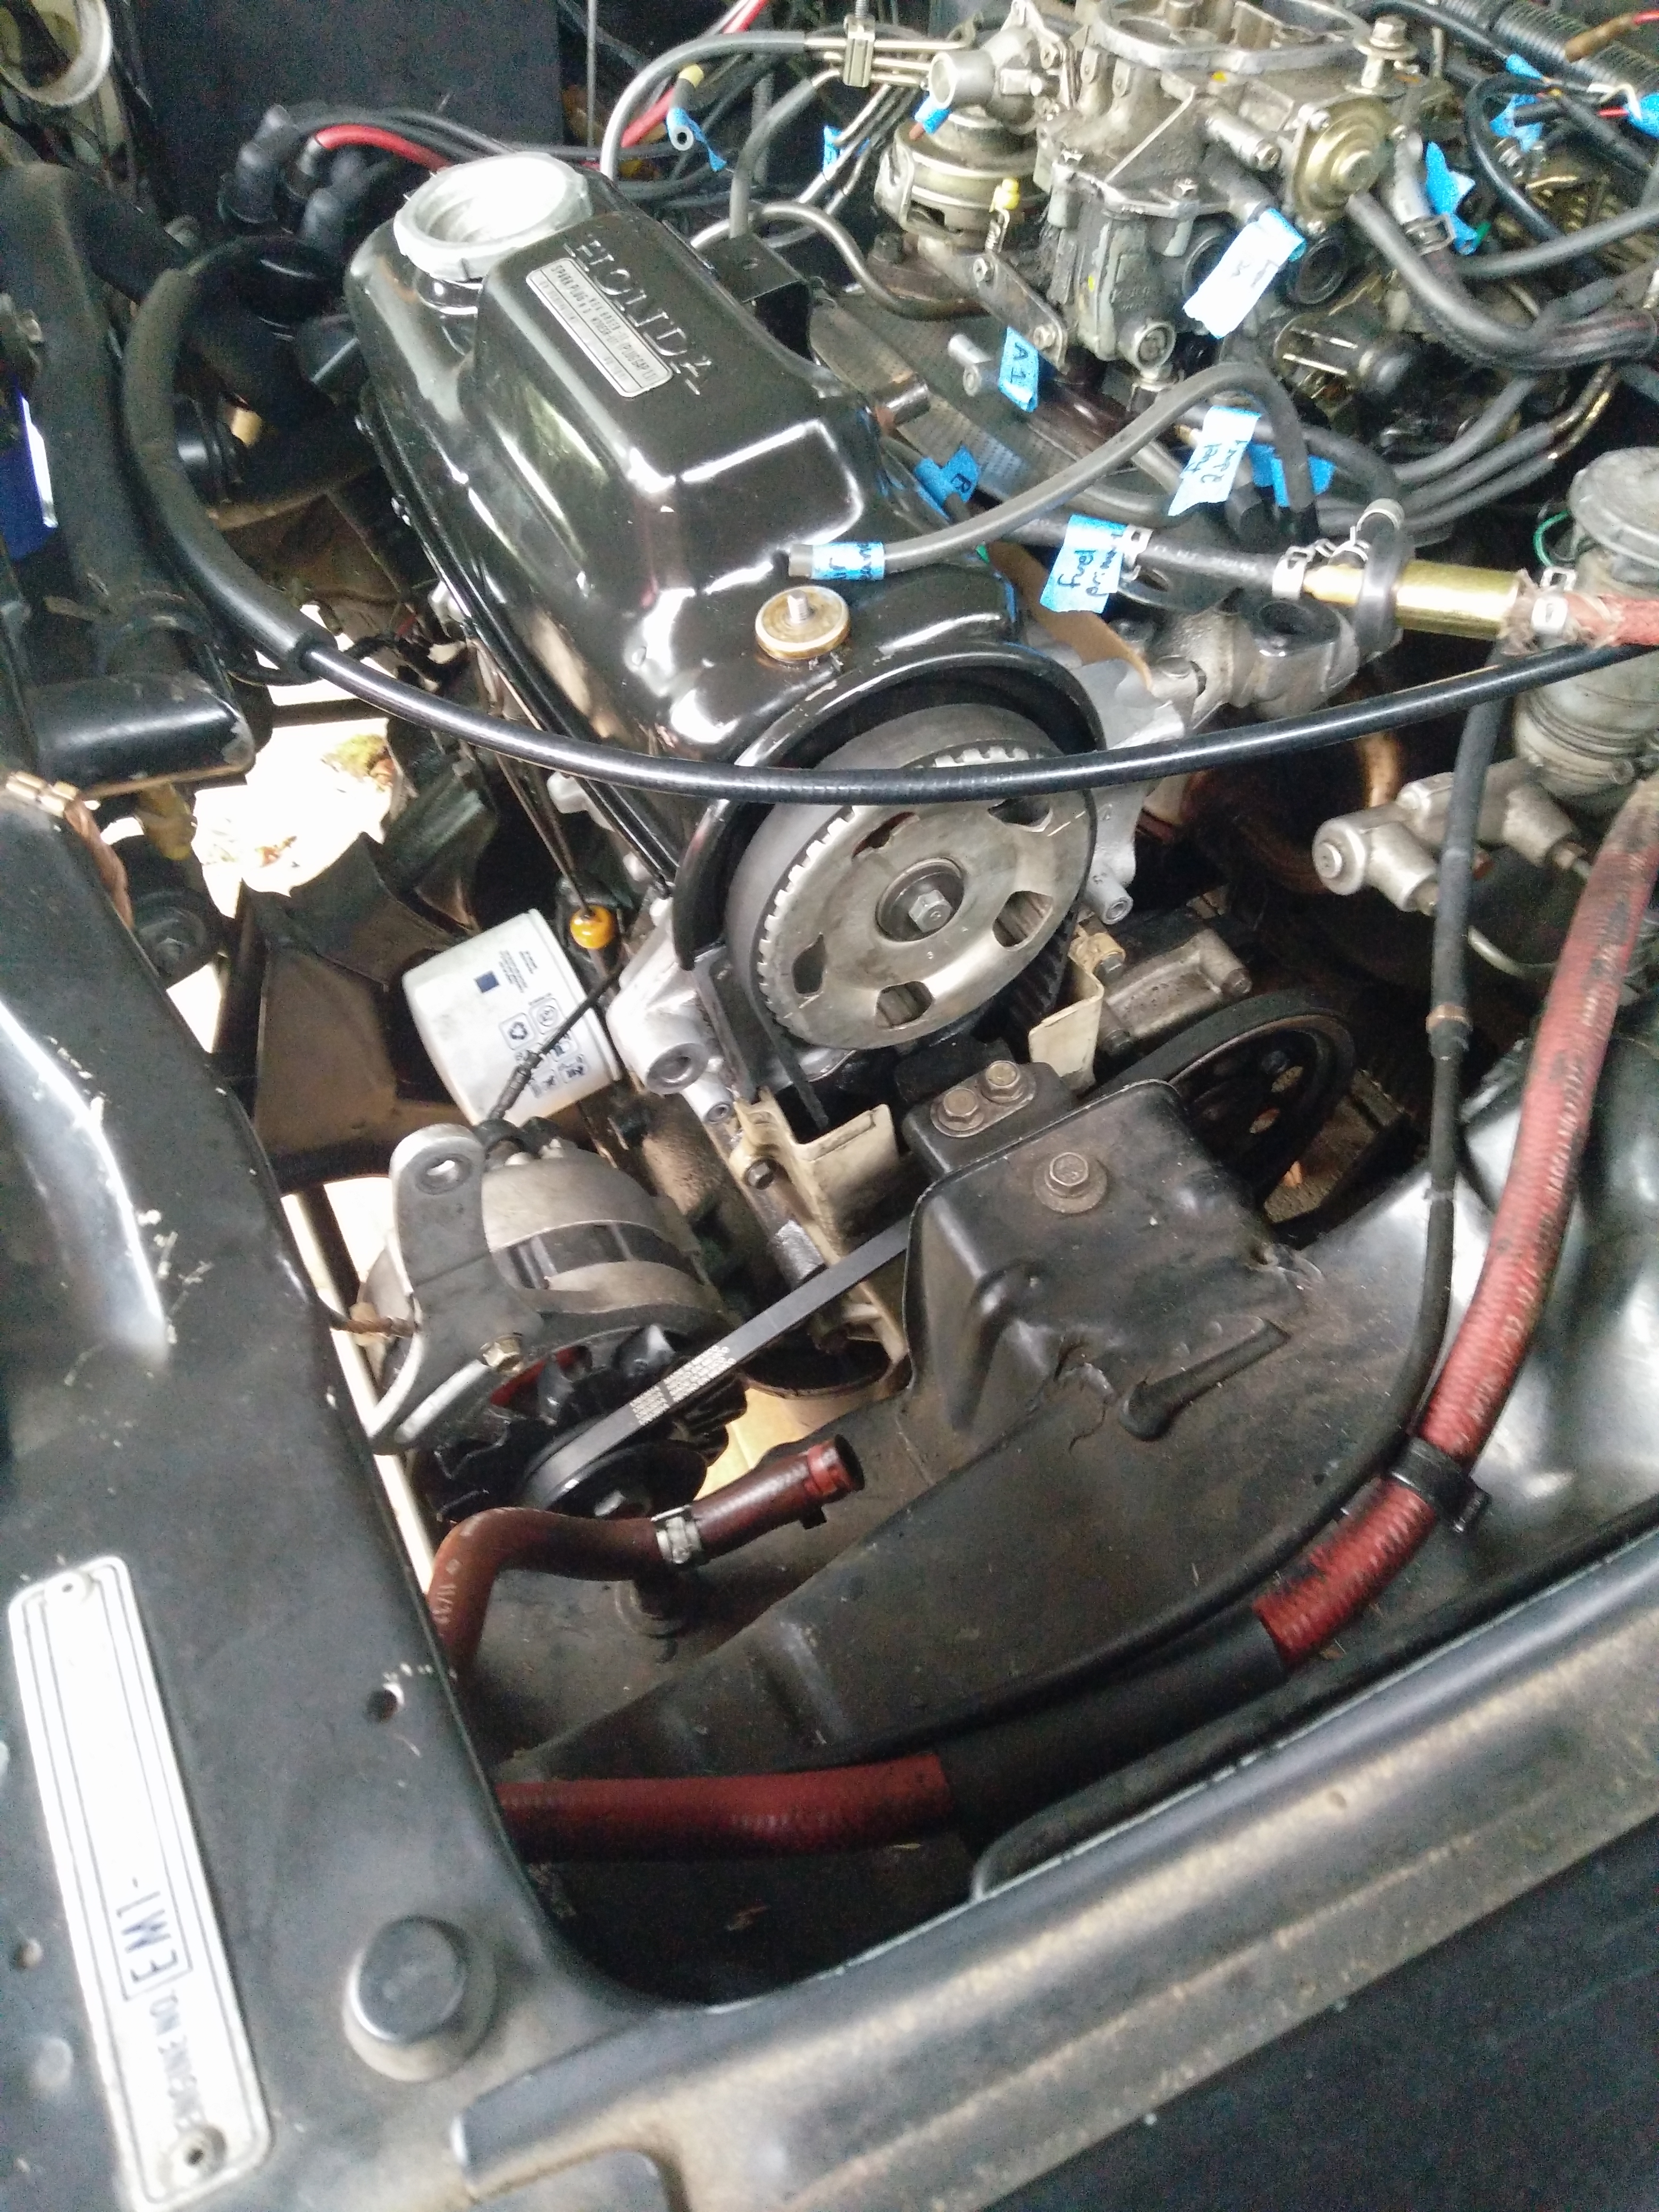
There were still plenty of pieces left though once the weather improved a bit and we got to work again; things like the thermostat housing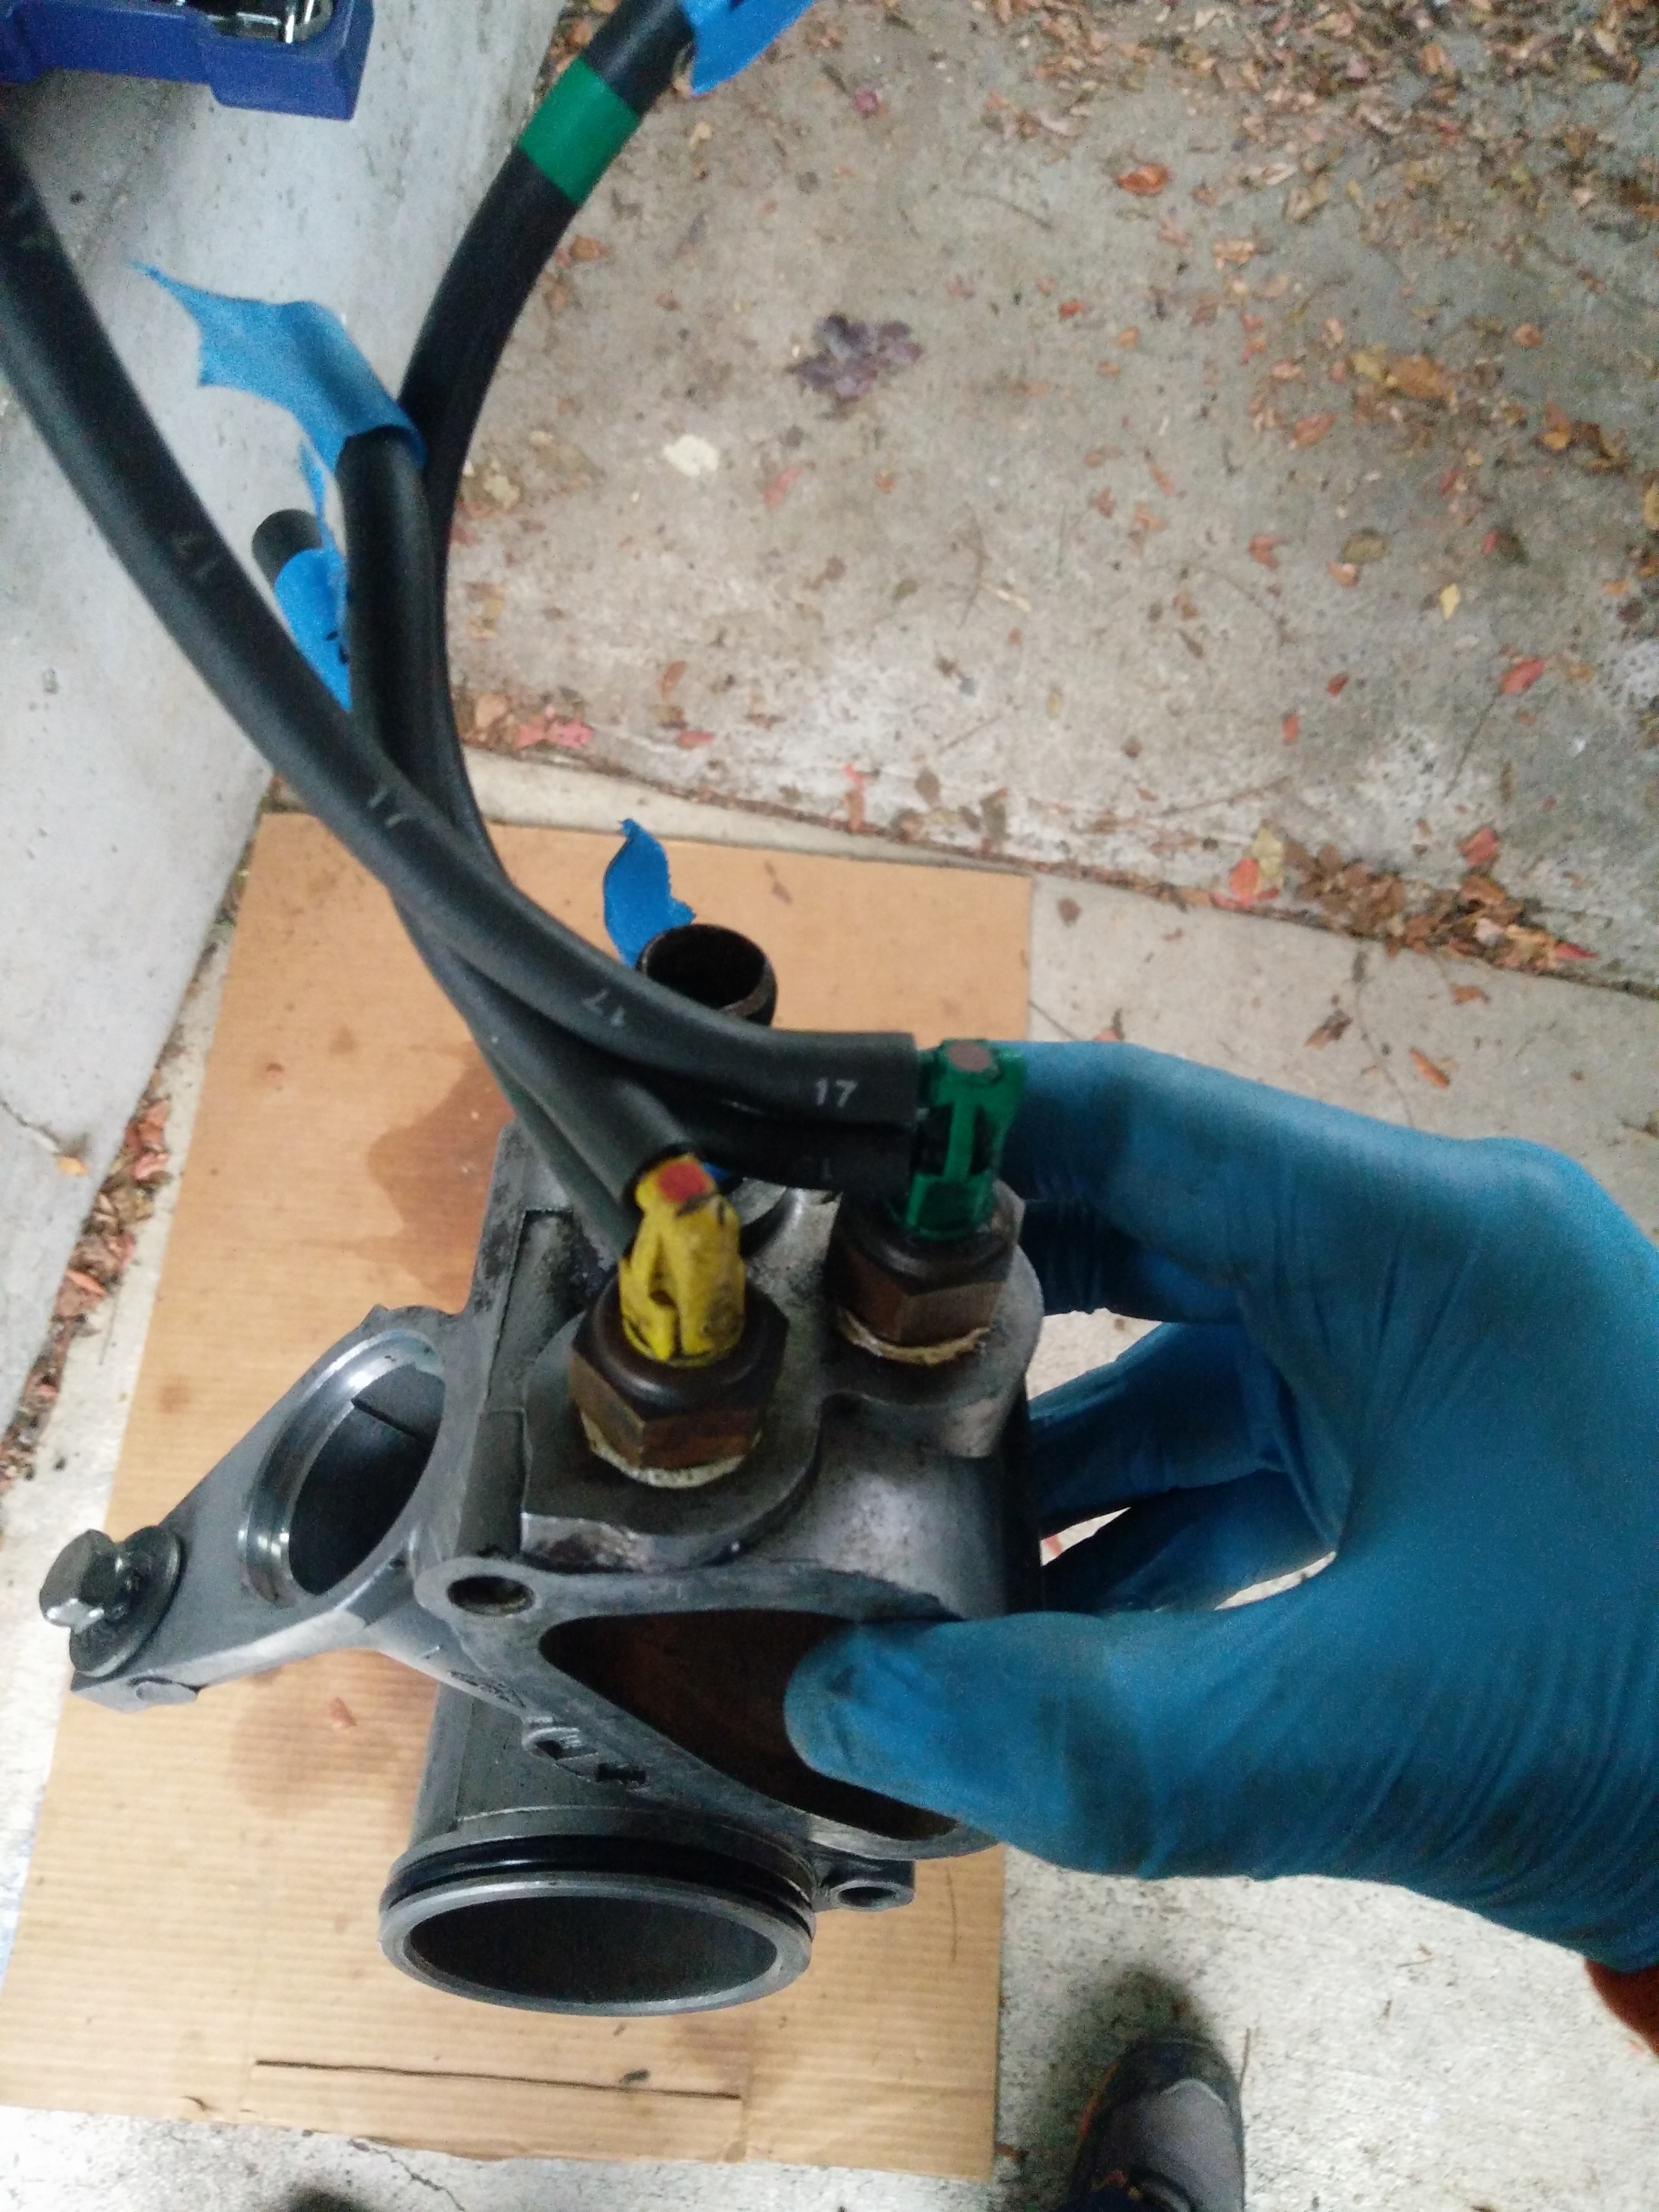
distributor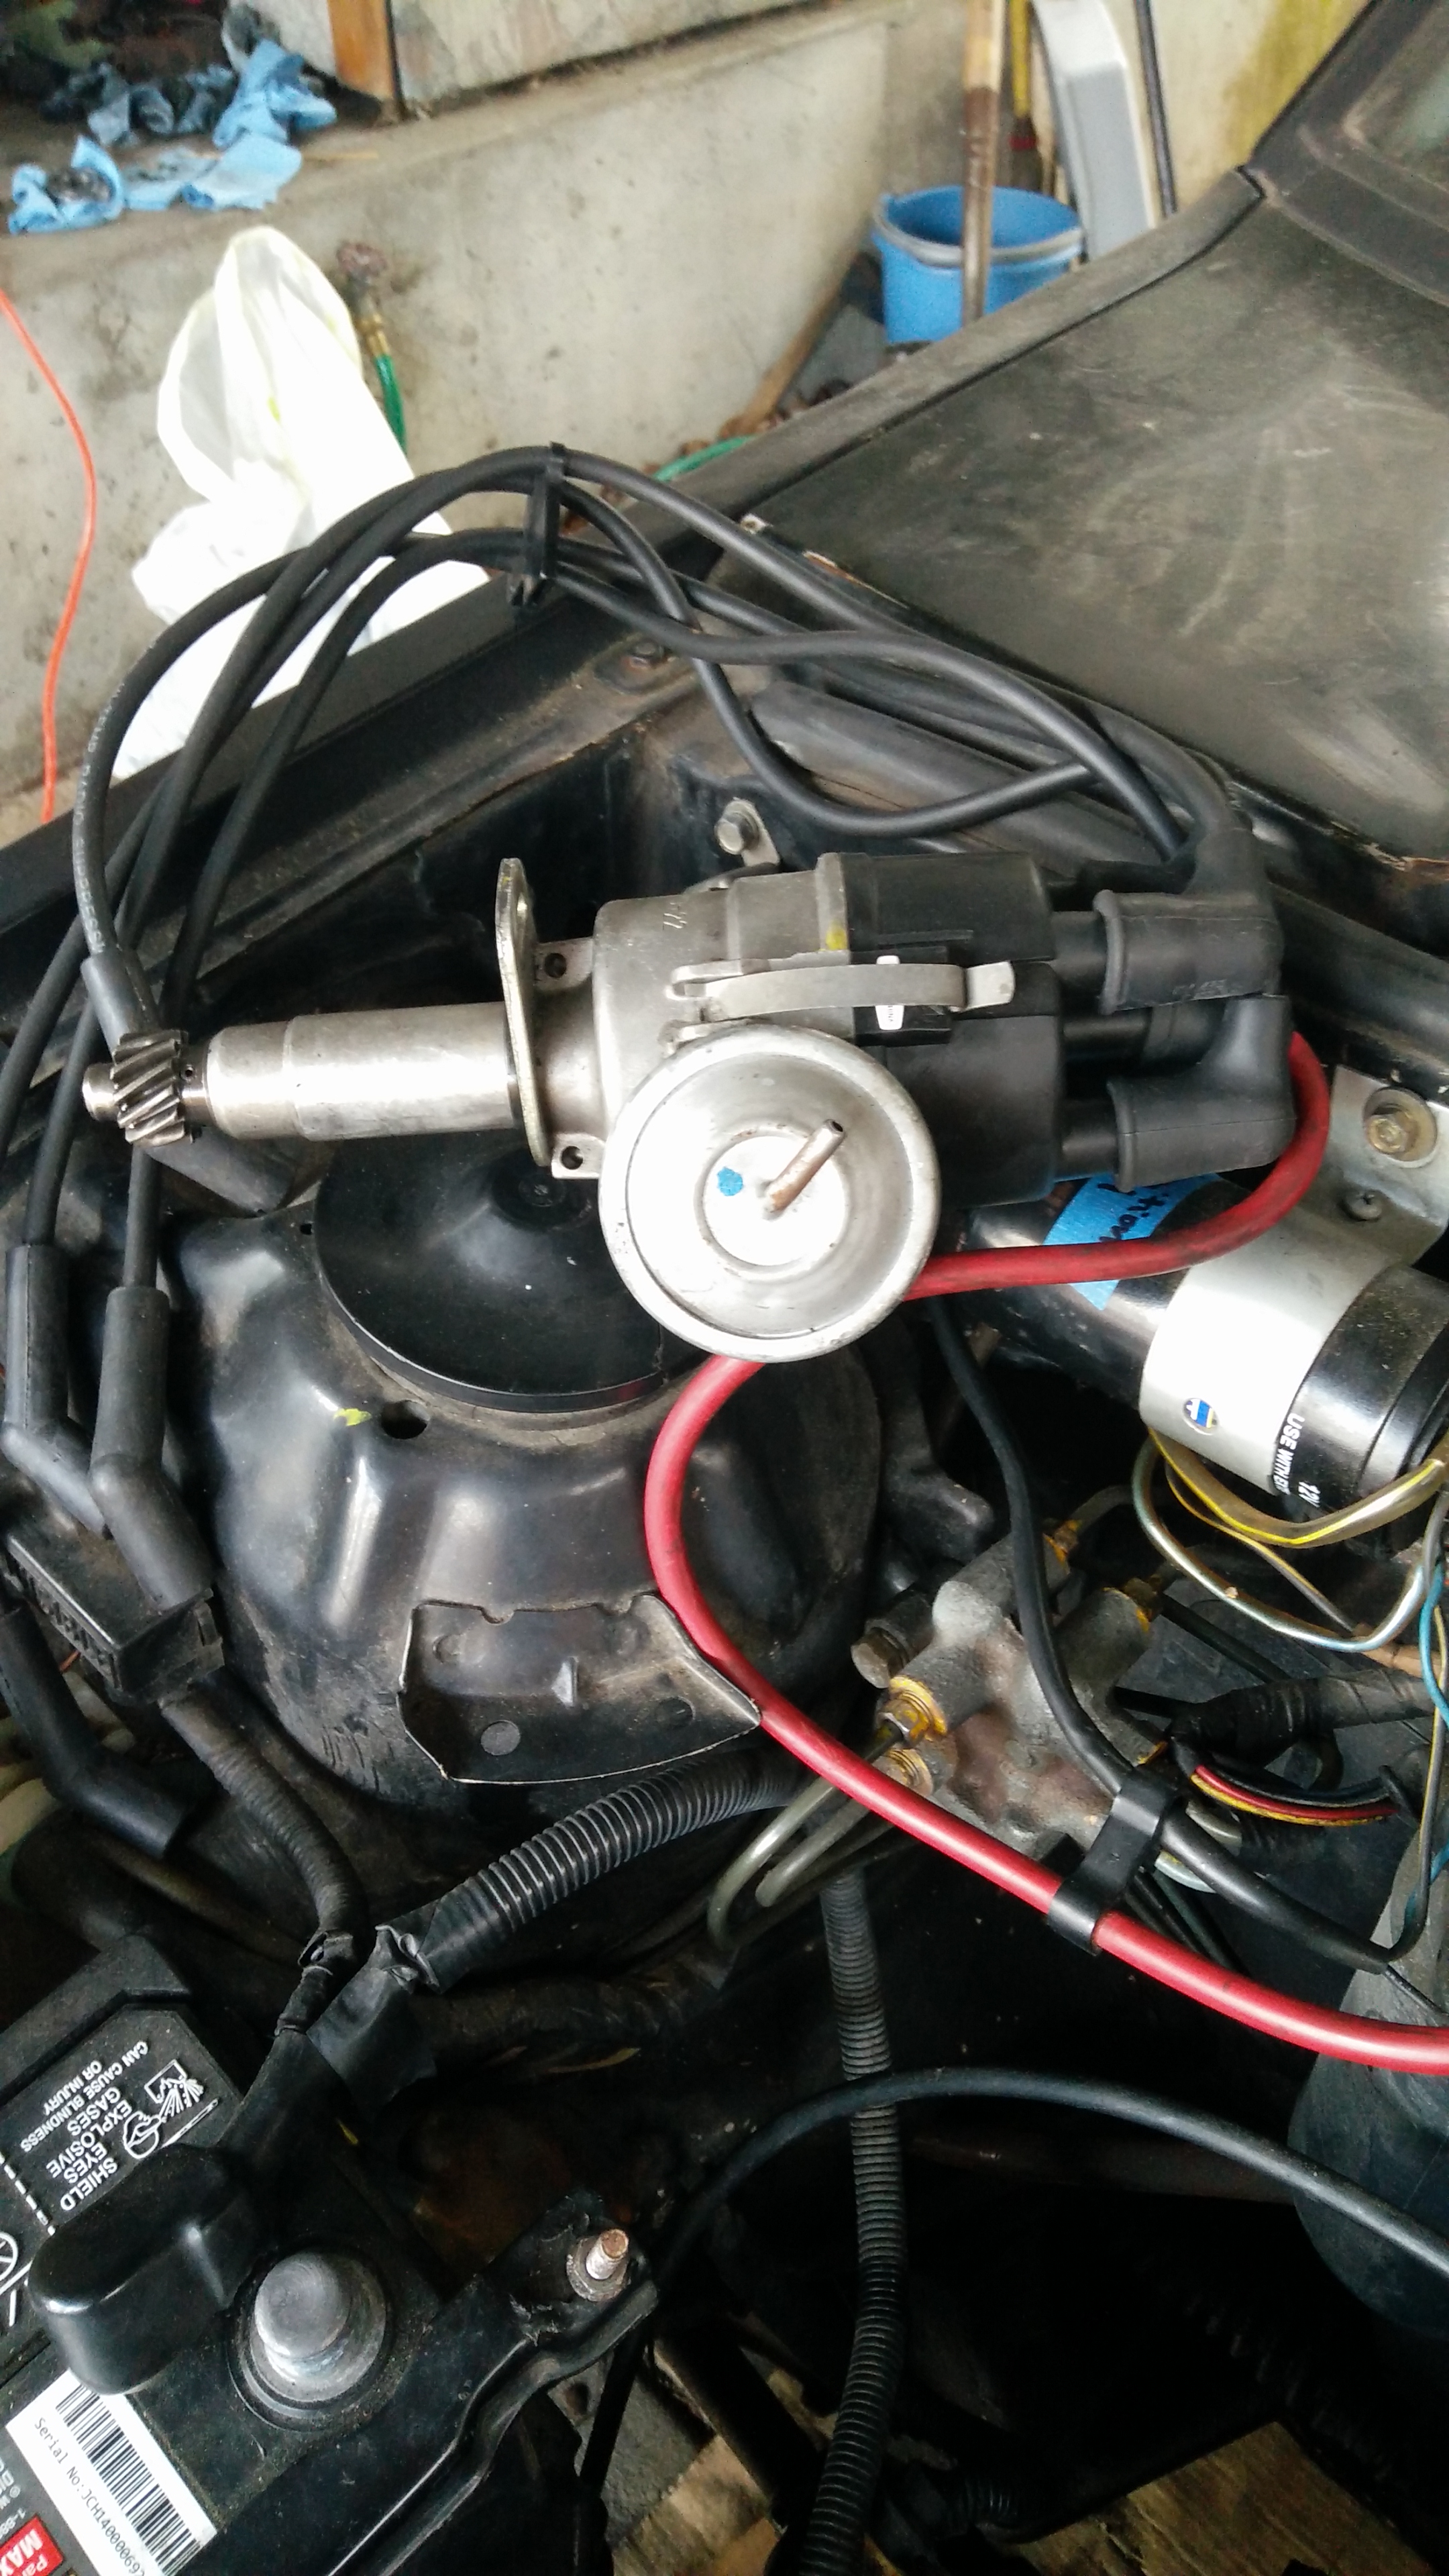
alternator bracket and ground wire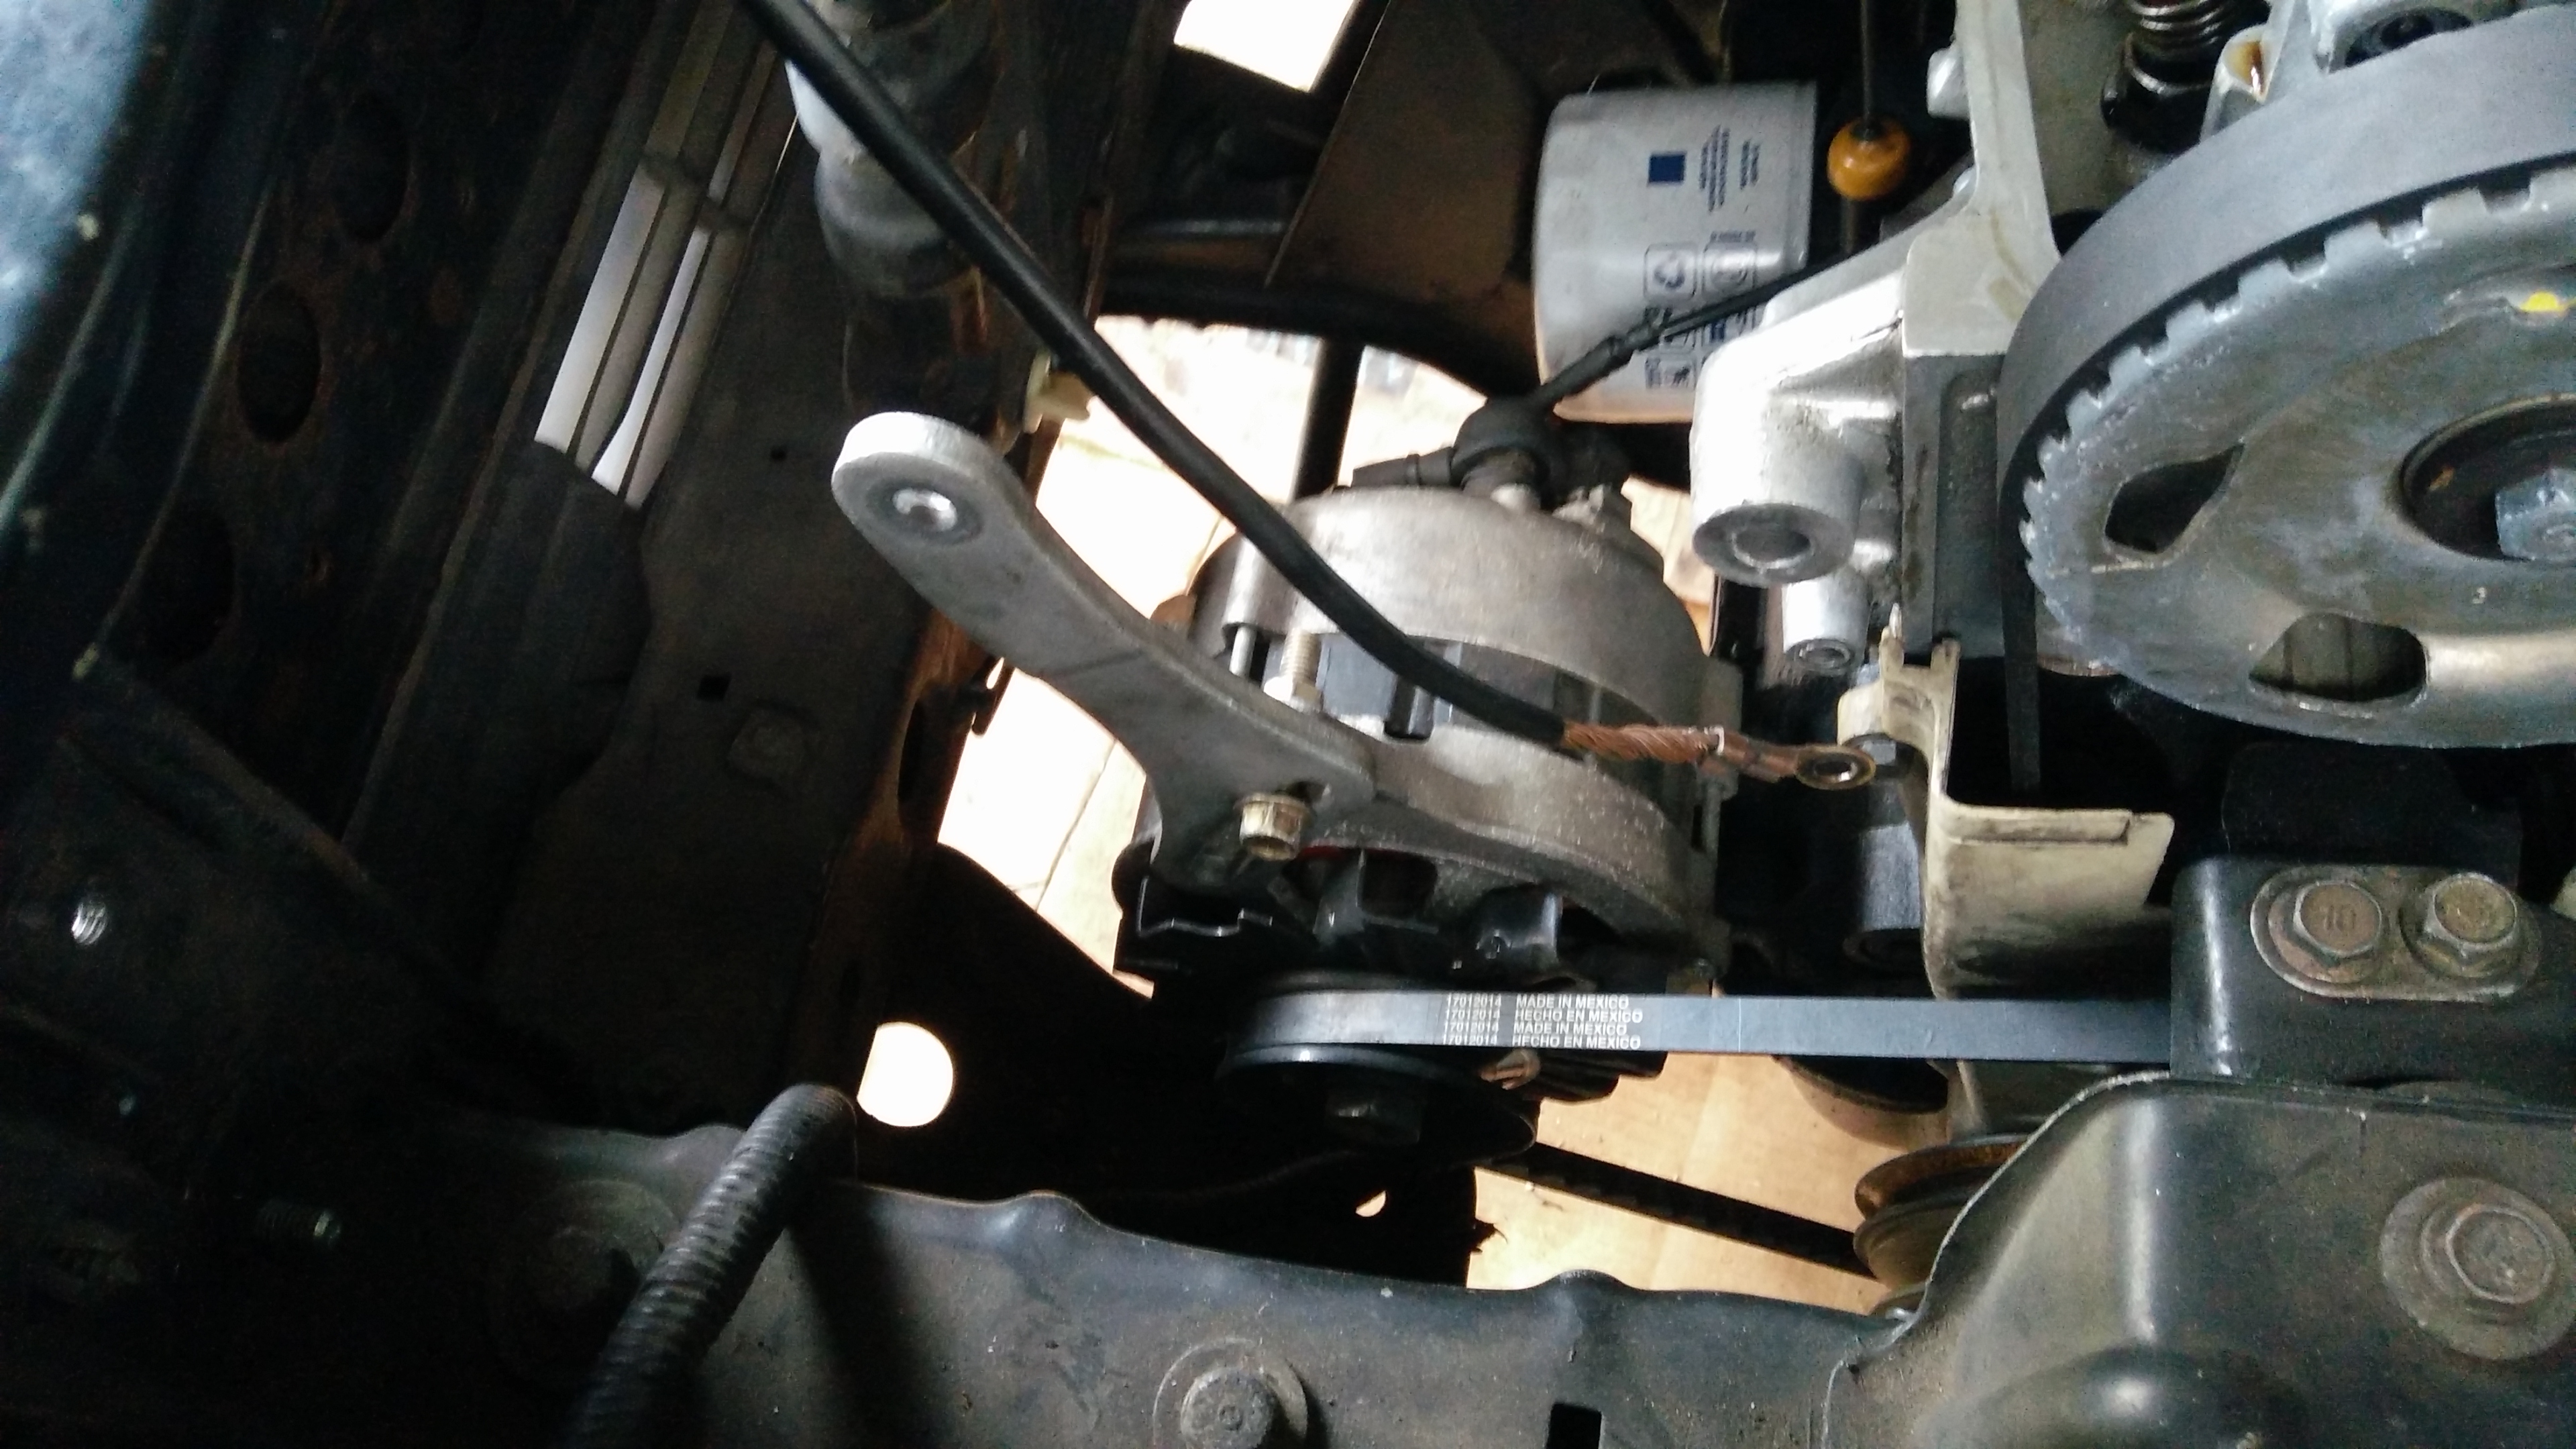
and others, like the tachometer cable, throttle cable, coolant hoses and various emissions devices. Getting all of this stuff back together was made much easier with the gasket kit which had a replacement for every single O-ring and gasket on the pieces we needed to assemble. Most things went together pretty quickly at this point, and the drawings in the factory manual were helpful whenever we got stumped.
Before long we had installed all of the bits mentioned above, and even figured out the anti-afterburn and secondary air injection pieces that the previous owner had disassembled. At this point we removed the valve cover for the last time (there was just barely enough room to get it in and out around the emissions pieces) to install the oil pump drive gear and a new valve cover gasket.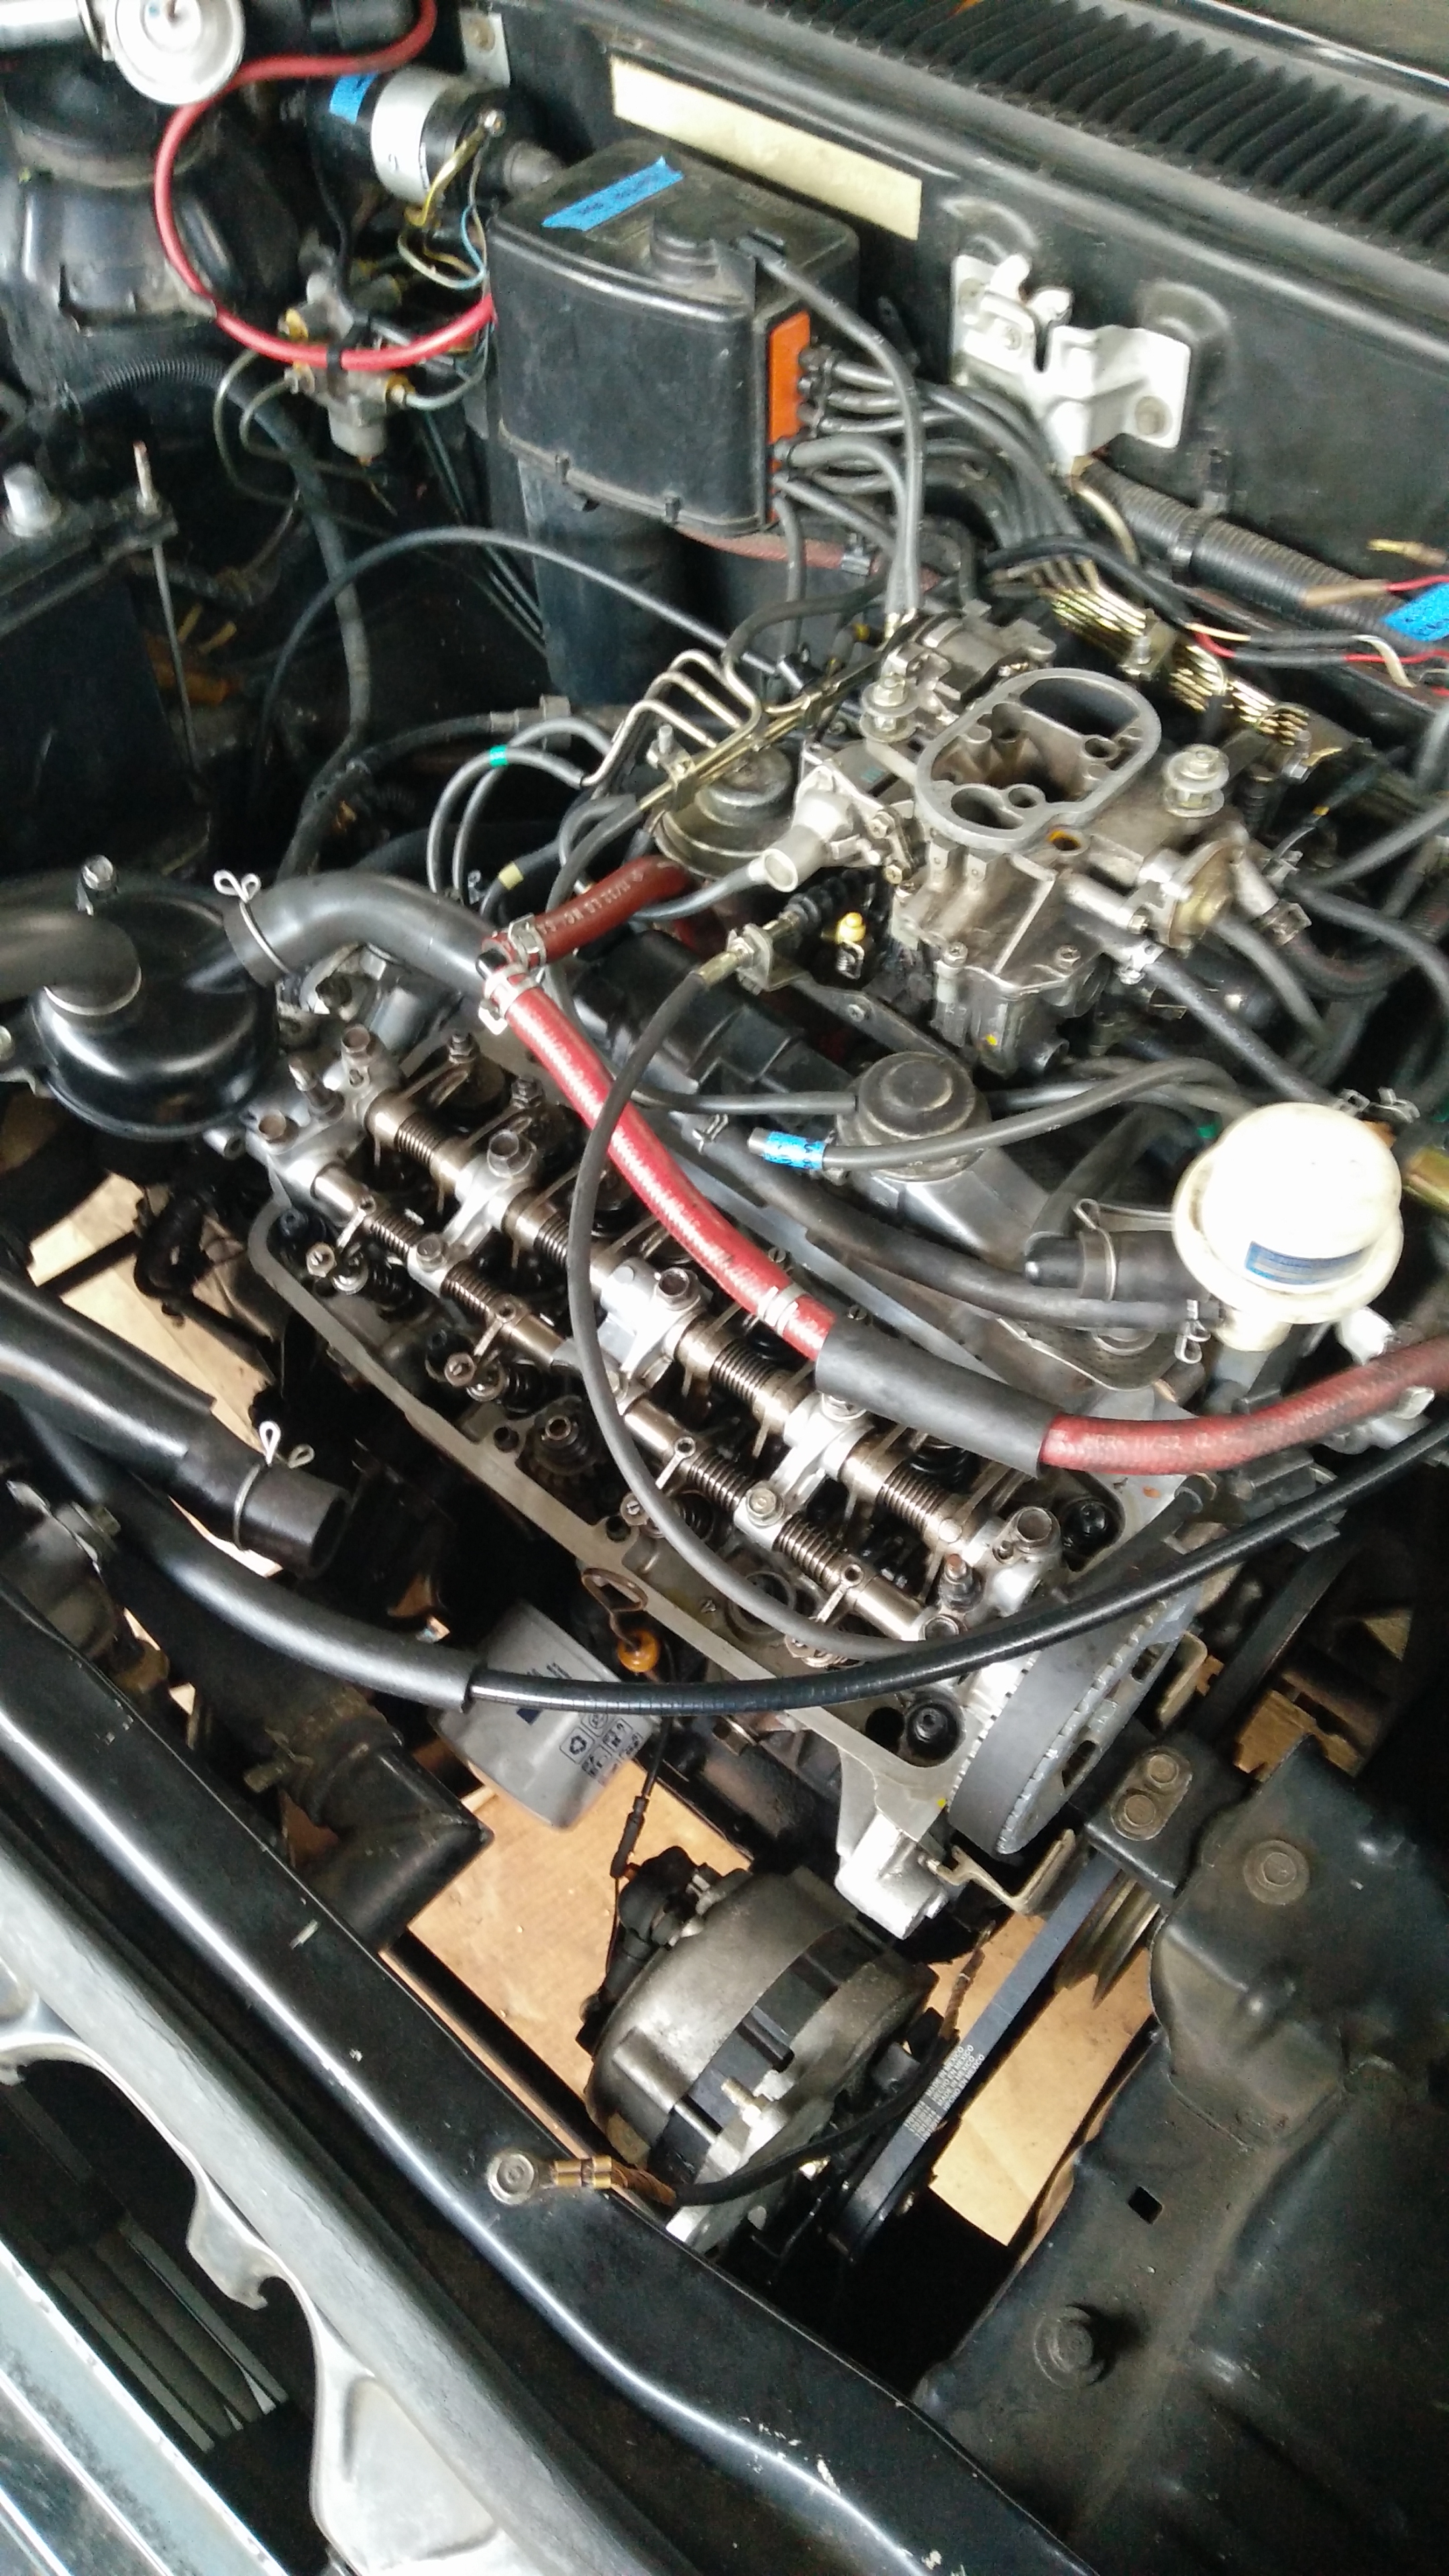
If I do this again I would do the final installation of the valve cover gasket earlier in the process; with so many parts in the way I ended up not getting the valve cover gasket seated properly on the transmission end of the engine, probably because I was trying to get the timing belt cover to fit on the other end. Luckily it was fairly easy to get the gasket back in place once I noticed the problem.
At this point all it needed was the air cleaner and the engine was back together and ready to run!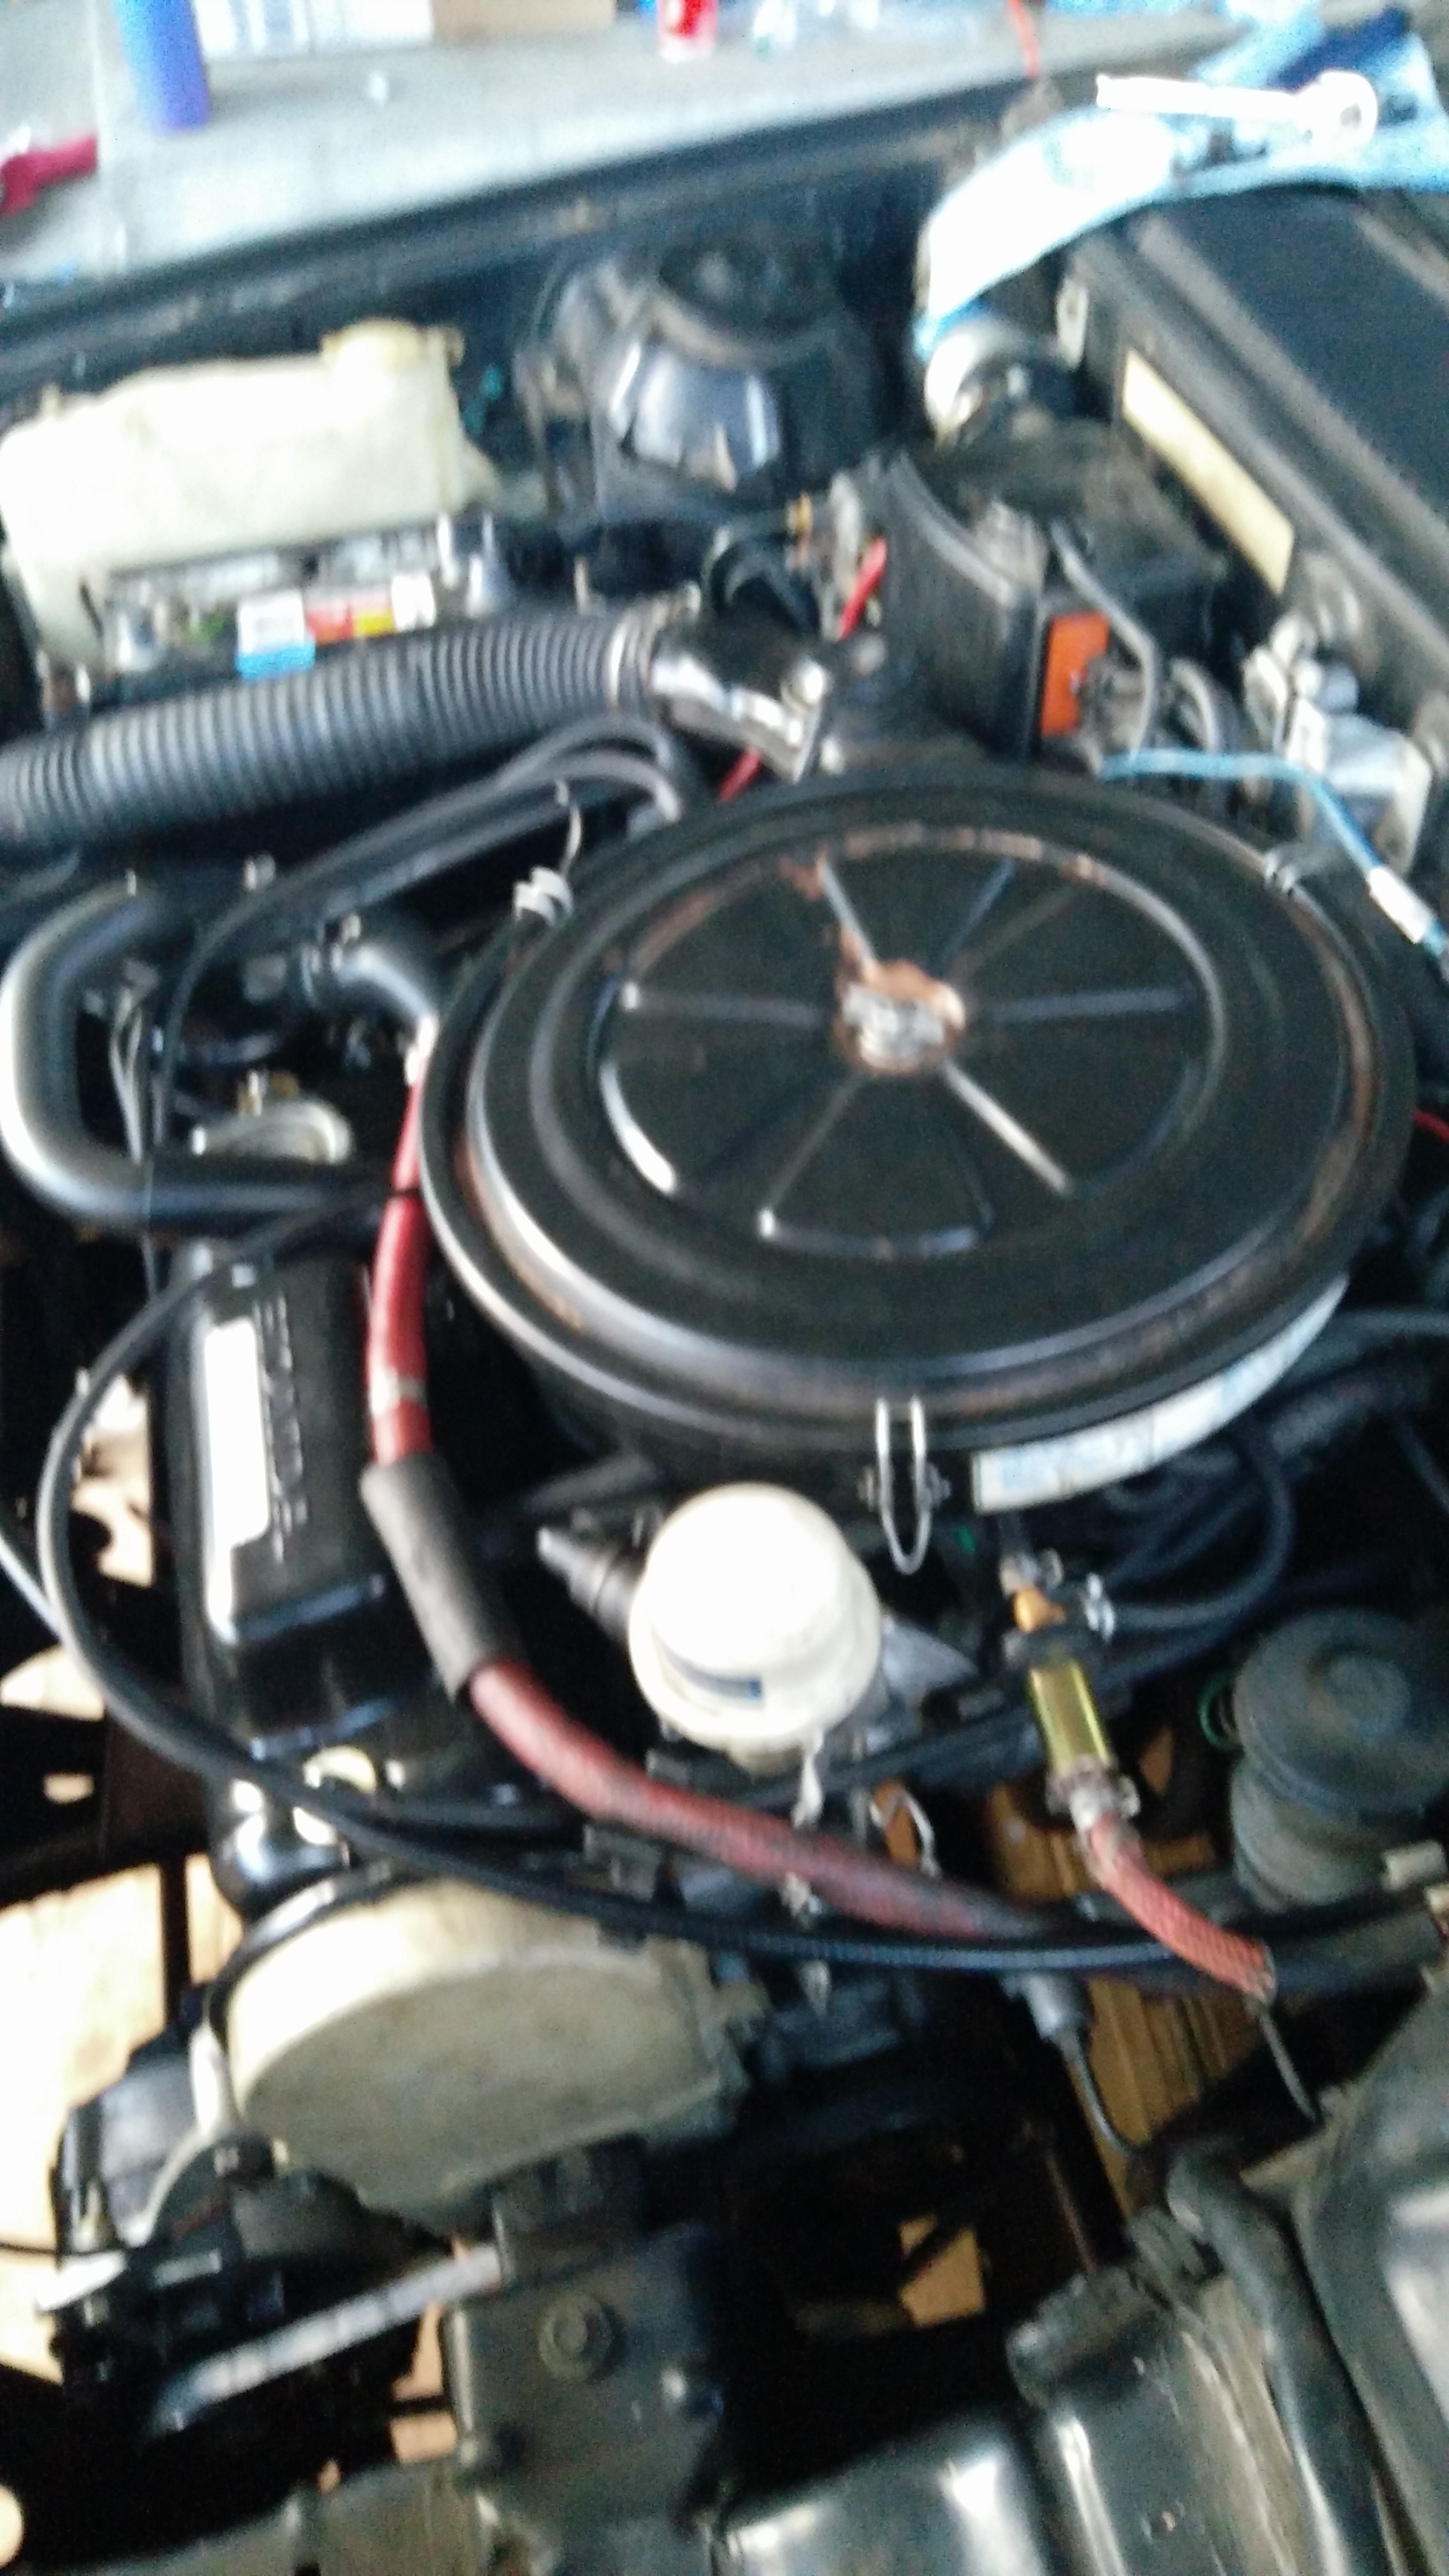
However, the first attempt to start it will be described in the next post!
This is the fourth post in a series about this car.
Part 1
Part 2
Part 3
All posts in category ‘Honda’
I think You have done it in the proper way. All the tachometer cable, throttle cable, coolant are installed perfectly as seen in the picture. Good job