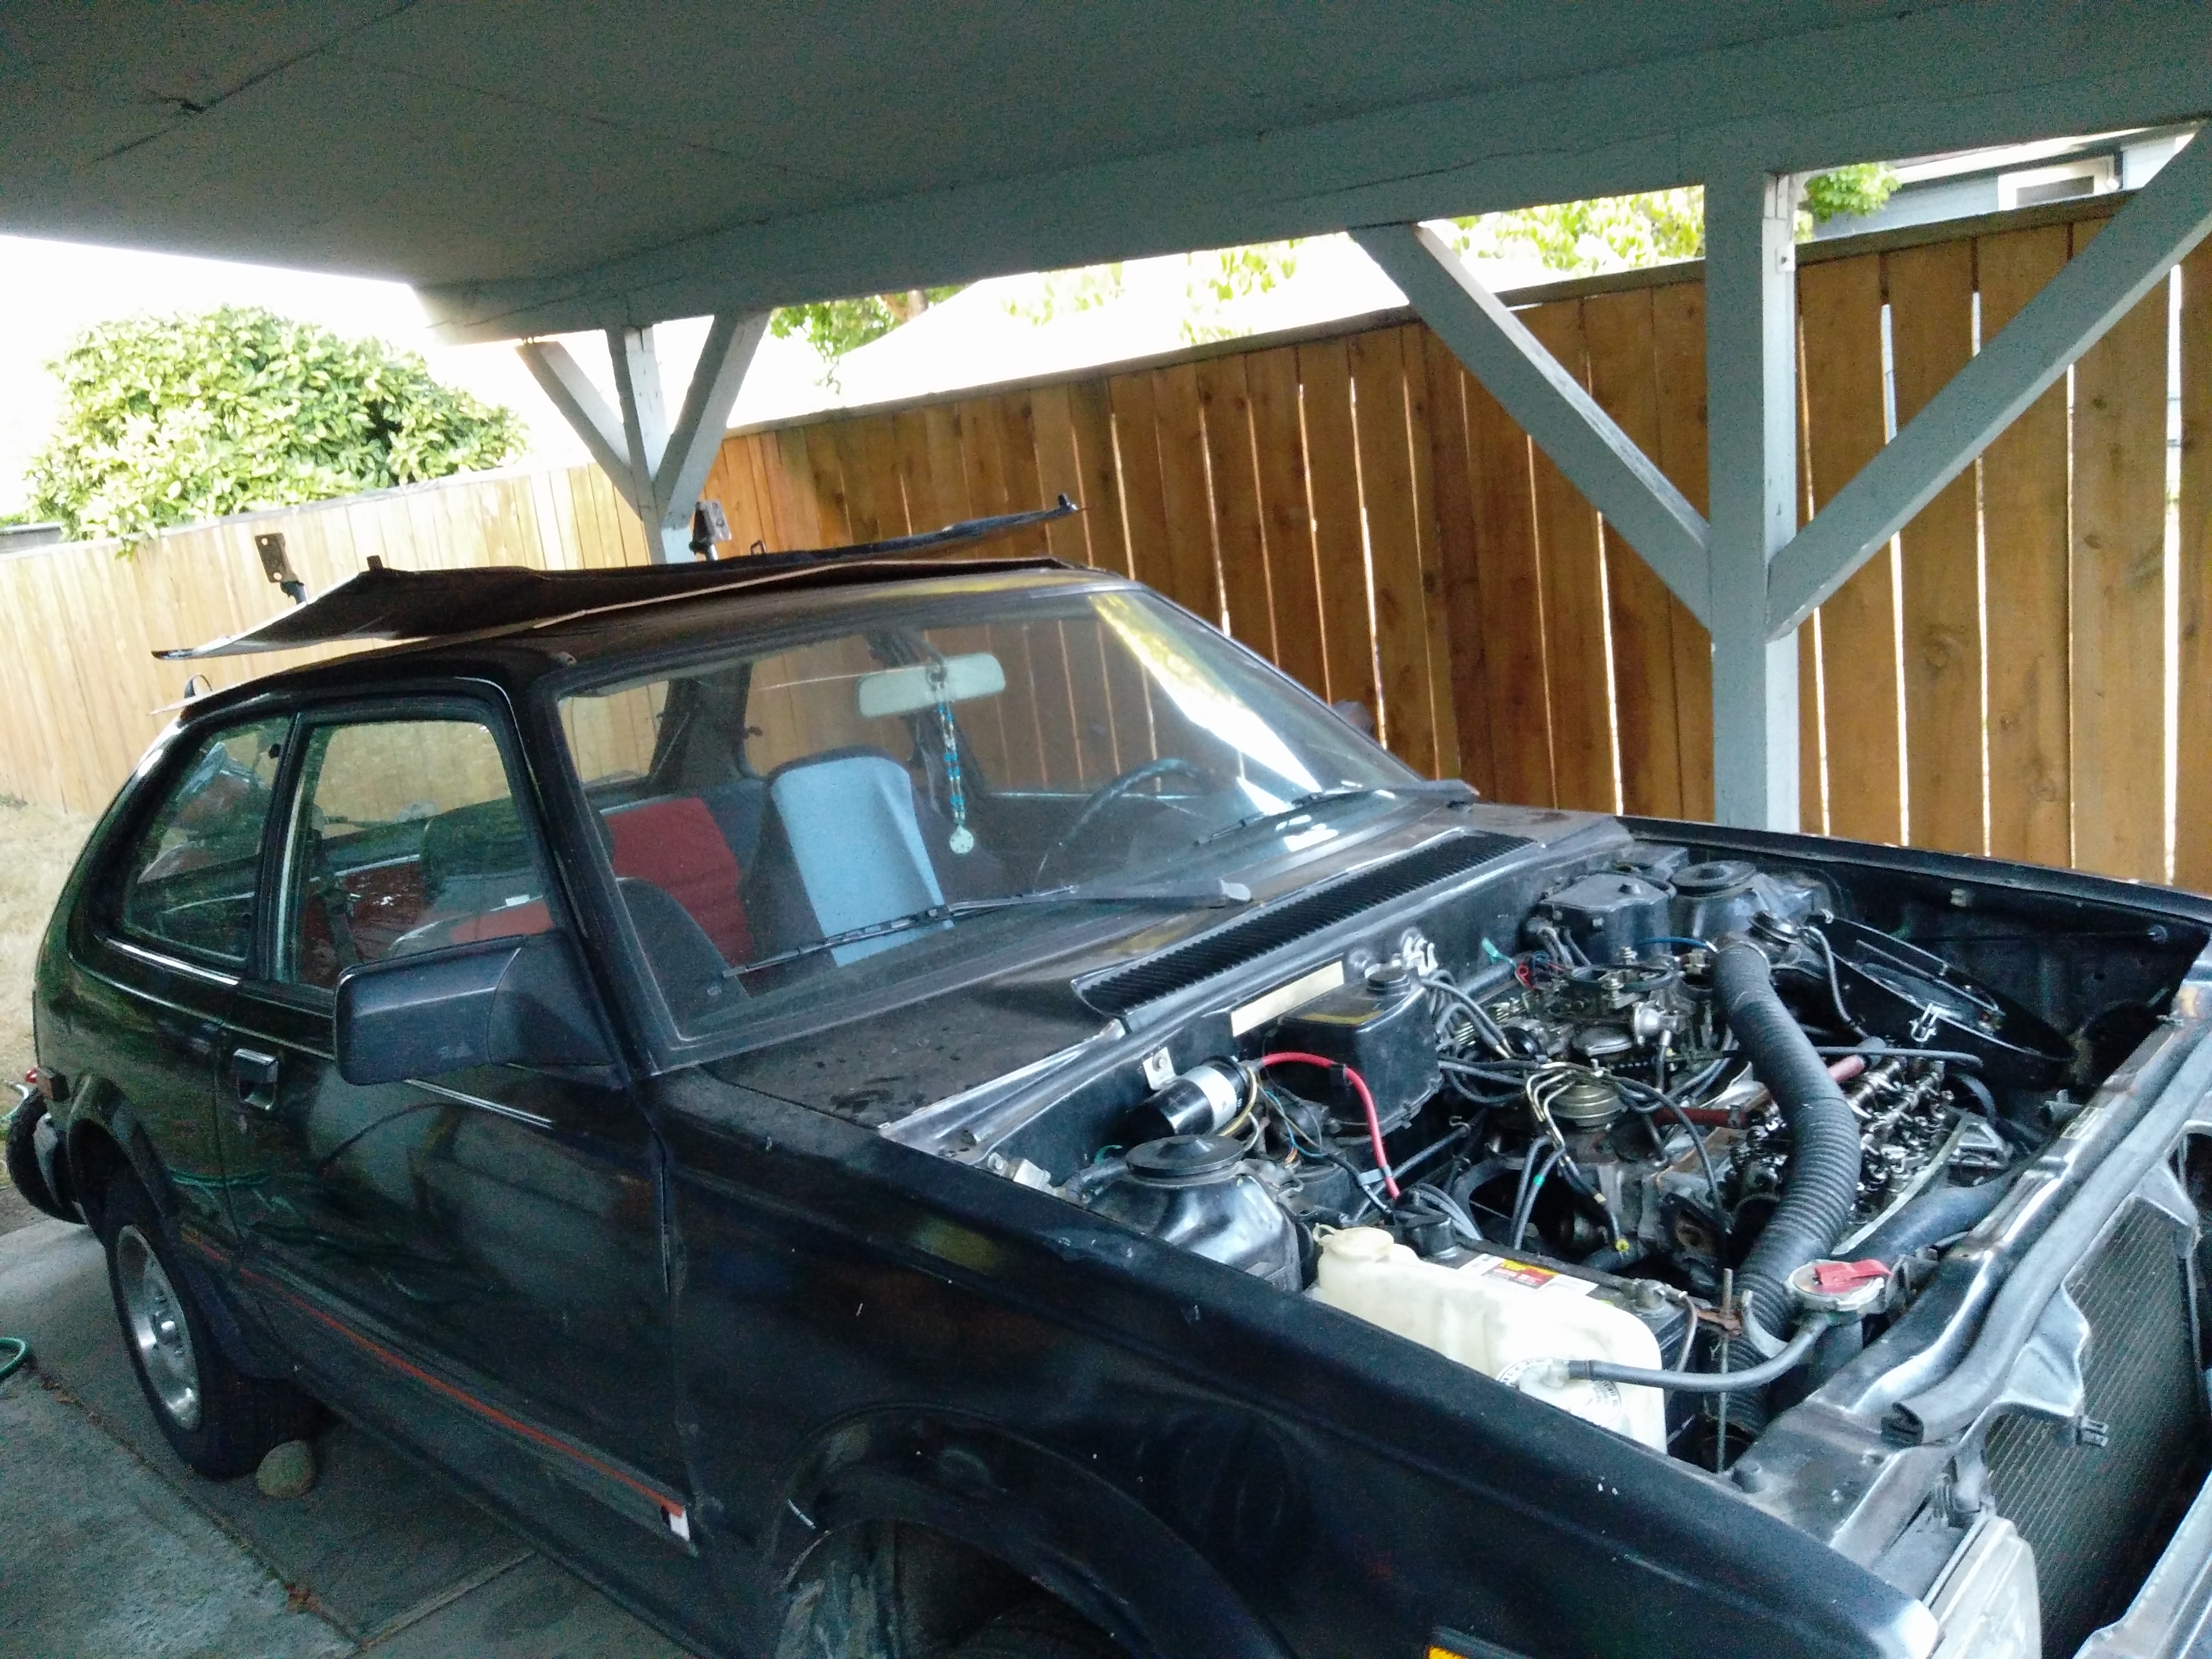
First step with a cool old Japanese car? Gotta take off the sweet forward-opening hood!
With that out of way, we swiftly began tearing down what we found, which mostly consisted of a gazillion vacuum lines connected to the (complex) carburetor and the three control boxes needed to get this 80’s California car to run. Here’s what it looked like once we got the majority labeled and disconnected.
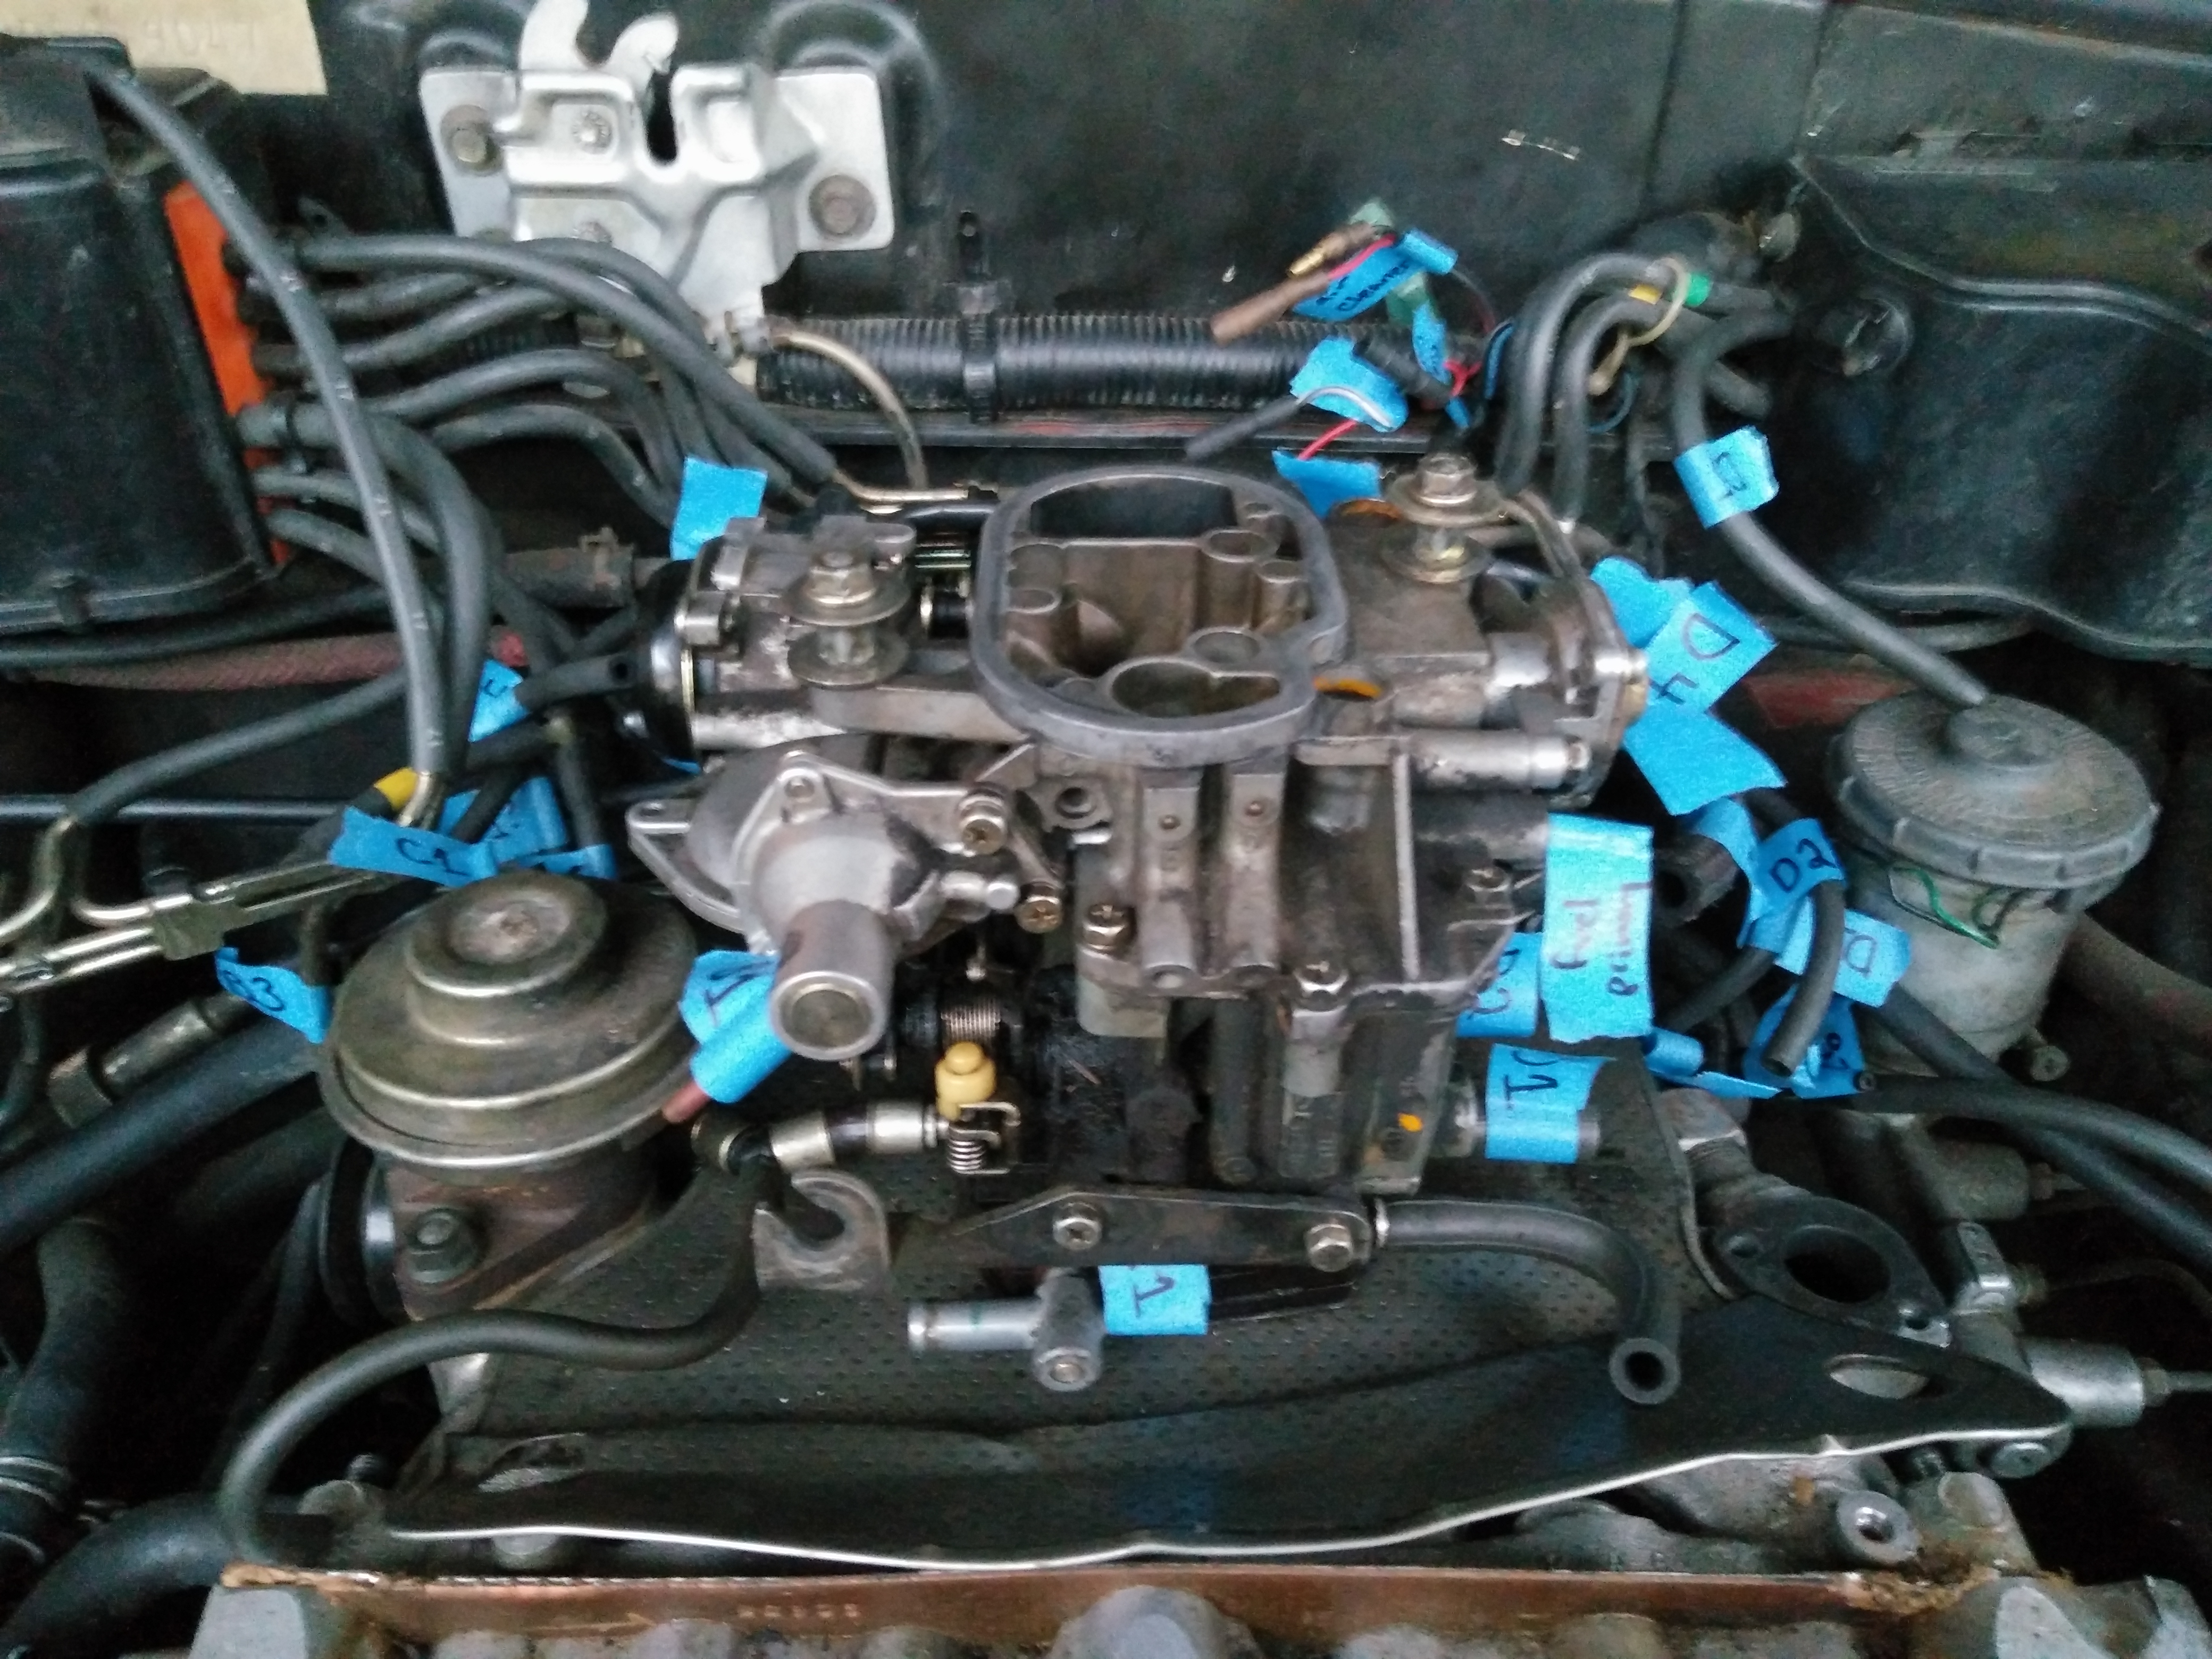 Luckily all the hoses were in pretty good shape, so this went pretty smoothly. Some of the connections on the back side of the carburetor were pretty difficult to reach though. Finally, we got the hoses disconnected and managed to thread a socket down to the four nuts holding the carb and were able to see the bare manifold.
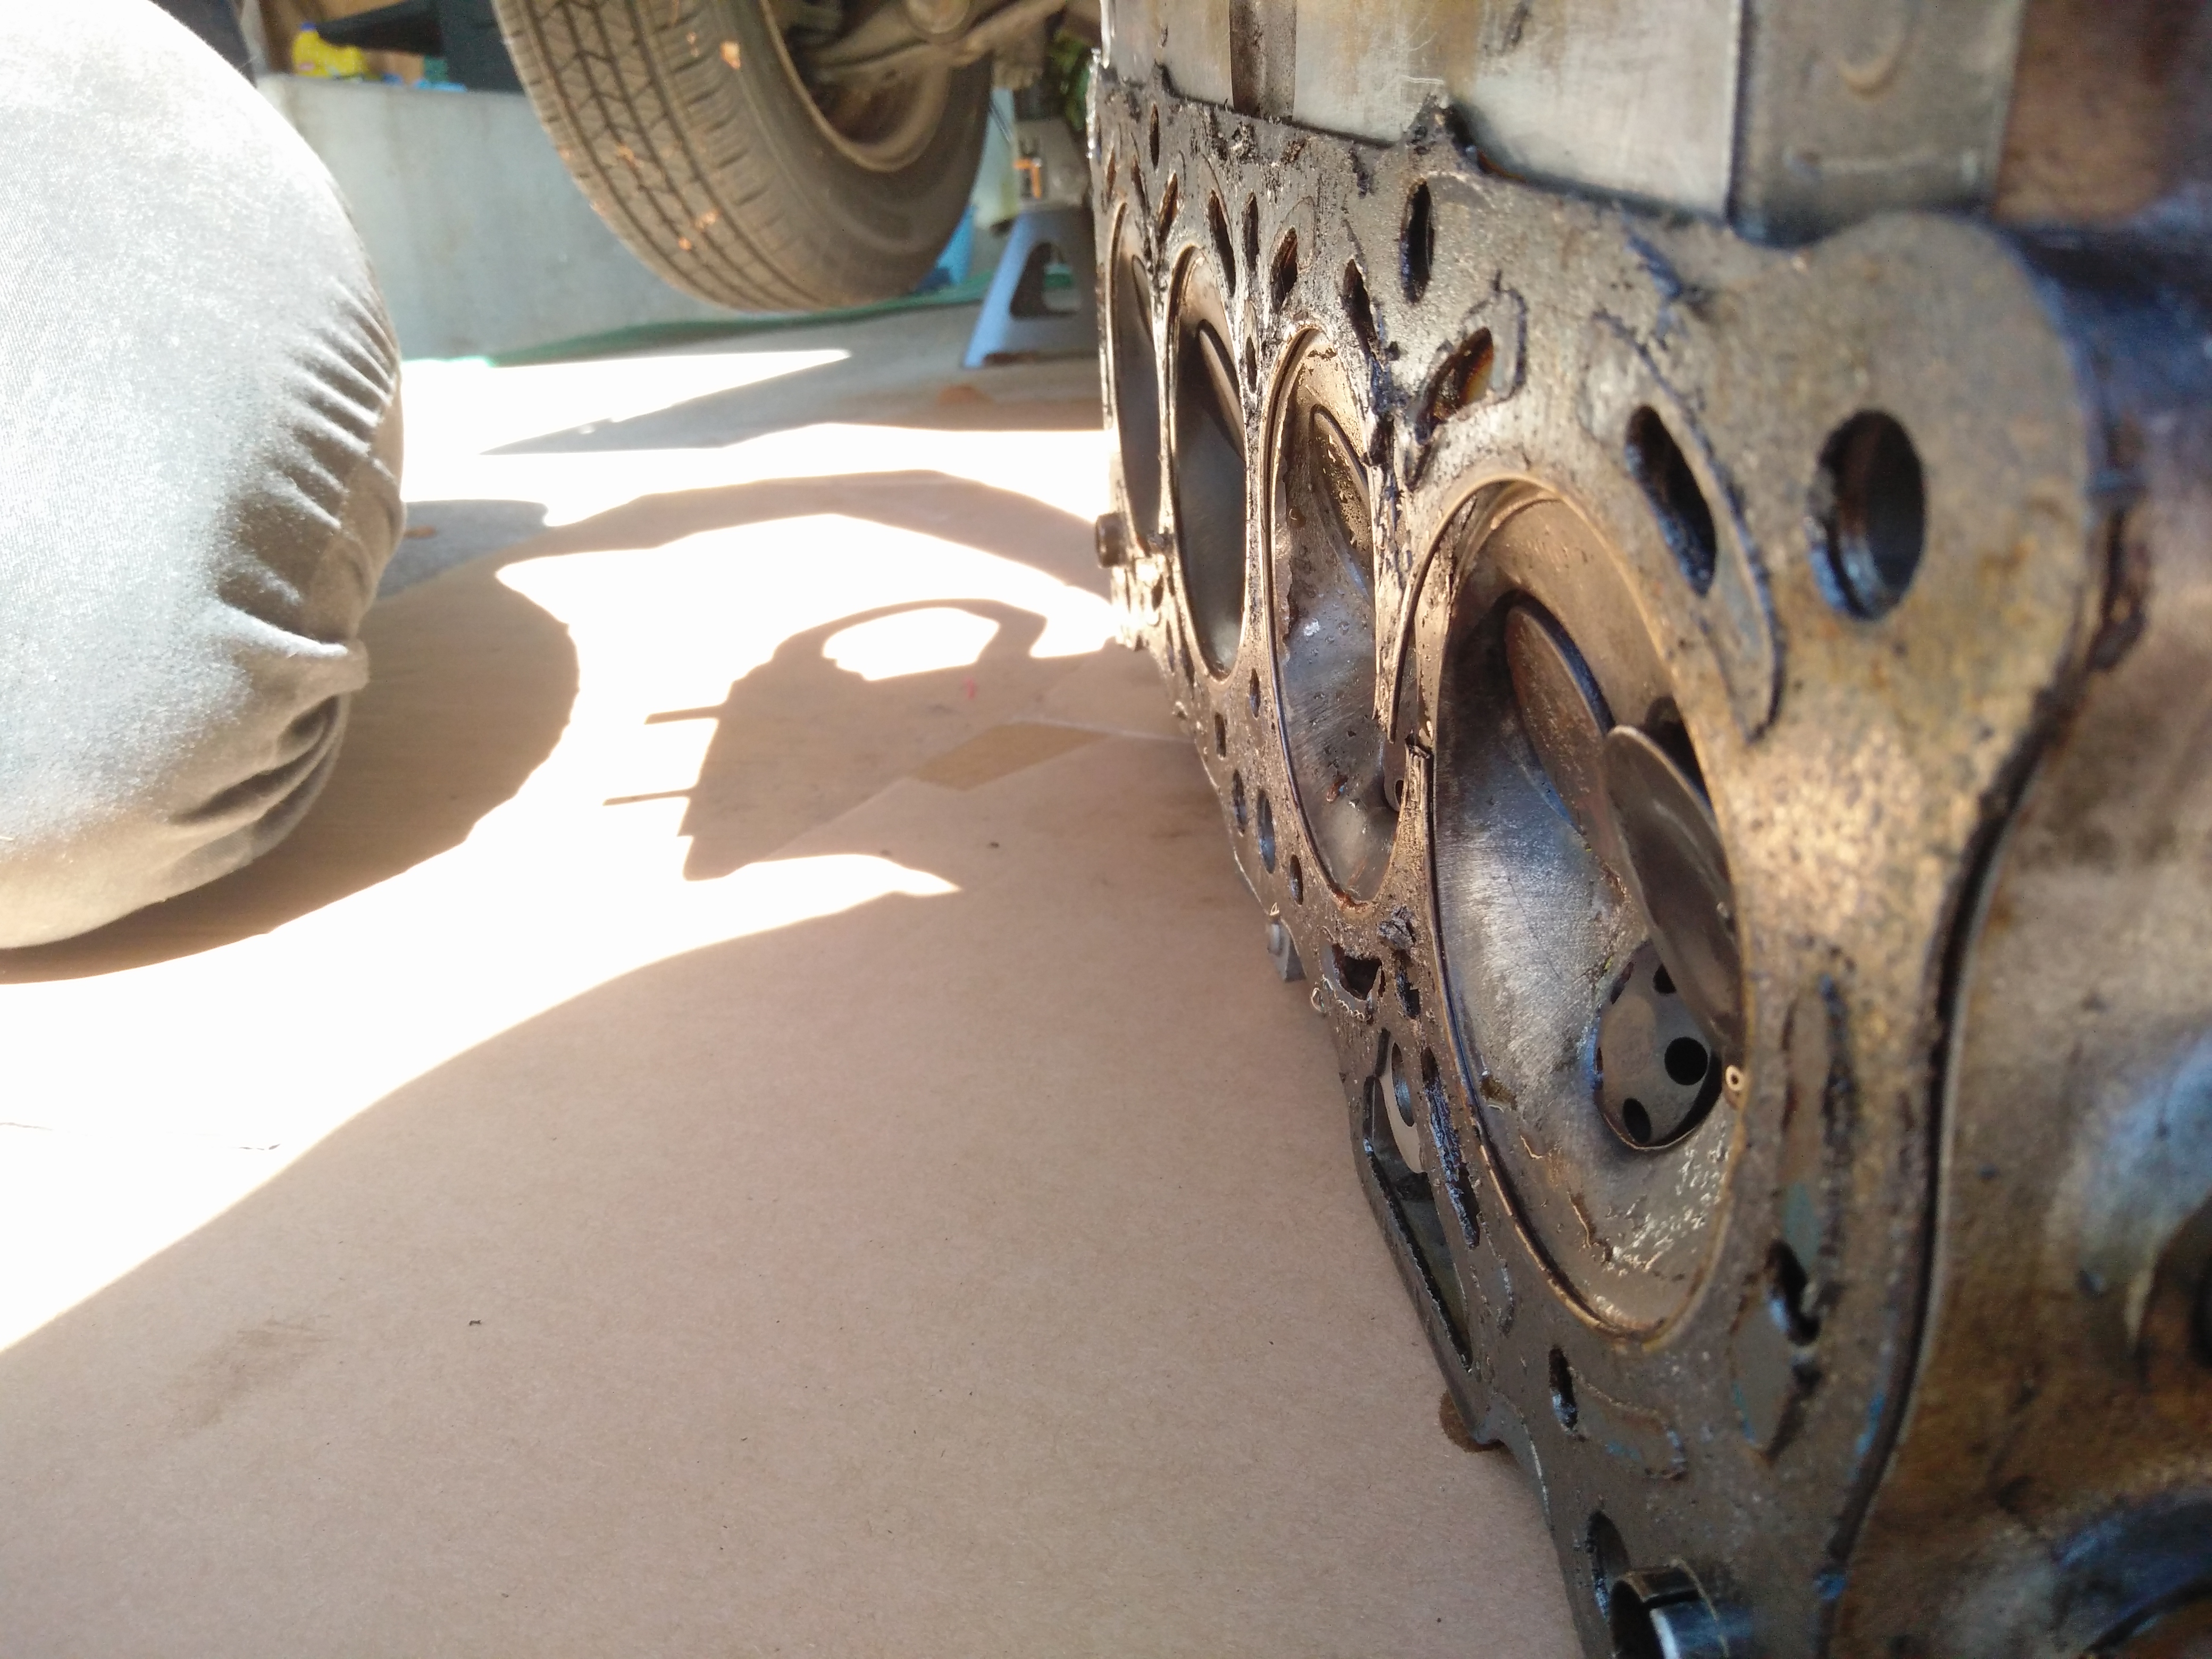
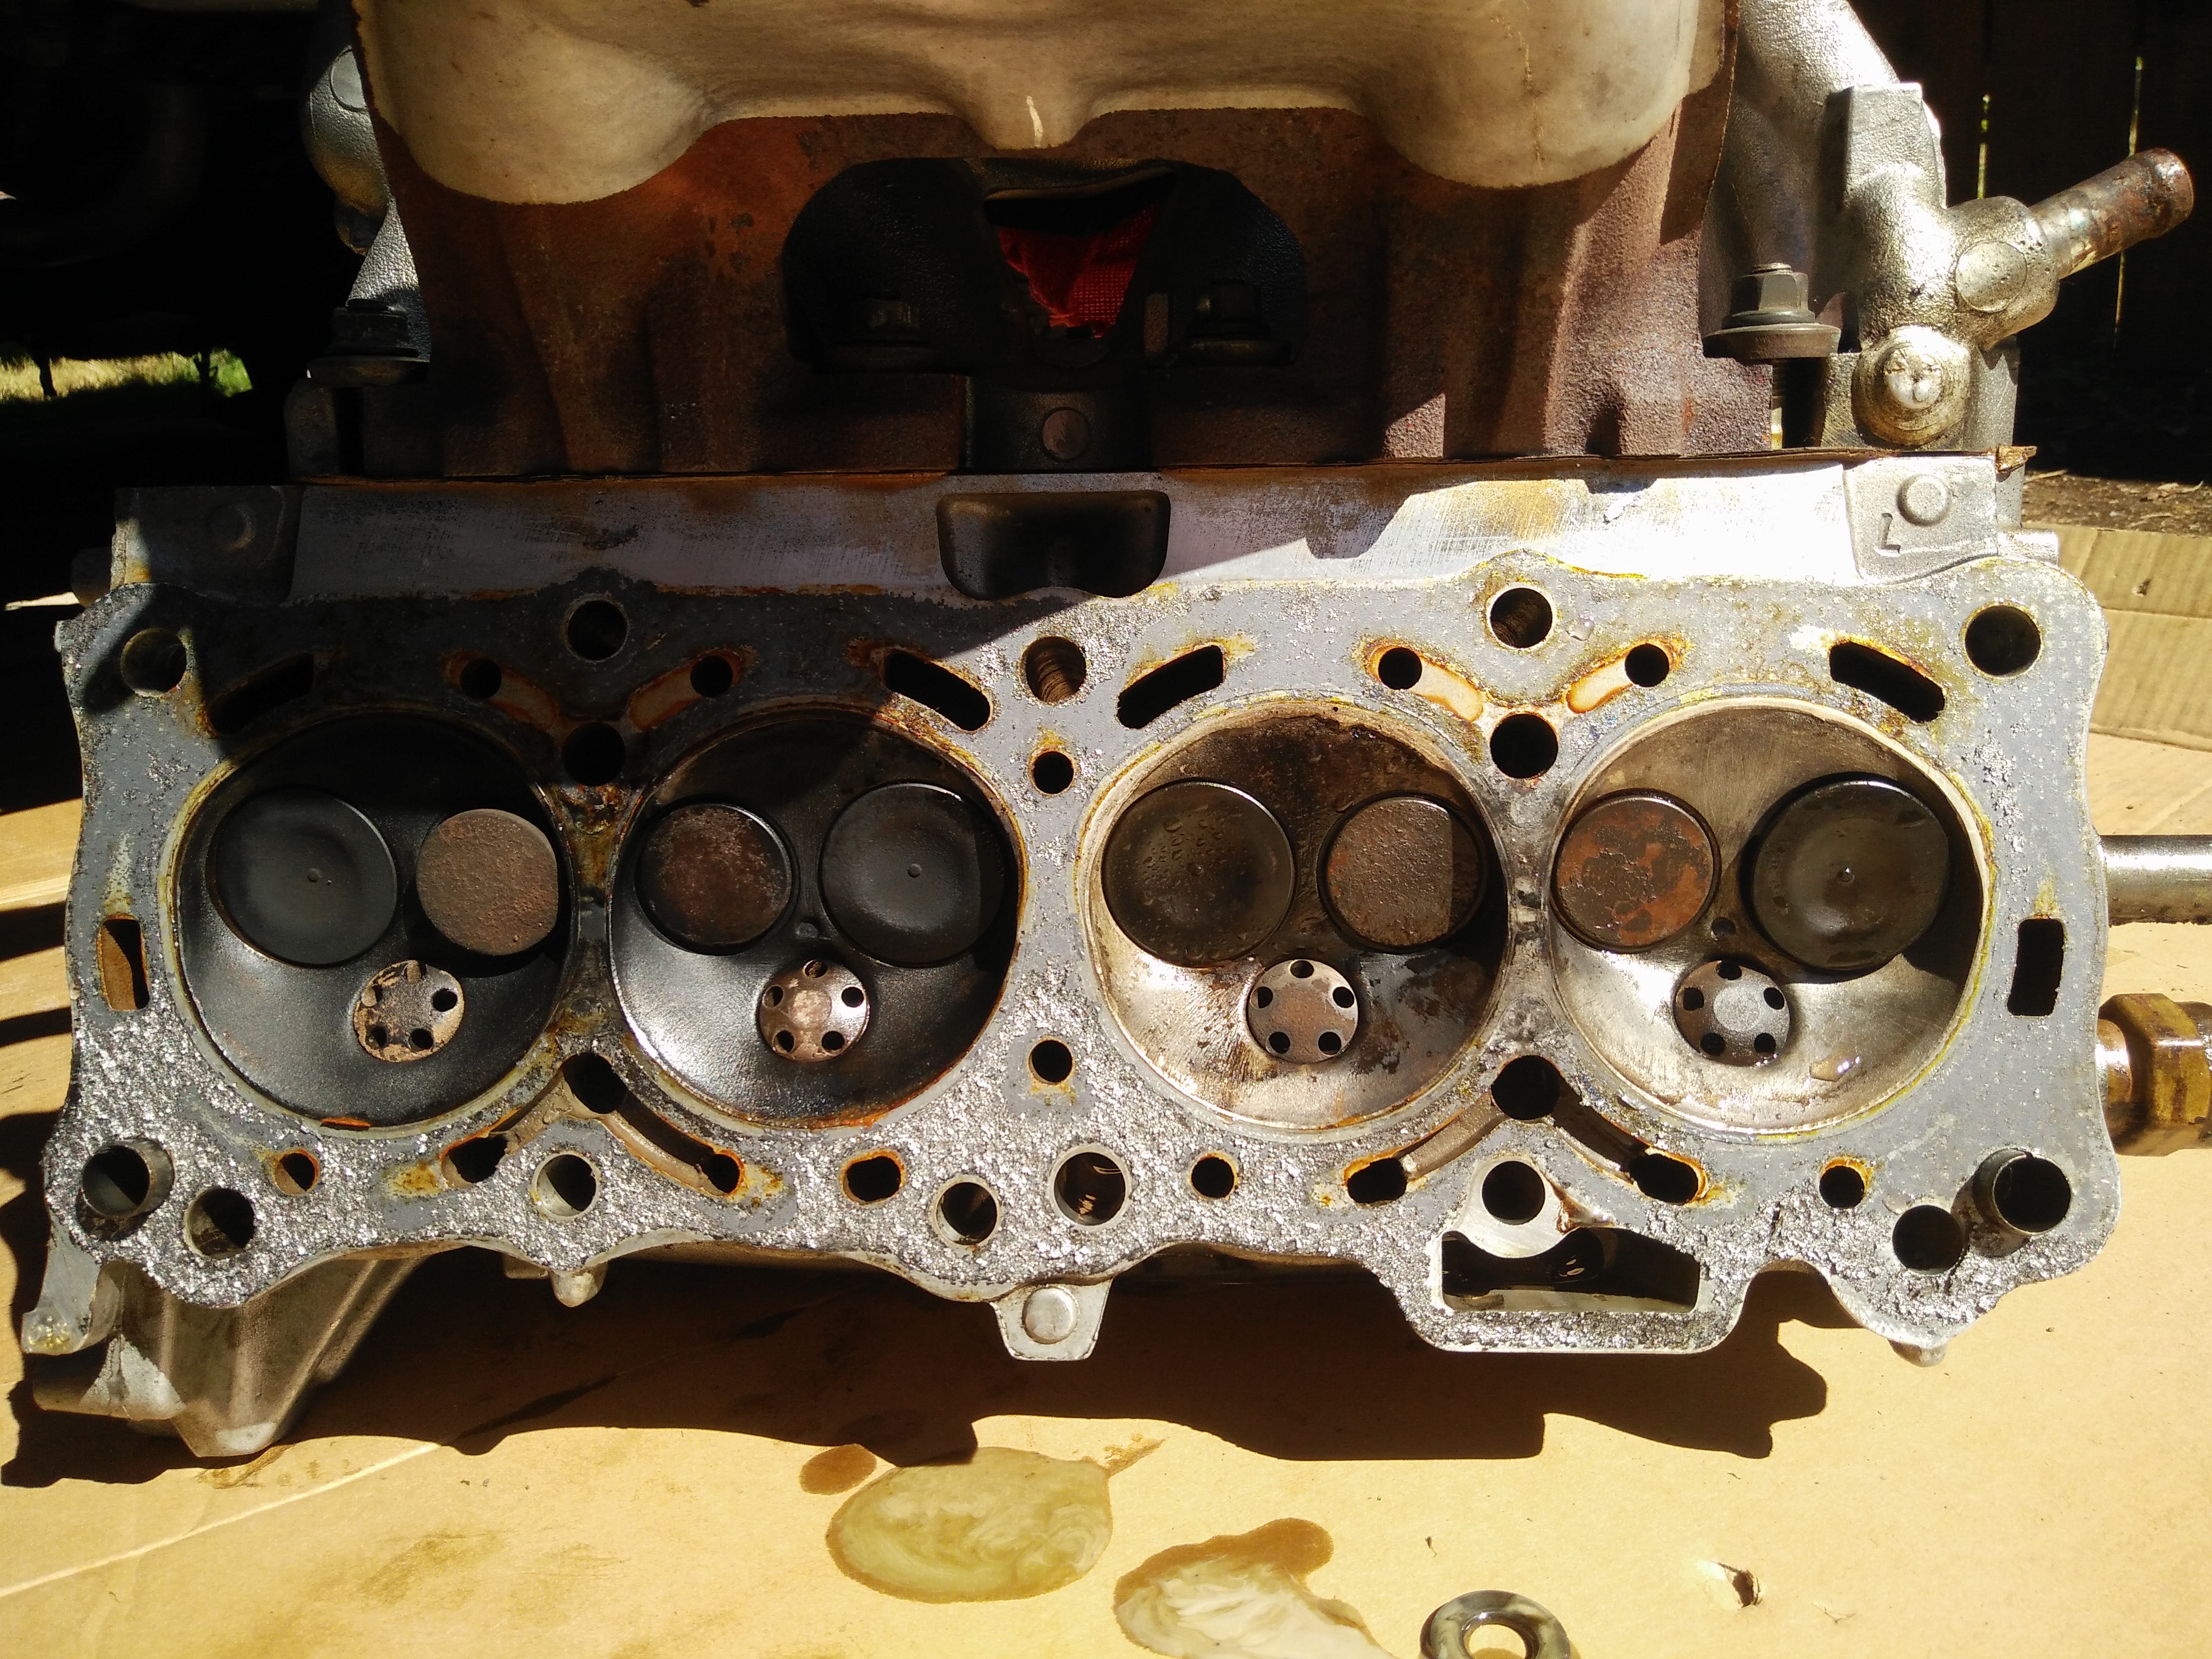
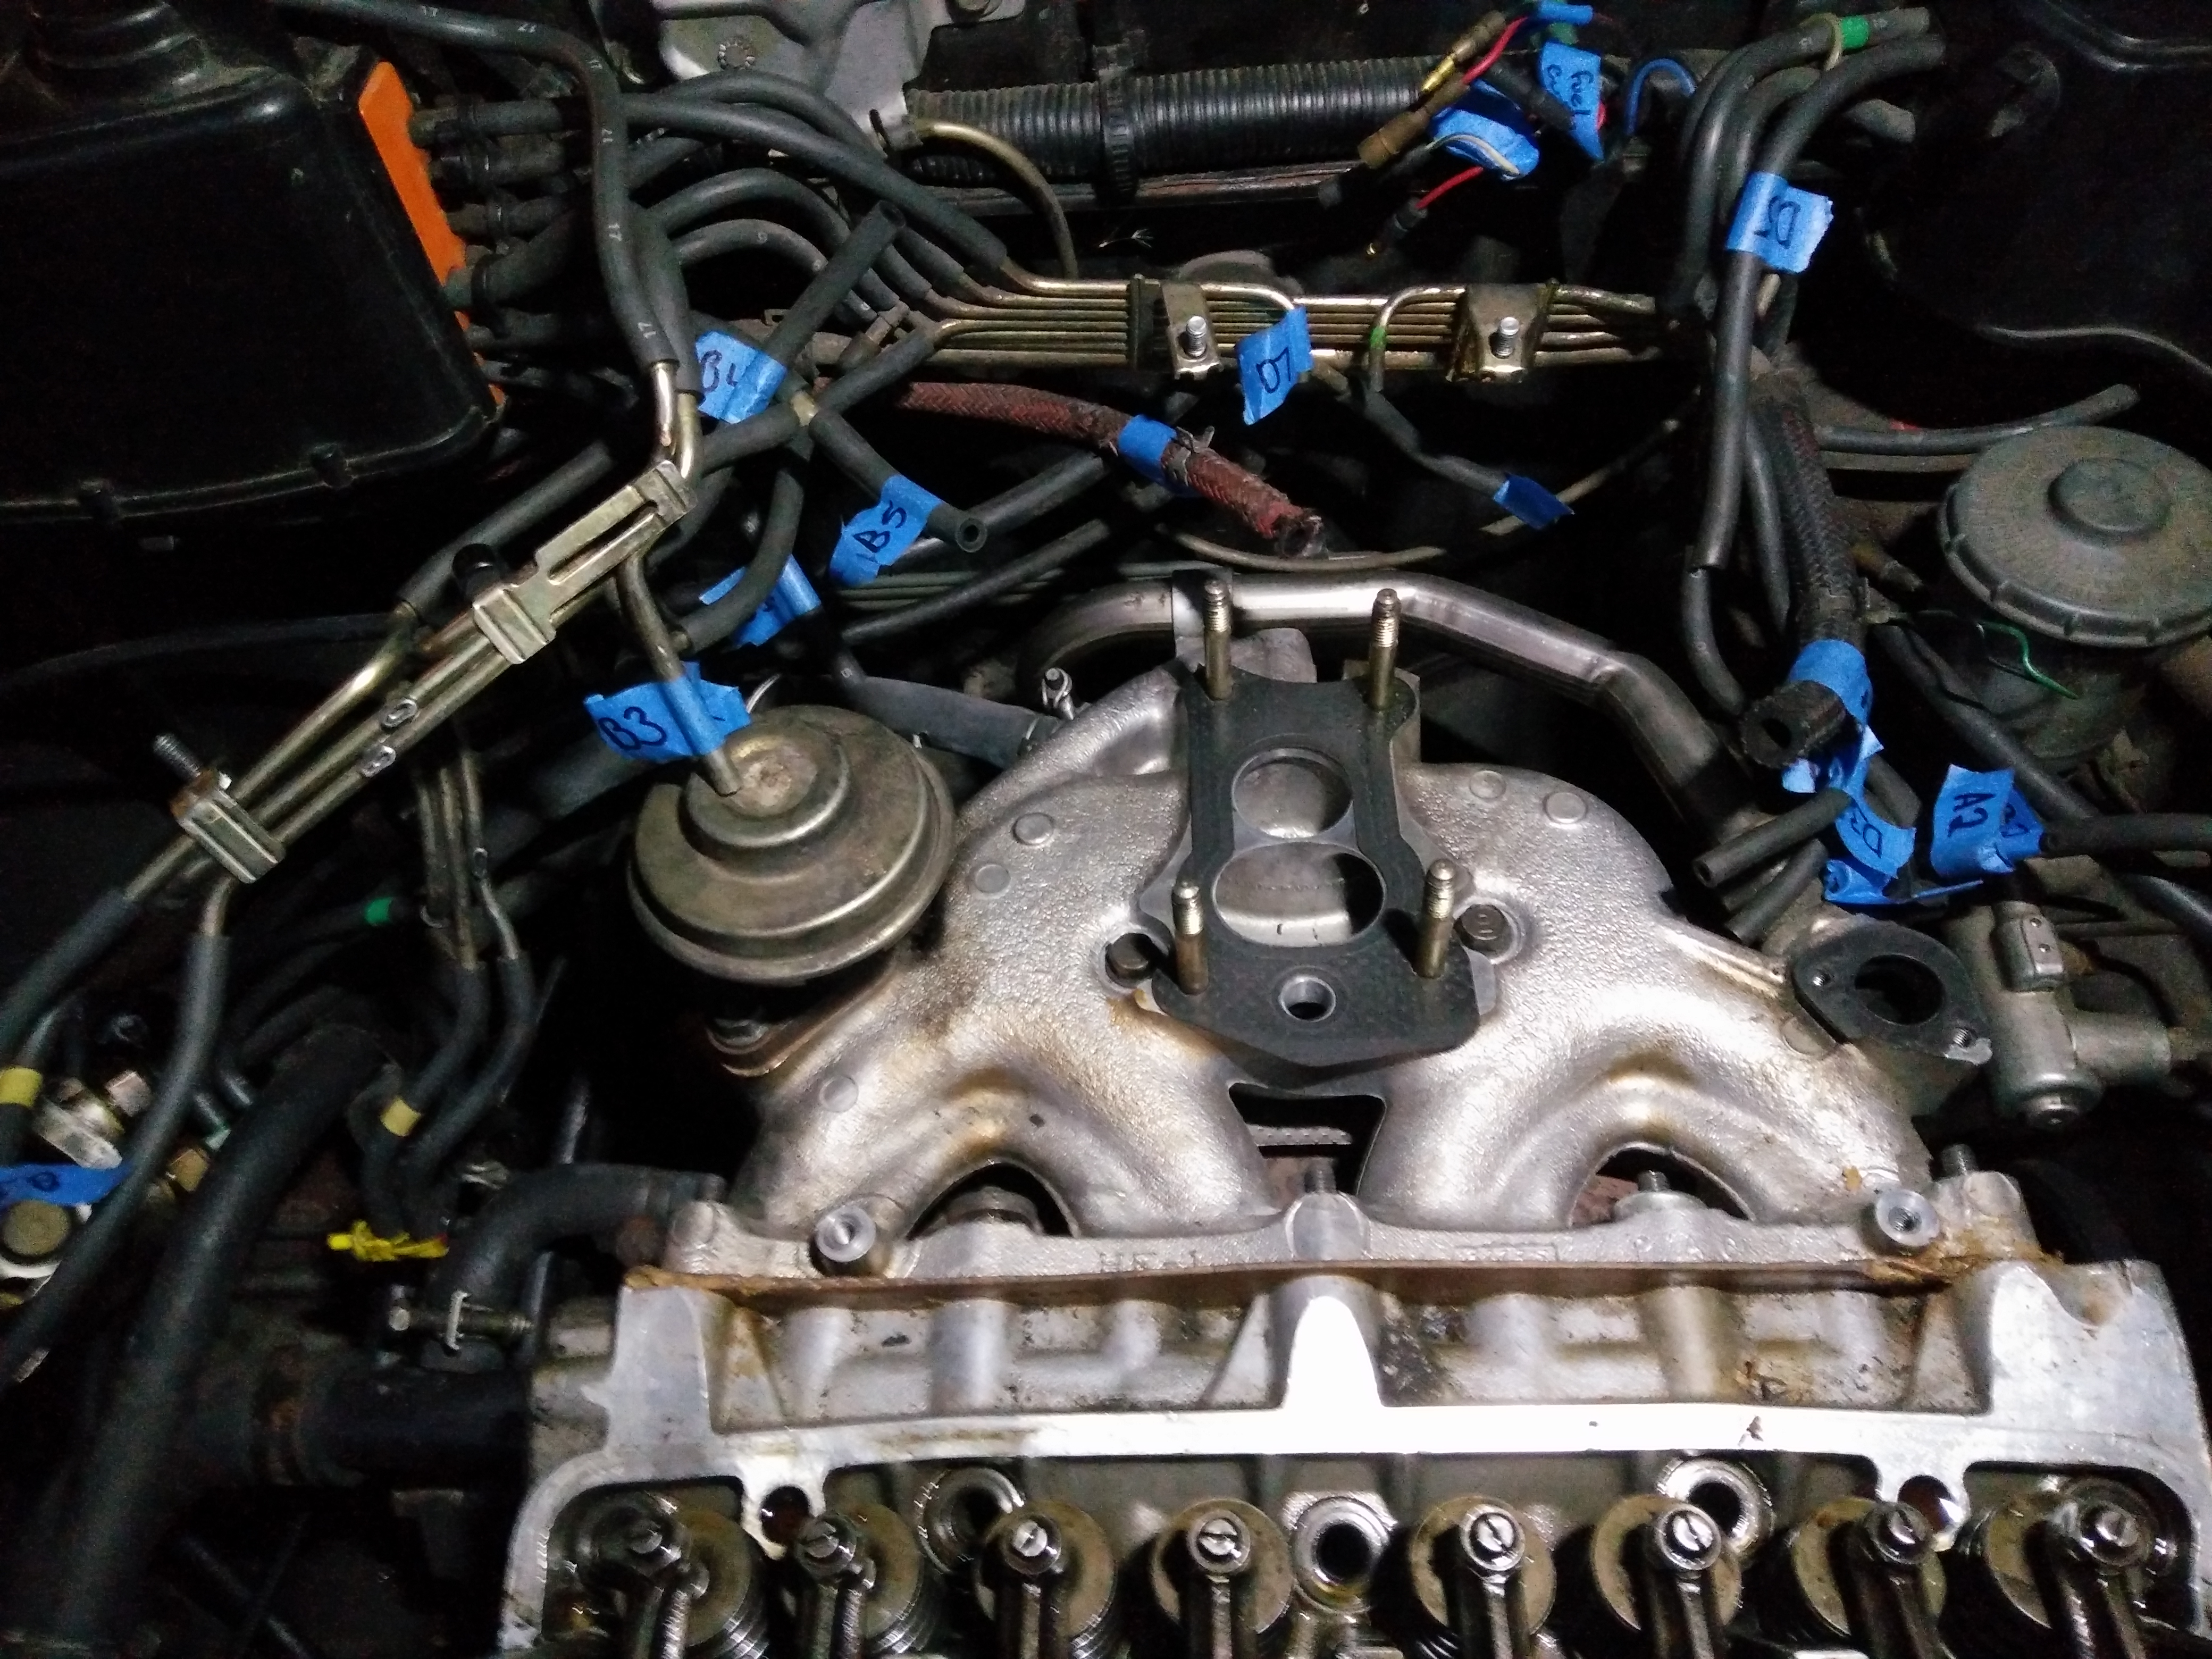 This manifold is designed to go with the 3-barrel Keihin carb and oddball 12-valve head, which make up Honda’s early-80’s CVCC system, a stratified charge combustion system that utilizes a third valve for each cylinder and a precombustion chamber (fed from the third barrel by the small port below the larger two in the photo) to get a lean burn for low emissions and high mileage. Sadly the engine, partially due to the combination of an iron block and aluminum head, had chronic issues with headgaskets, which is why we’re tearing it apart.
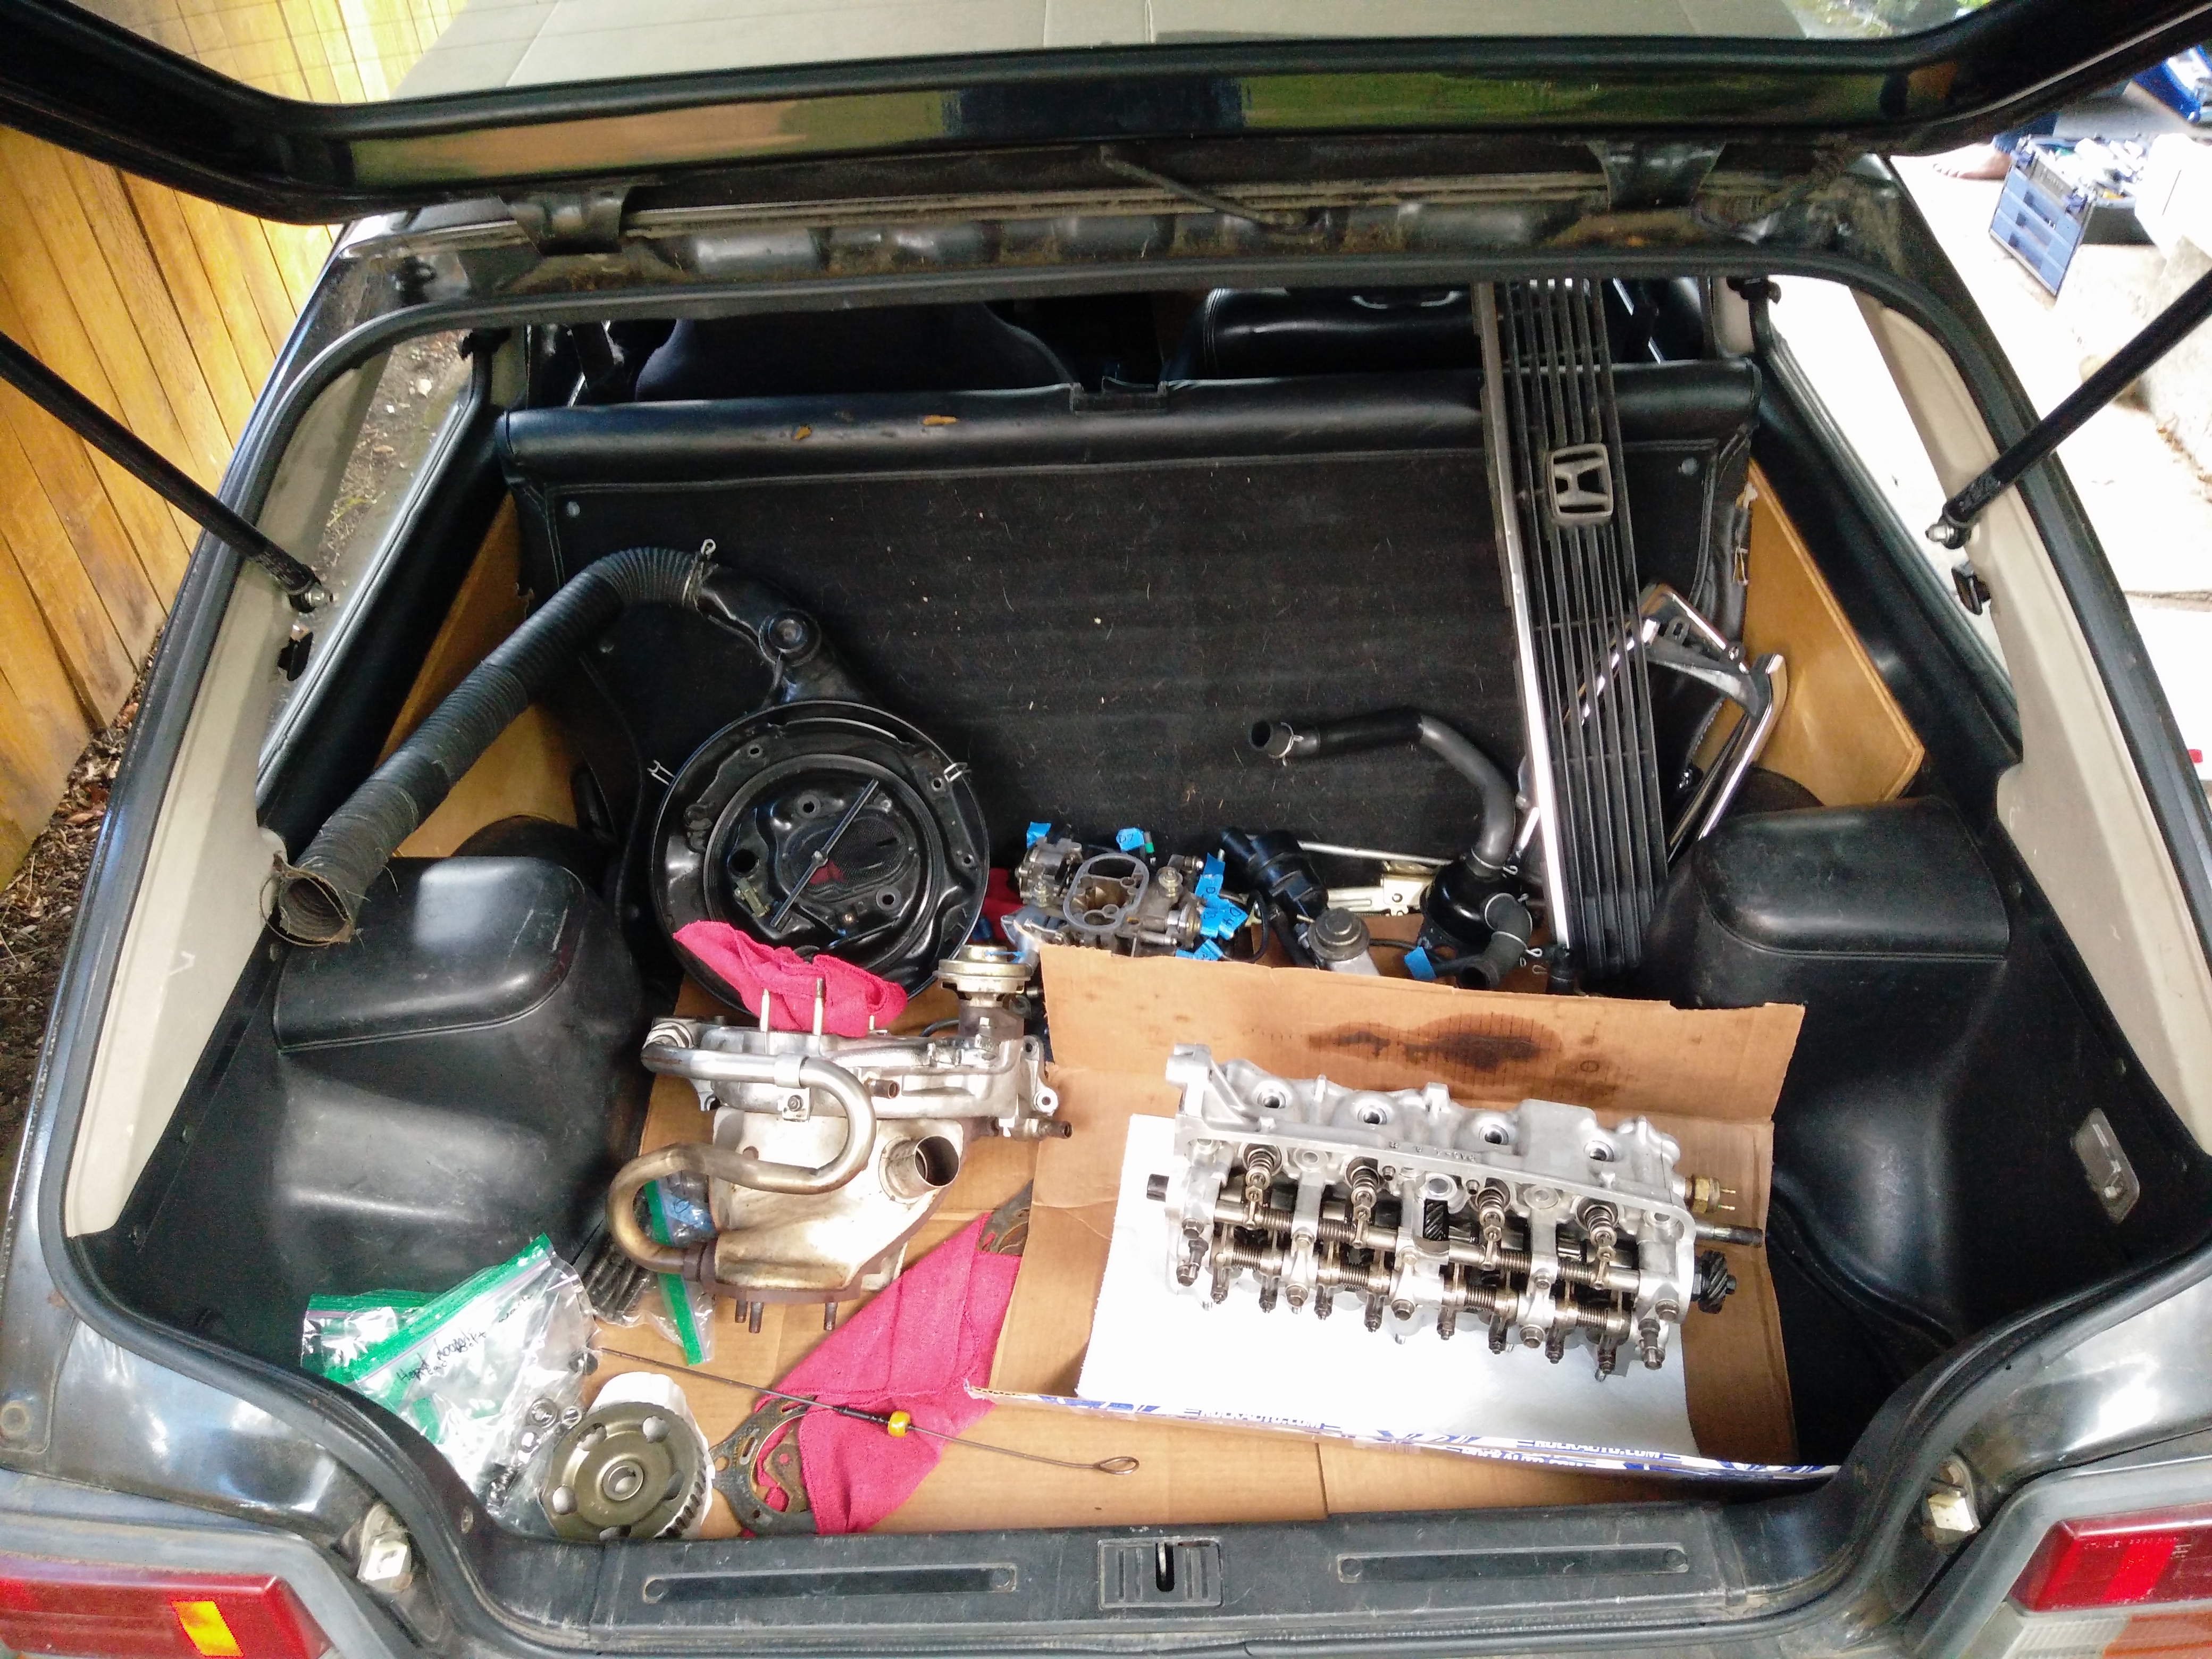
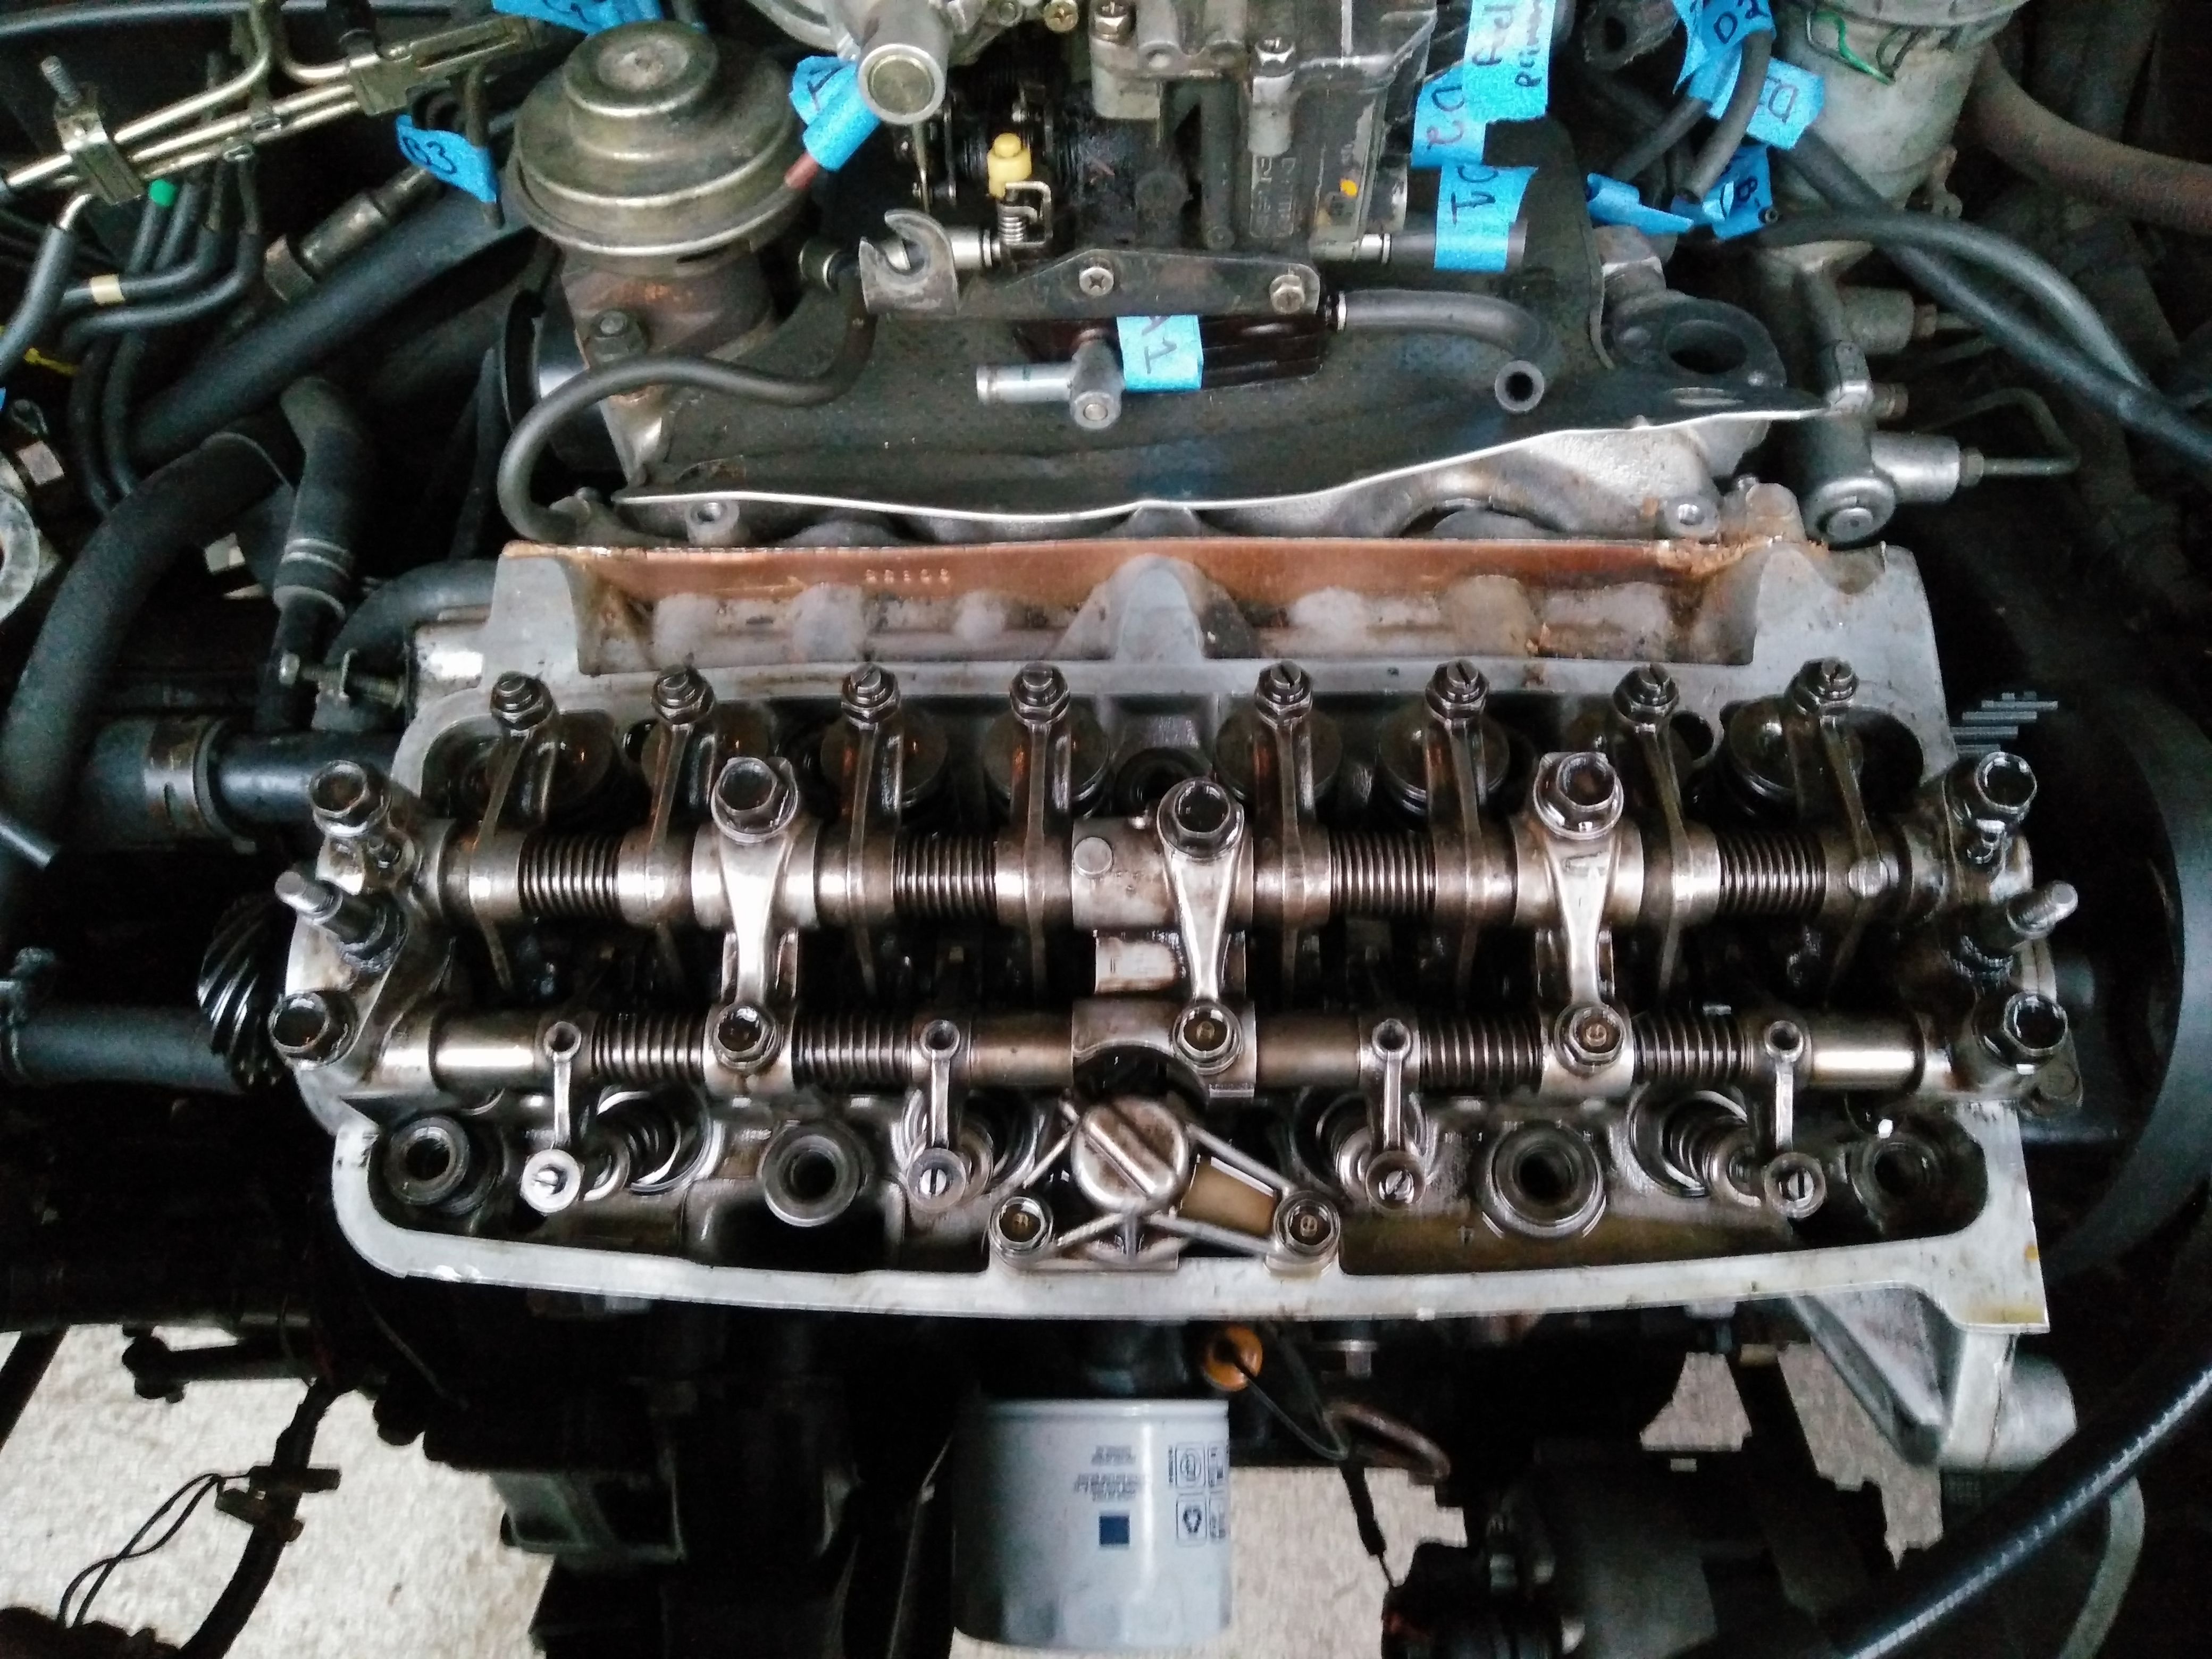 If you look closely at the photo above, you can see that the previous owner kindly removed all but one of the head bolts (the last one is under the oil pump drive cover in the bottom center). Knowing that the head gasket was bad, and that the head had probably been improperly loosened, at this point I was worried that it would be gouged and/or warped. Nothing to do though other than carry on with the teardown. The PO had started removing manifold nuts, but I knew that it was much easier to remove the head with the manifolds attached. After removing the oil pump drive cover, gear, and shaft, all it took was one bolt and the head was off. The gasket failure was instantly obvious:
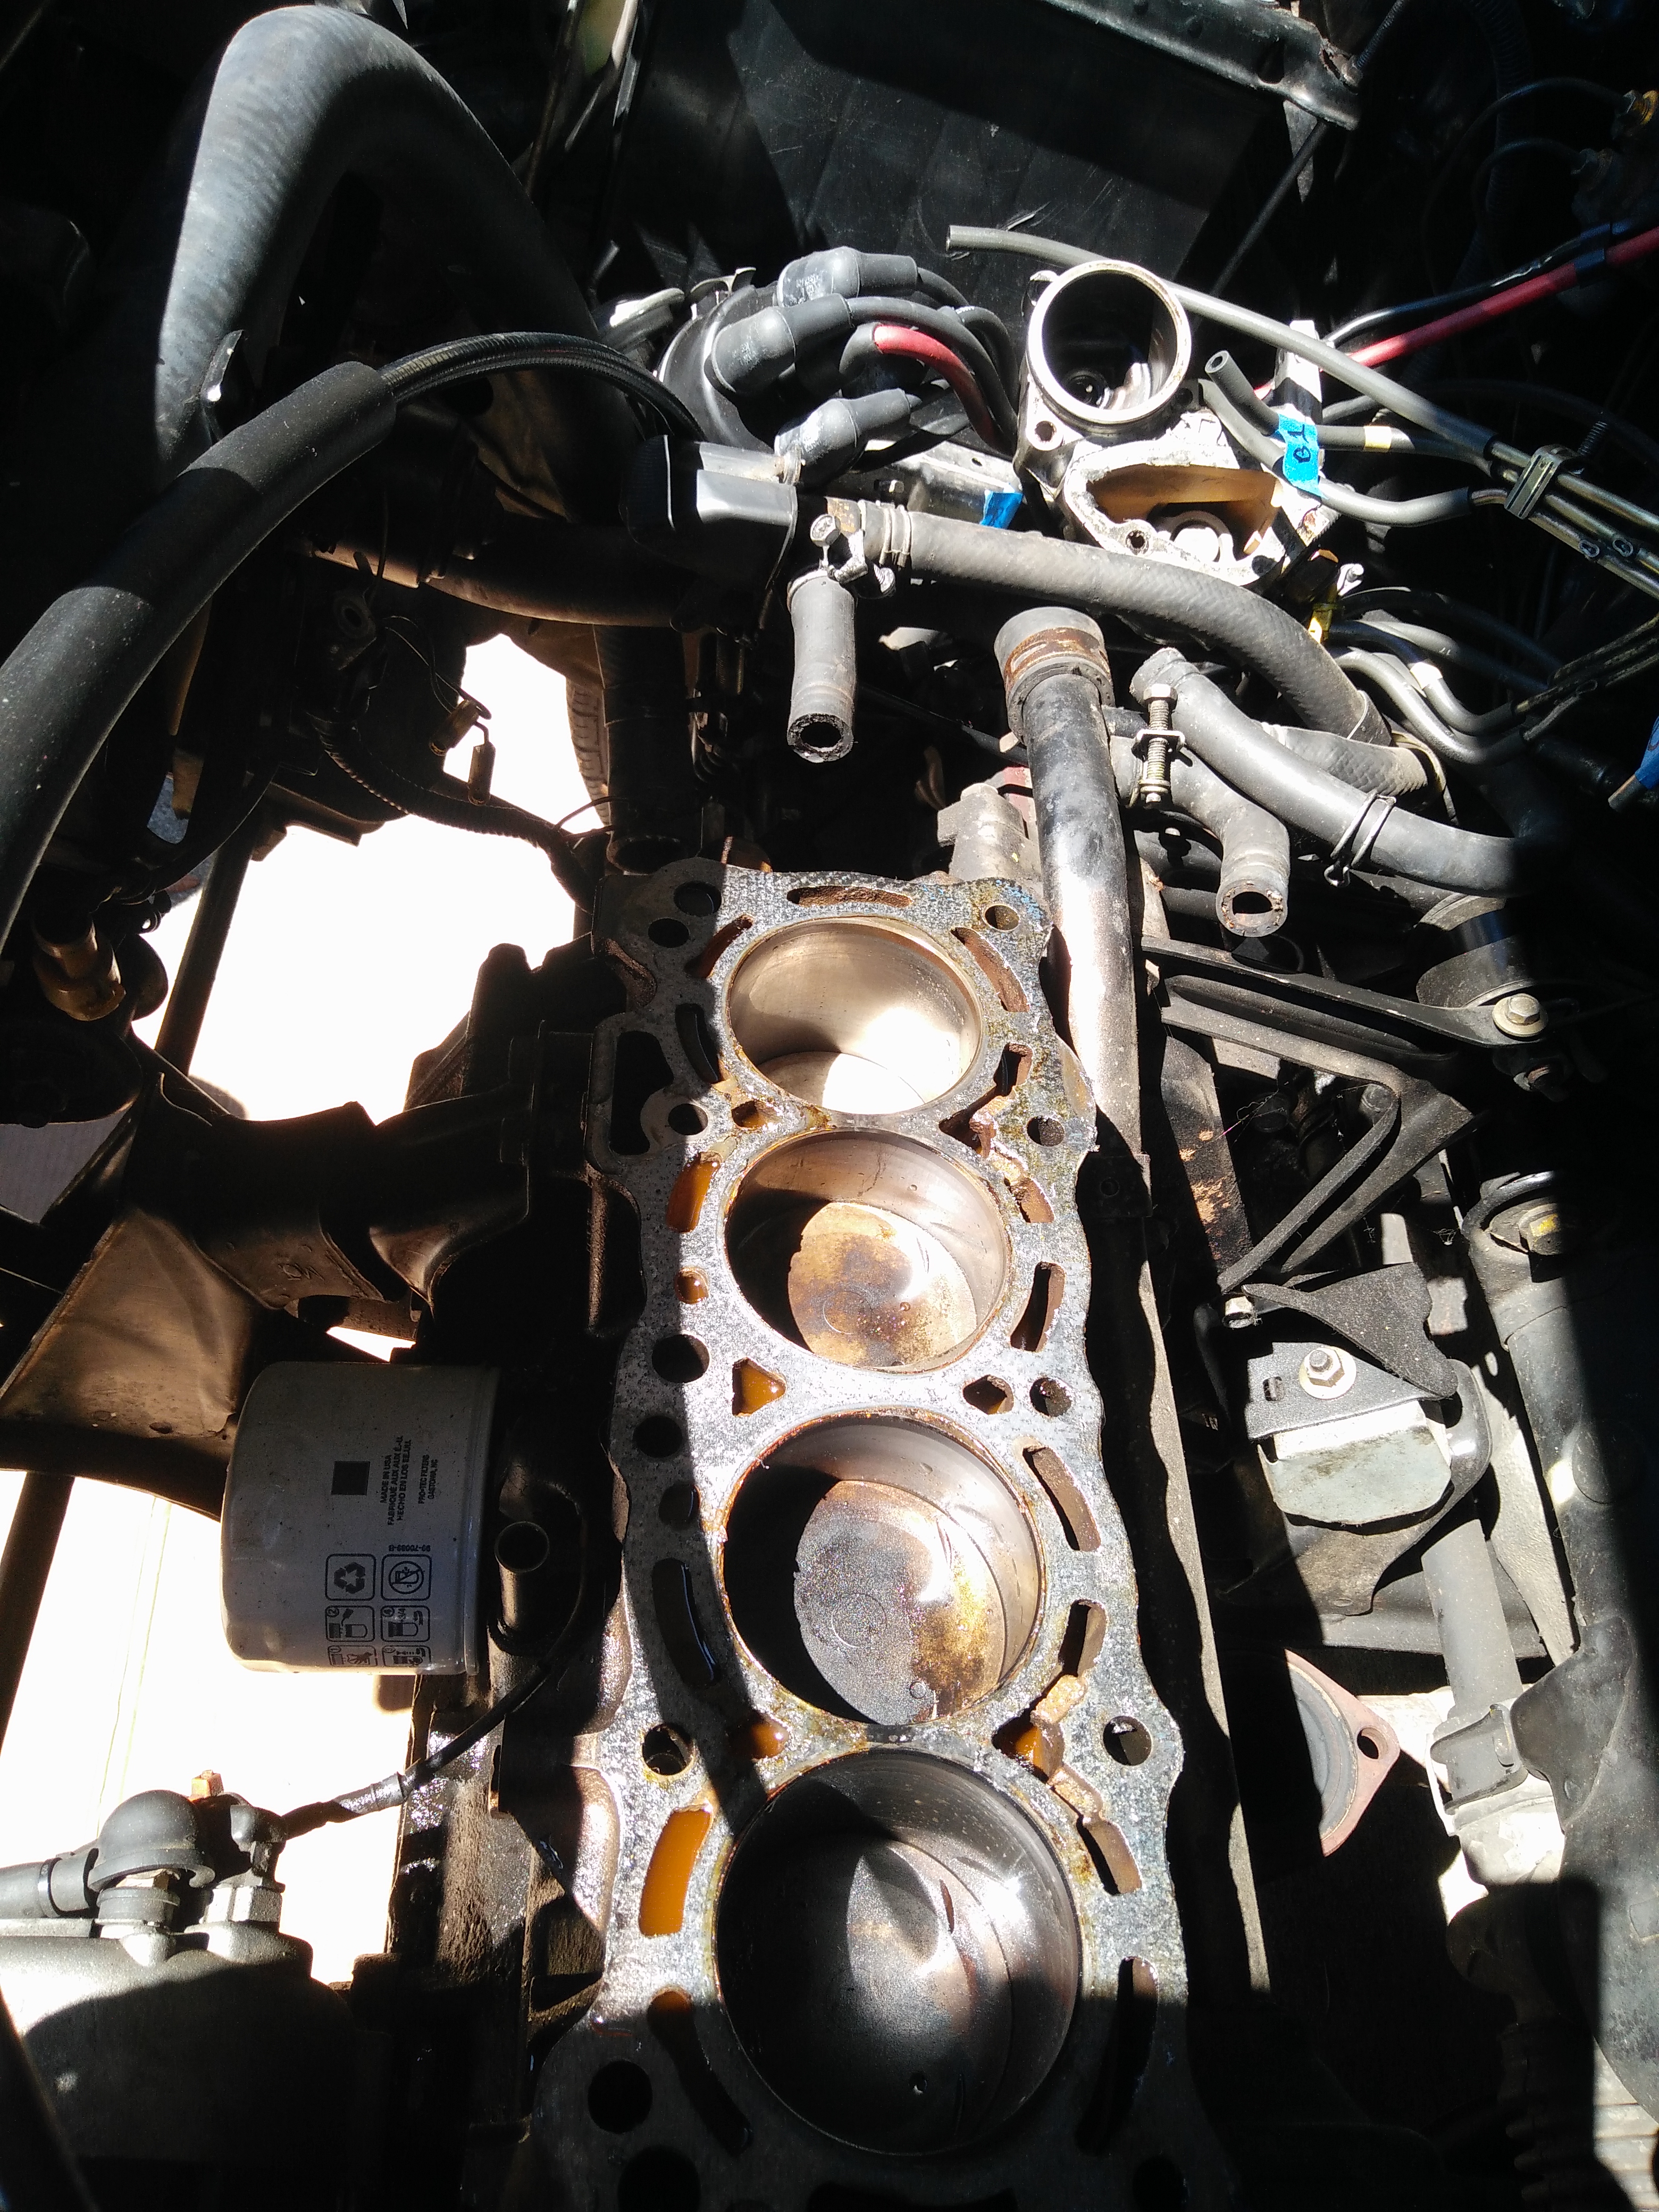
 There was an almost-clean cut nearly 1/8-inch wide between cylinders three and four, and it looked like one and two saw some leakage, but the gasket was still intact. However, it did look as though the gasket had been changed somewhat recently, so it’s possible some of what we saw was what prompted that change.
As for the block, things looked pretty good. The deck surface was clean, even in the weak spots of the gasket, and the cylinder walls looked almost perfect, though some water or coolant had collected in cylinder three.
The final step of teardown was to separate the head and manifolds to prepare for a good cleaning of the mating surfaces before reassembly. This also made the head much easier to work with and test fit. Also, the gasket kit included a manifold gasket, and the one on the engine wasn’t in the best shape.
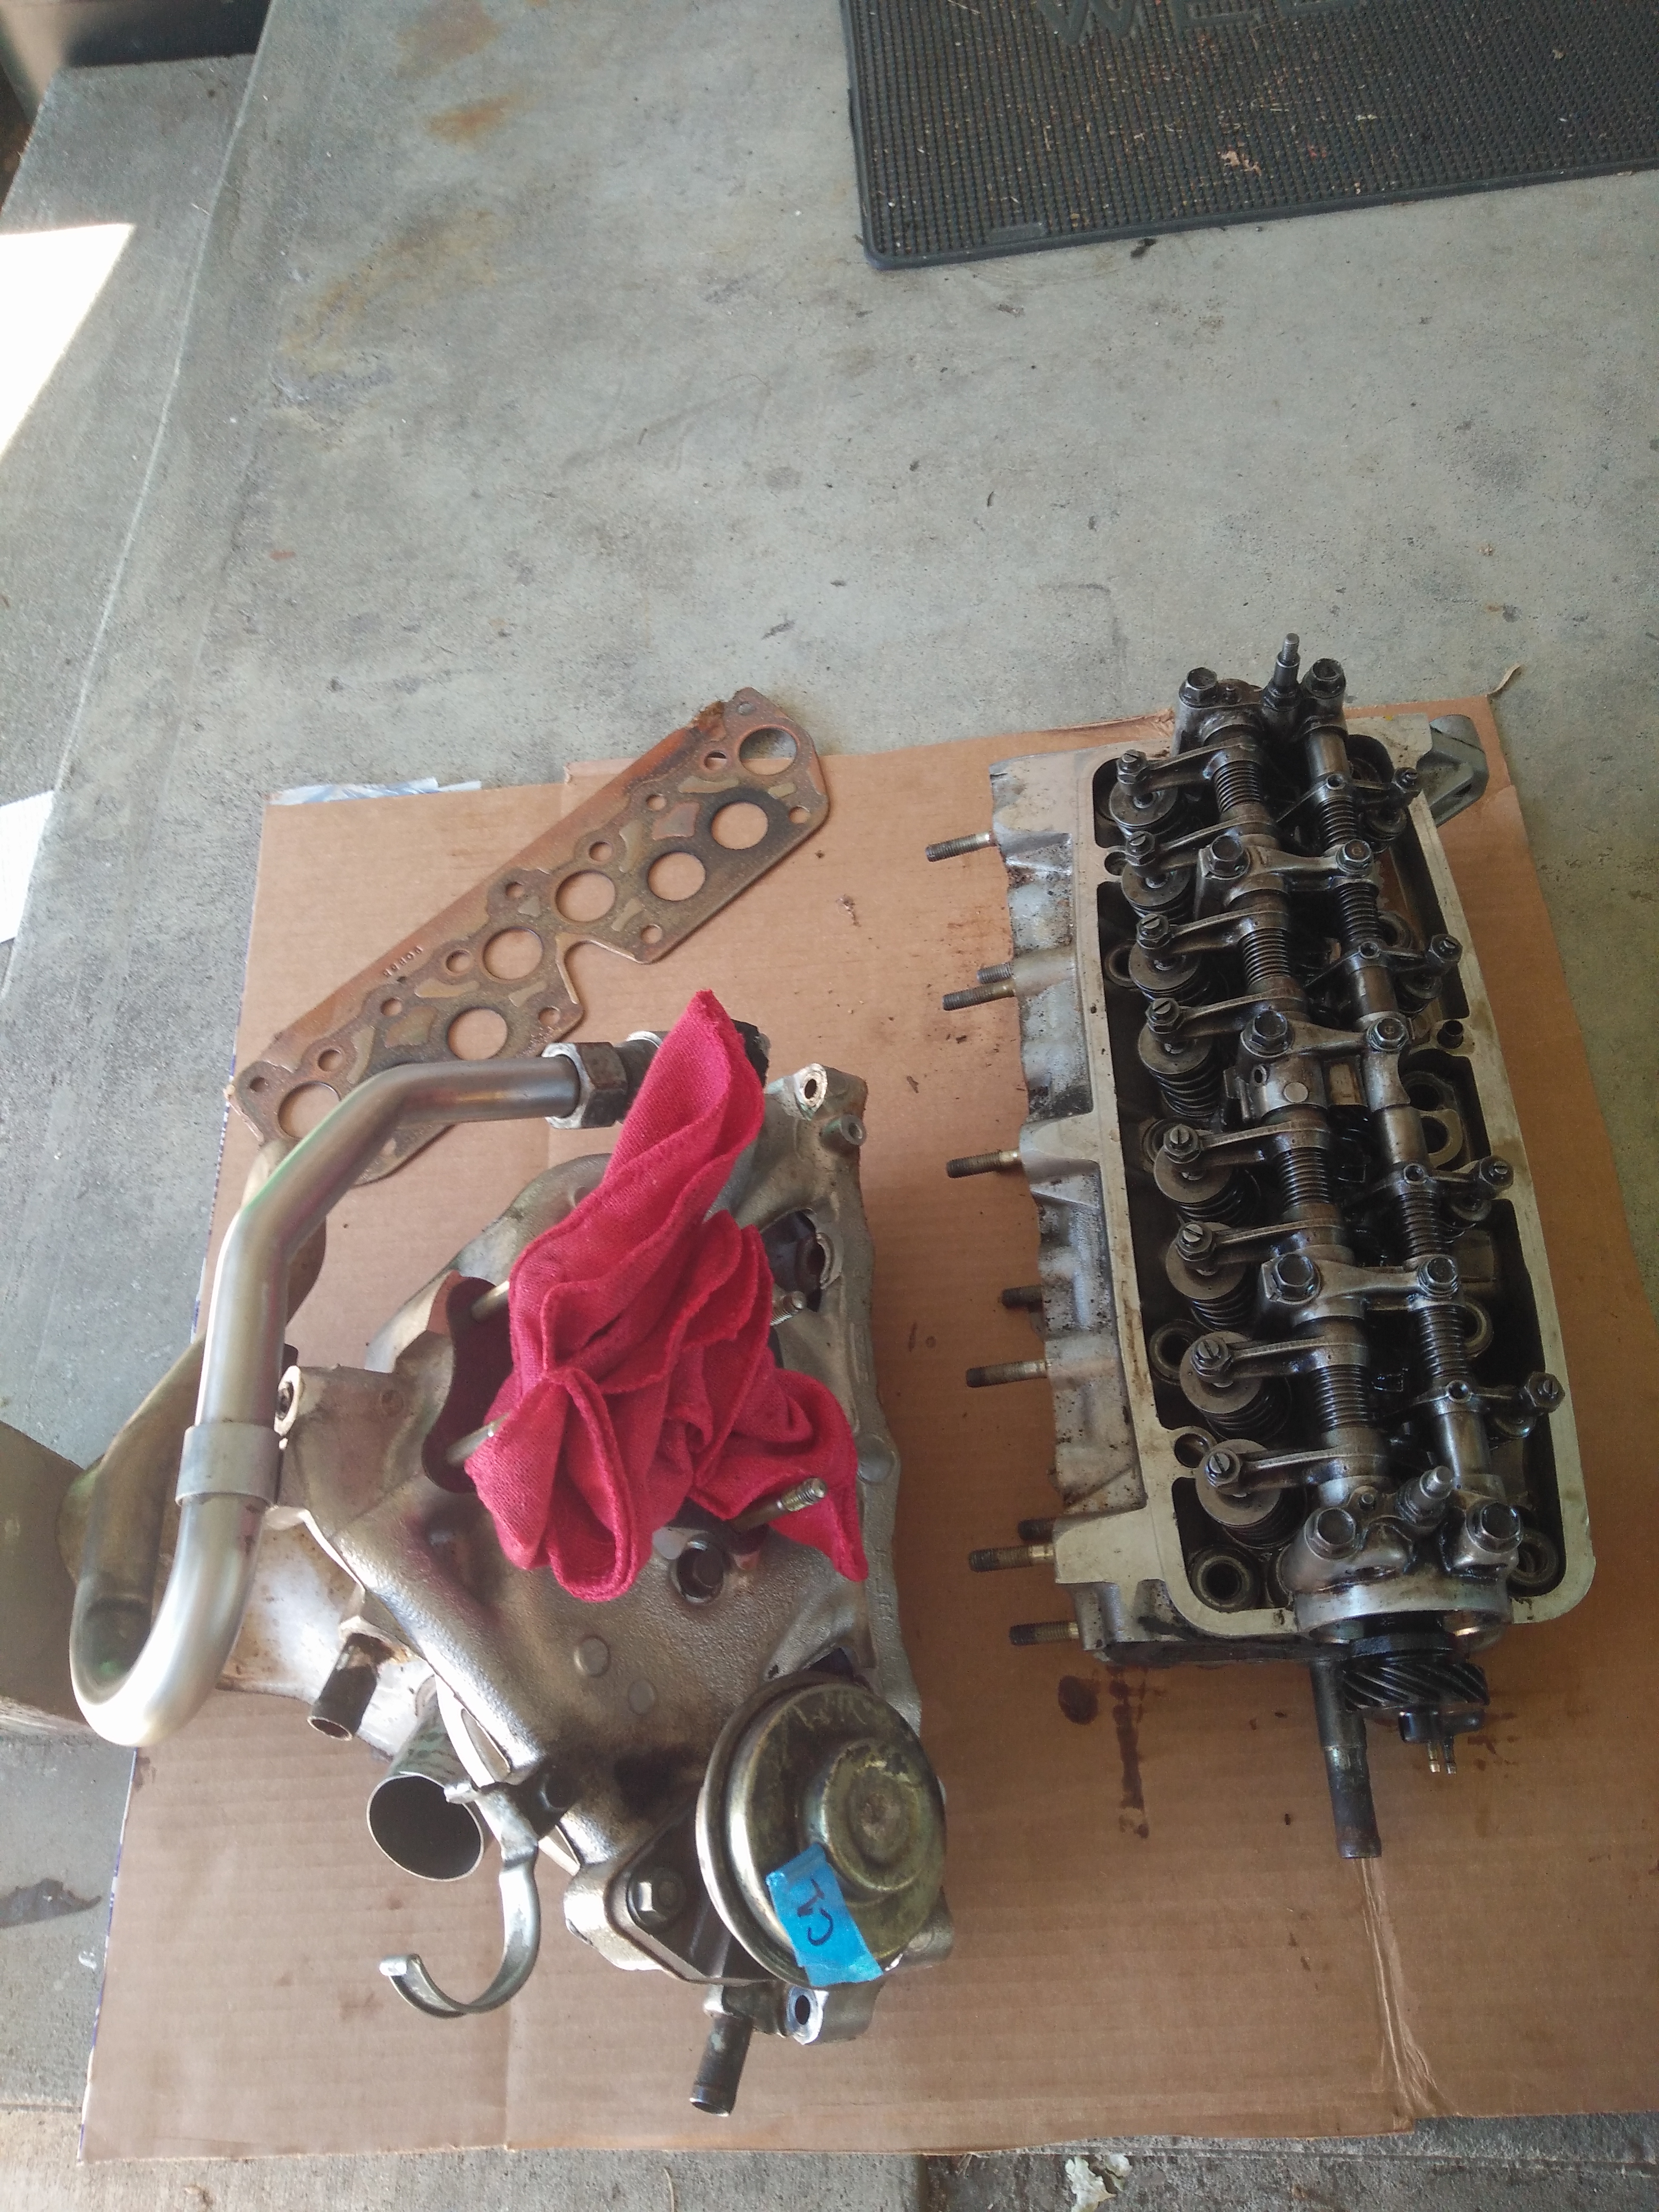
Now that everything was apart, we were ready for a lot of cleaning, and all the other preparation we’d need to do before reassembly began. We were also halfway to having a homemade rear-engine Honda:
In the next post I’ll cover my plans for getting this car back together and running, and go over the cleaning and prep work.
This is the second post in a series about this car.
Part 1
All posts in category ‘Honda’
Pingback: Dabbler : Honda Part 3: The Hard Part
Pingback: Dabbler : Installing the Head on my 1983 Honda Civic